
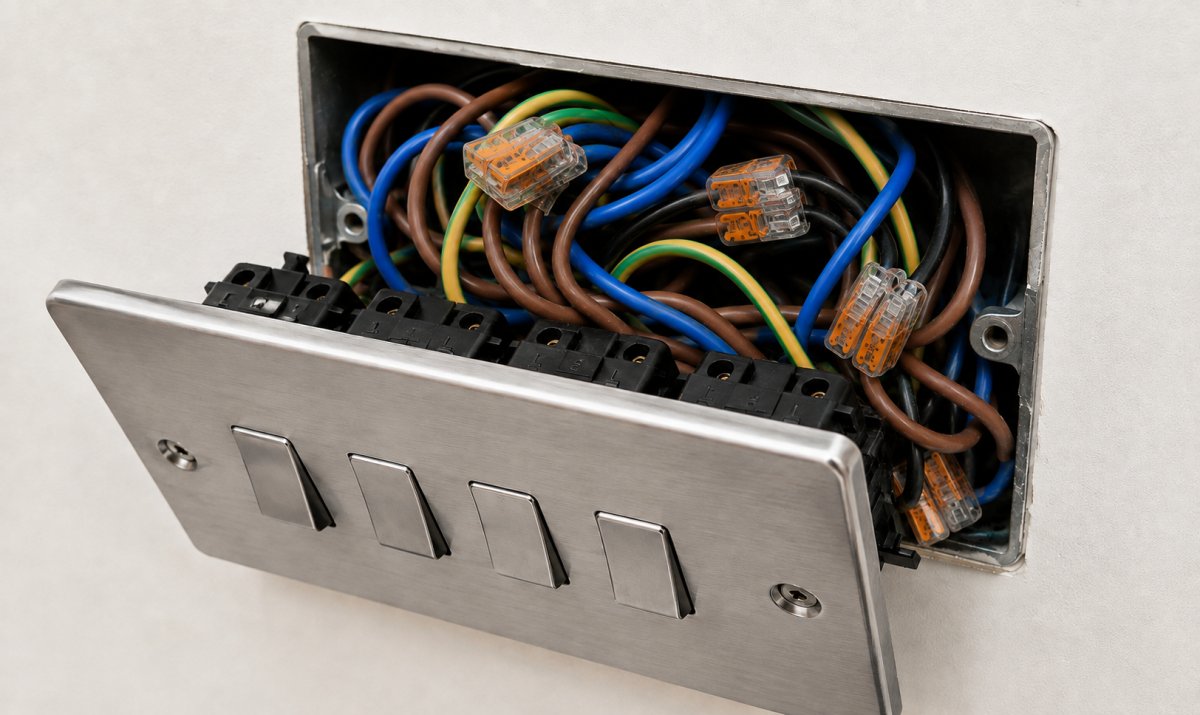
You have finally unboxed your new smart dimmer, only to find that the shallow 25mm back box in your wall is already overflowing with a "spaghetti" of existing cables. It's a common frustration for UK homeowners who want modern functionality without the destructive mess of chiselling out masonry or damaging expensive wallpaper. Finding a reliable smart switch shallow back box solution often feels like a choice between structural work or settling for a generic, ill-fitting spacer that looks out of place amongst high-end decor.
We understand that a professional finish is just as important as the smart technology itself. You shouldn't have to compromise on safety or aesthetics just to get your Zigbee or Lightwave modules to fit. By using the Build My Spacer configurator tool, you can specify a bespoke frame that provides the exact depth required for heat dissipation and cable management. This guide will walk you through the process of achieving a clean, flush installation whilst avoiding major structural changes, ensuring your smart home upgrade remains both safe and visually seamless.
Key Takeaways
- Understand why standard UK 25mm back boxes lack the space required for the depth of modern smart switches and modules.
- Discover why a bespoke smart switch shallow back box solution provides a safer, cleaner alternative to chiselling into masonry or damaging decorative finishes.
- Learn how to accurately measure the depth of your existing box versus your new hardware to ensure a precision fit.
- Evaluate the differences between generic shims and custom-fit frames that disappear behind your chosen faceplate for a high-end look.
- Explore how bespoke large extension frames can simplify complex multi-gang smart home installations in a single, professional unit.
Table of Contents
- The Smart Switch Shallow Back Box Solution for UK Homeowners
- Comparing Smart Modules and Chiselling against External Spacers
- Why a Bespoke Light Switch Spacer is the Professional Choice
- Measuring Your Switch Depth for a Precision Fit Frame
- Custom Spacer Applications for Advanced Smart Home Systems
The Smart Switch Shallow Back Box Solution for UK Homeowners
The UK electrical infrastructure often presents a unique hurdle for smart home enthusiasts. Most traditional properties are built with shallow 16mm or 25mm back boxes. Whilst these were perfectly adequate for standard rocker switches, they are fundamentally incompatible with modern smart hardware. This discrepancy creates a significant problem for those seeking a smart switch shallow back box solution that doesn't involve a sledgehammer or a cloud of plaster dust. When you attempt to cram a 35mm module into a 25mm space, you aren't just fighting the module itself; you are battling the "spaghetti" of existing ring main wiring and terminal blocks that already occupy the limited volume.
The frustration for many homeowners is the lack of professional alternatives. Most advice found online suggests either "making do" with a messy finish or undertaking major structural work. Neither is ideal if you have just finished decorating. A bespoke spacer acts as the essential bridge between modern technology and traditional UK infrastructure. It allows you to house deep modules safely whilst maintaining the integrity of your walls. By extending the depth of the existing Pattress box forward, you create a dedicated chamber for the smart hardware without disturbing the masonry behind it.
Why Standard UK Back Boxes Clash with Smart Tech
Smart modules, such as those from Sonoff or various Zigbee manufacturers, frequently require a depth between 35mm and 47mm to operate correctly. If your home features solid masonry walls, the internal metal box is likely recessed deep into the brickwork. Increasing this depth usually requires chiselling, which risks damaging the surrounding decorative finish or, worse, the cables entering the box. In stud partitions, you might have more flexibility, but the physical constraints of the timber frame often limit how far back you can push a new, deeper box. Using the Build My Spacer tool allows you to bypass these structural headaches. It provides an immediate way to calculate the exact external depth needed to house your module based on your current box size and the hardware's requirements.
The Aesthetic Challenge of Smart Home Upgrades
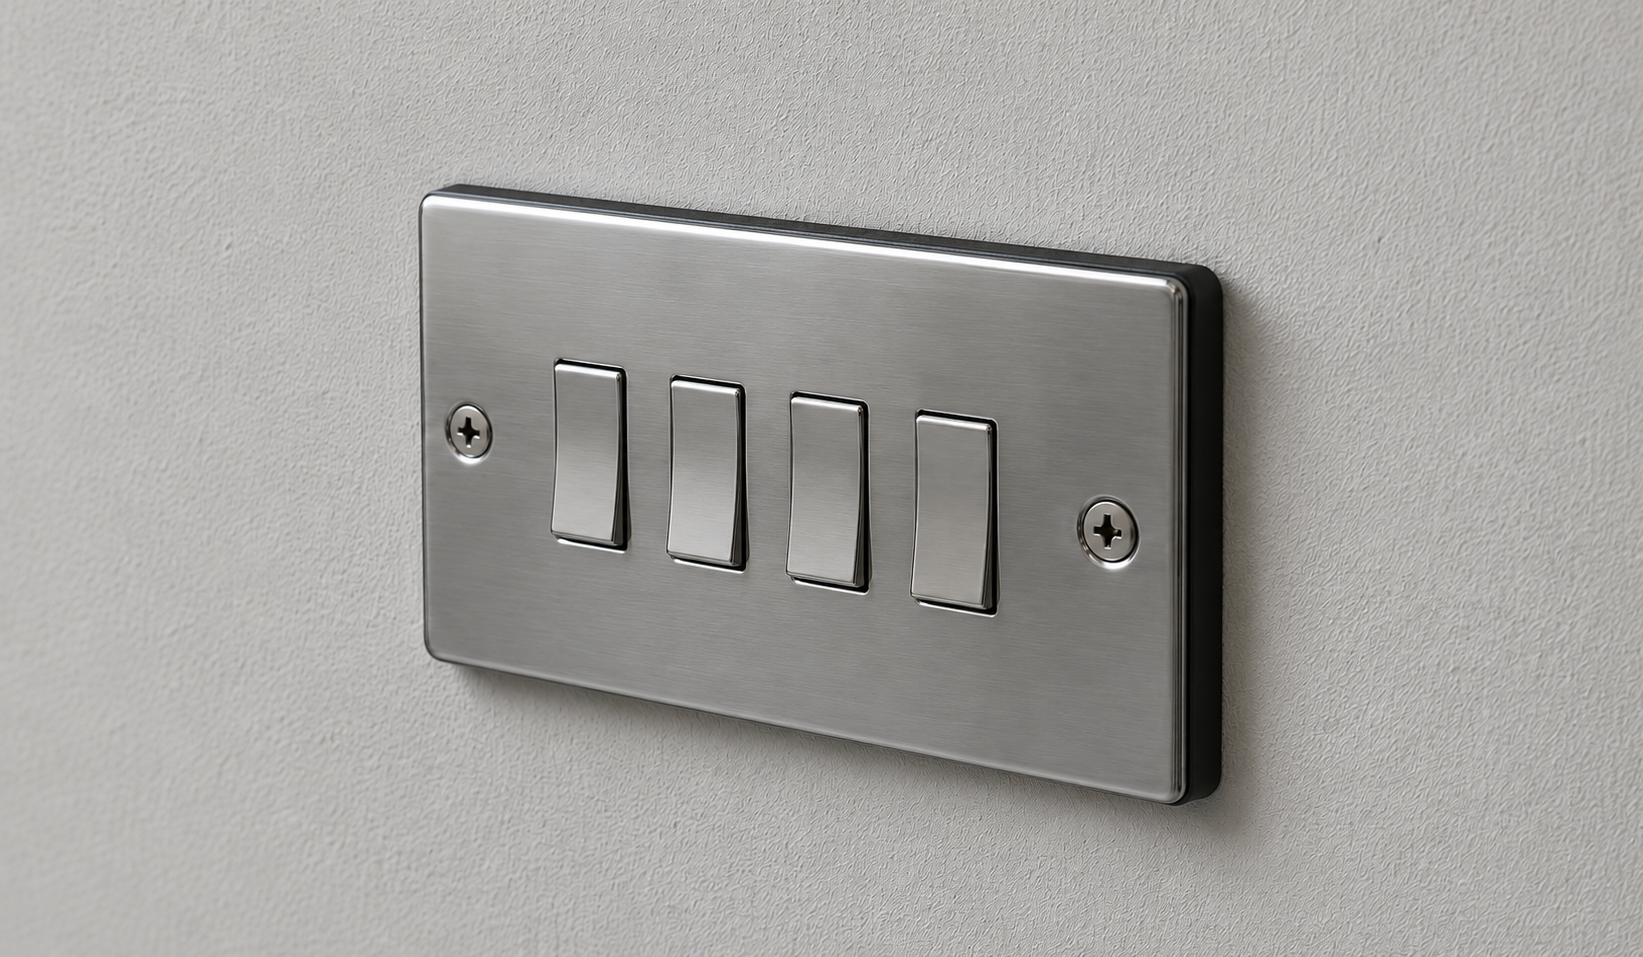
Forcing a deep module into a shallow box leads to the "floating socket" effect. This occurs when the faceplate cannot sit flush against the wall, leaving an unsightly gap that exposes internal components and looks unfinished. It's a look that immediately devalues a high-end interior design project. A professional smart switch shallow back box solution must prioritise the final aesthetic. Generic, off-the-shelf spacers are often bulky, ill-fitting, and made from mismatched materials that stand out for the wrong reasons. Opting for bespoke plastic socket spacers ensures that the extension frame matches the footprint of your specific faceplate exactly. This precision allows the spacer to blend into the installation, providing a clean, architectural finish that looks like a deliberate part of the switch design rather than a temporary fix.
Comparing Smart Modules and Chiselling against External Spacers
When you discover your existing back box is too shallow for a new smart dimmer, the immediate instinct is often to look for a workaround. Some installers suggest mounting the smart module inside the ceiling rose instead of behind the switch. Whilst this solves the physical space issue at the wall, it frequently fails due to the wiring configuration of older UK properties. Many light switches lack a neutral wire, which most smart modules require for constant power. Moving the module to the ceiling often involves complex rewiring that can lead to unintended behaviour from your light fittings.
The alternative is to create more depth within the wall. This is where many homeowners consider chiselling out the masonry to install a deeper metal box. However, this method is fraught with risks. You aren't just dealing with the physical mess of brick dust; you are also navigating blind through a wall where existing cables are already pinned. A smart switch shallow back box solution should ideally be non-destructive. Using a custom spacer plate allows you to bypass these structural risks entirely by extending the depth forward into the room rather than backwards into the brickwork.
The Hidden Risks of Wall Excavation
Excavating a wall to replace a back box is a major undertaking in a finished room. It typically involves removing the existing box, which can cause significant cracking to the surrounding plaster or damage to expensive wallpaper. There is also the very real danger of piercing hidden conduits or damaging the insulation of the very cables you are trying to connect. Compliance with Part P of the Building Regulations requires that all electrical work is safe and tested. A bespoke spacer provides a clean, surface-mounted extension that avoids these hazards. It ensures the installation remains safe without the need for structural intervention.
Managing Wiring Volume and Heat Dissipation
The "wiring spaghetti" problem is a major cause of smart switch failure. UK lighting circuits often have multiple cables entering a single box, leaving almost no room for a bulky Zigbee or Wi-Fi module. If a switch is forced into a tight space, the lack of airflow can cause the module to overheat, leading to shortened lifespan or fire risks. Effectively managing plug socket wiring space is critical for maintaining the cubic capacity required by BS 7671 standards. A spacer provides the necessary air gap for heat dissipation, ensuring your smart home tech operates within its thermal limits. If you are unsure of the depth required for your specific setup, you can use the Build My Spacer tool to specify the exact dimensions needed for a safe, ventilated installation.
If you want to avoid the mess of chiselling whilst keeping your decor intact, you might want to explore our range of custom-fit frames to find the perfect match for your smart switch.
Why a Bespoke Light Switch Spacer is the Professional Choice
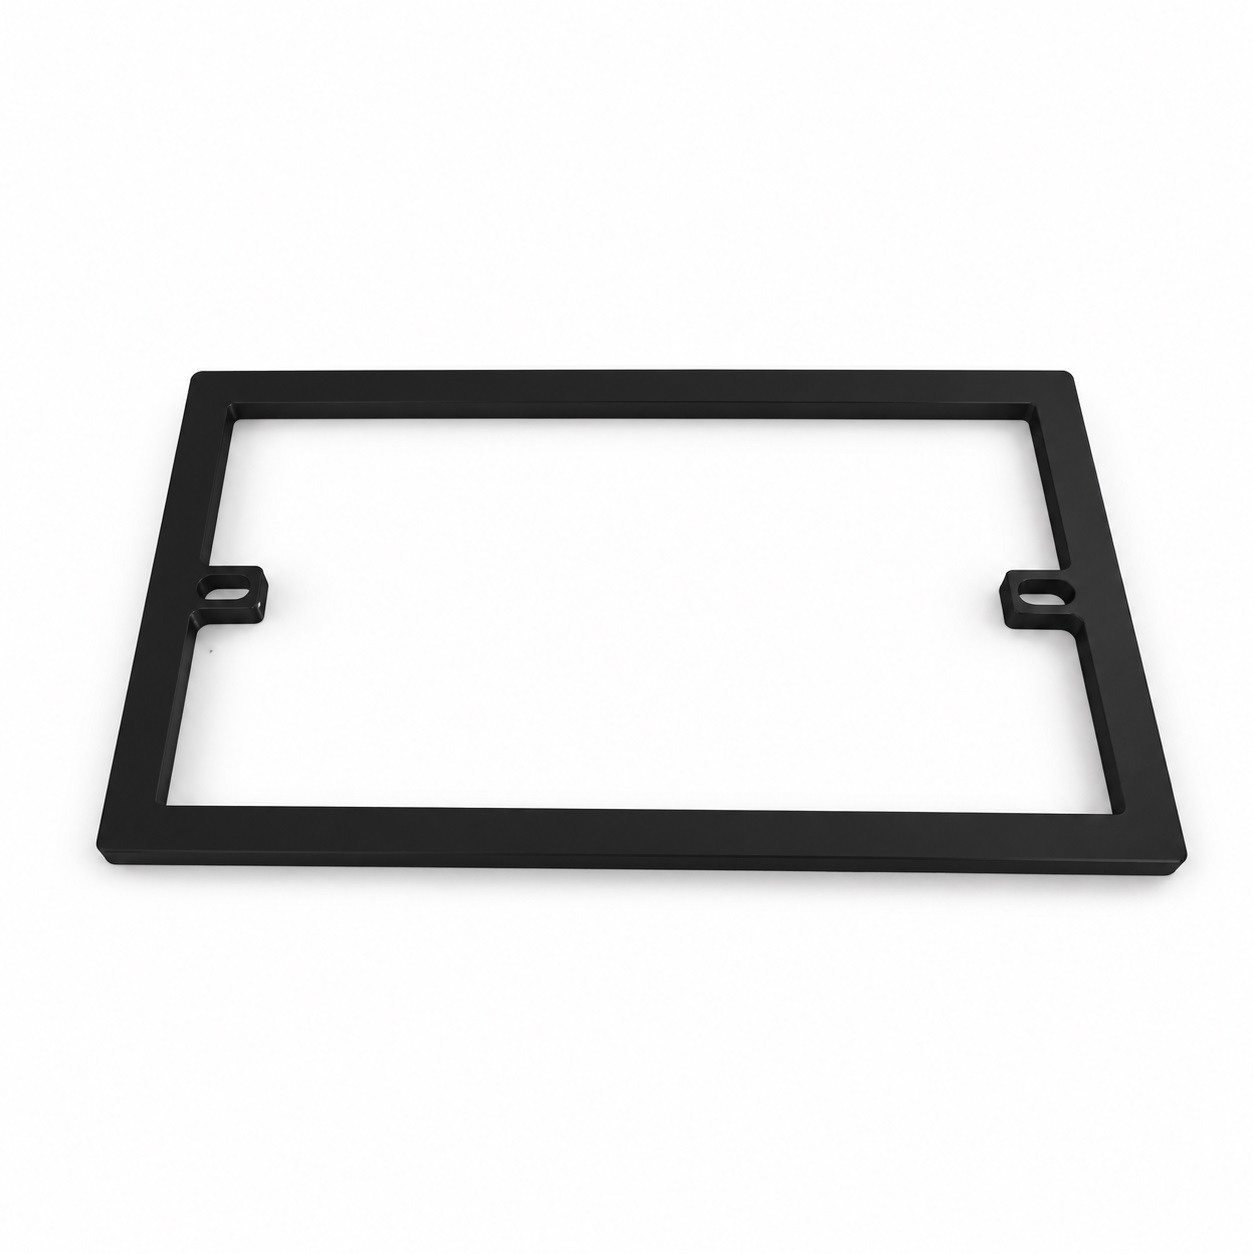
Many DIY enthusiasts view spacers as a last resort because they have only seen the generic, off-the-shelf versions found in local hardware shops. These mass-produced shims are designed for utility over aesthetics, often resulting in bulky, translucent plastic rings that protrude beyond the edges of your decorative switches. This is why many online communities wrongly assume that any smart switch shallow back box solution will inevitably ruin the look of a room. In reality, the difference between a generic shim and a bespoke extension frame is as significant as the difference between a "one-size-fits-all" suit and a tailored one.
Bespoke vs Generic: The Visual Difference
A custom-fit plate is manufactured to match the exact footprint of your chosen light switch. If you have selected a premium brass or matte black faceplate, a generic white spacer creates a jarring visual break. By using made to measure socket spacers, you ensure that the dimensions of the frame align perfectly with the switch, eliminating unsightly gaps or overhangs. The spacer should effectively disappear. It should appear as a natural, intentional extension of the switch plate rather than a corrective patch. This precision preserves the room's aesthetic whilst providing necessary module depth.
Durability and Material Quality
Beyond aesthetics, the structural integrity of your installation is paramount. Flimsy DIY shims often flex or compress when the faceplate screws are tightened; this can lead to a loose or misaligned switch. High-quality bespoke frames provide a solid, rigid foundation that supports the entire faceplate, ensuring it stays firmly in place over years of use. Adhering to the BS 7671 Requirements for Electrical Installations is much easier when your hardware is designed for the task. You can see the impact of this precision in the customer feedback for SocketSpacers.com, where both tradespeople and homeowners highlight the difference in build quality compared to standard alternatives.
Choosing a tailored smart switch shallow back box solution also allows for colour matching. Whether your walls are a specific shade or you want the spacer to match the switch's finish, bespoke manufacturing offers a level of customisation that generic products cannot match. If you are working with multi-gang units or non-standard plates, the Build My Spacer configurator tool allows you to specify dimensions for a truly unique fit. For high-end renovation projects where every detail is scrutinised, this professional finish is the only way to integrate modern smart tech without compromising on design standards.
Measuring Your Switch Depth for a Precision Fit Frame
Accuracy is the foundation of a successful smart home upgrade. If you order a spacer based on guesswork, you risk either a loose installation or a faceplate that won't sit flush against the wall. A tailored smart switch shallow back box solution relies on three specific measurements to ensure the module has enough room whilst the spacer remains as discreet as possible. You will need a digital calliper or a standard metric ruler to begin. Finding a smart switch shallow back box solution that fits your specific brand of hardware is straightforward once you have identified these numbers.
The Depth Calculation Formula
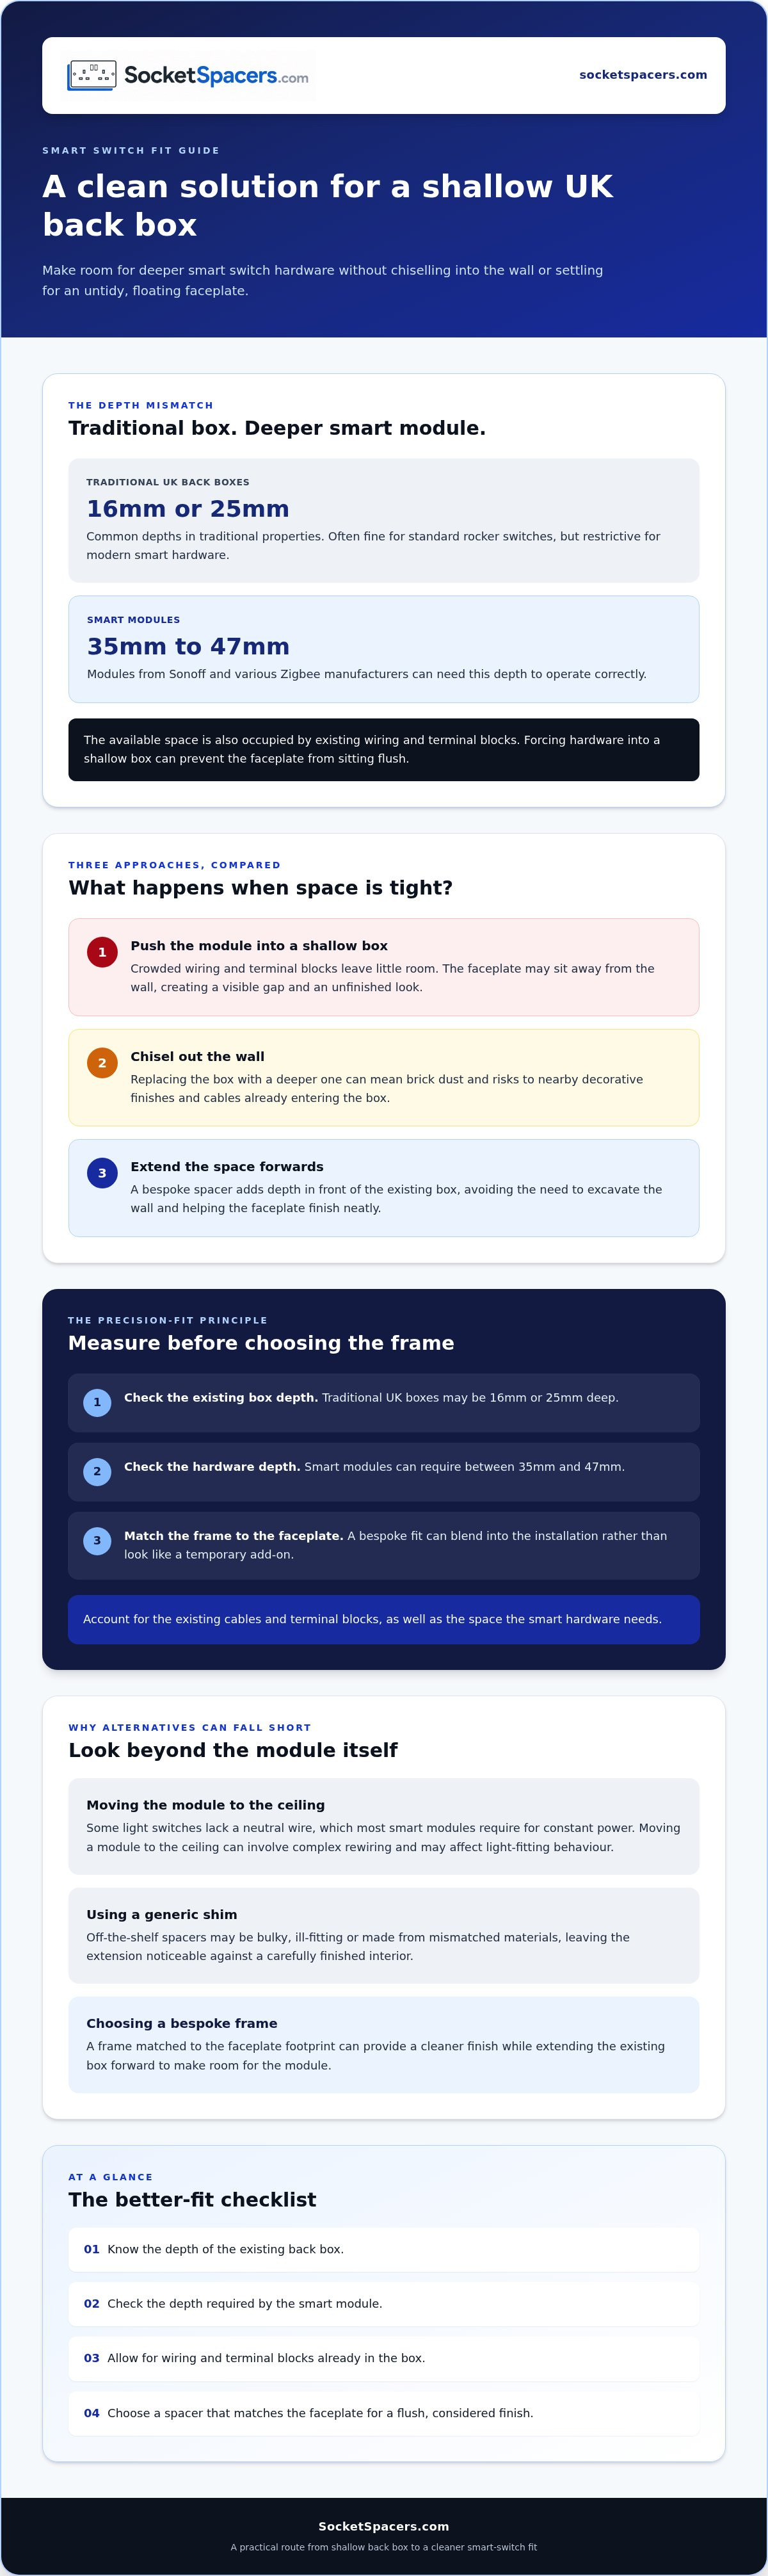
To find the required thickness of your extension frame, follow this logical three-step process:
- Step 1: Measure the total depth of your smart switch or module from the back of the faceplate to the furthest rear point.
- Step 2: Measure the internal depth of your existing back box. Be sure to measure from the wall surface to the back of the box, as some boxes are slightly recessed.
- Step 3: Subtract the box depth from the module depth. Once you have this figure, add a 5mm safety margin for cable management and terminal clearance.
This 5mm allowance is essential. It prevents cable crush, which can lead to loose connections or even electrical fires. If your module is 35mm deep and your box is 25mm, your base deficit is 10mm. Adding the 5mm safety margin means you should order a 15mm spacer. Using the Build My Spacer tool allows you to input these specific figures for a bespoke result.
Accounting for Faceplate Overlap
Depth is only one part of the equation. For the spacer to disappear, its external dimensions must match your light switch perfectly. Measure the height and width of your faceplate to the nearest millimetre. Most standard UK single switches are 86mm x 86mm, but premium decorative plates often vary. You should also consider the length of your fixing screws. When you add a 15mm spacer, your existing screws will likely be too short. You will need M3.5 electrical screws that are long enough to pass through the switch and spacer to reach the threaded lugs in the back box. For more complex scenarios, such as dual-box setups or unusually thick plates, consult our custom depth light switch spacer guide.
Configure your precision-fit frame with the Build My Spacer tool
Custom Spacer Applications for Advanced Smart Home Systems
Multi-gang installations are often where the most ambitious smart home projects encounter a standstill. Whilst a single switch might barely fit with some creative cable tucking, a two-gang or three-gang plate housing multiple Zigbee or Wi-Fi modules creates a volume of wiring that a standard 25mm box cannot accommodate. This is the ultimate test for any smart switch shallow back box solution. In these scenarios, using multiple individual shims often leads to alignment issues, where the faceplate ends up slightly skewed or uneven against the wall surface. A single, bespoke frame is required to maintain the structural and visual integrity of the installation.
Solving Multi-Gang Alignment Issues
Custom frames are specifically engineered to keep multiple modules aligned whilst providing the necessary cubic capacity for wiring. This is particularly useful in kitchen islands, where electrical boxes are often mounted within shallow cabinetry carcasses. In such cases, there is no physical room to install a deeper back box without protruding into the storage space. A bespoke extension frame allows you to mount the smart hardware externally whilst maintaining a perfectly level finish that matches the surrounding joinery. This approach ensures that the switch remains a flush, intentional part of the furniture design.
The utility of plug socket extension frames also extends to panelled walls. When decorative timber moulding is added to a room, the original electrical boxes become sunken. A bespoke spacer doesn't just provide depth for smart tech; it brings the entire assembly forward so it sits flush with the new decorative surface. This is vital in high-traffic areas where switches are used frequently. A securely mounted switch prevents the "flex" that often occurs with generic spacers, ensuring the faceplate doesn't loosen or crack the surrounding finish over time.
Finishing Your Smart Home Project
Achieving a professional smart home installation shouldn't require compromising your interior design or structural integrity. A bespoke smart switch shallow back box solution offers a level of precision that DIY workarounds or generic plastic rings cannot match. By prioritising accurate measurements and high-quality manufacturing, you ensure that your smart technology is safe, properly ventilated, and visually integrated into your home. Precision manufacturing removes the guesswork and the mess, allowing you to focus on the functionality of your smart system rather than the frustrations of the physical fit.
Whether you are upgrading a single dimmer or managing a complex multi-gang system, the right tools make the difference between a "DIY fix" and a professional architectural finish. To specify the exact requirements for your installation and ensure a perfect fit, use the Build My Spacer configurator. You can also explore our full range of tailored electrical solutions at SocketSpacers.com to find the right frame for your project.
Achieving a Seamless Smart Home Integration
Integrating modern technology into a traditional UK property shouldn't require structural damage or unsightly DIY workarounds. By prioritising precise measurements and opting for a bespoke extension frame, you can house deep smart modules safely whilst maintaining a high-end aesthetic. We have covered why standard 25mm boxes clash with modern Zigbee modules and how to calculate the exact depth needed for your specific hardware. This professional smart switch shallow back box solution ensures your installation remains compliant with safety standards and visually seamless.
Our precision UK manufacturing provides a custom-fit to any faceplate brand, creating a result that is trusted by professional electricians for its accuracy and durability. These steps are essential for preventing cable crush and ensuring your smart home remains safe for years to come. You can now upgrade your lighting system with confidence, knowing that your decorative finishes will remain entirely intact.
Design your custom solution with the Build My Spacer tool
Start your project today and achieve the flush, architectural finish your smart home deserves.
Frequently Asked Questions
Can I fit a smart switch into an 18mm back box?
Yes, you can install a smart switch into an 18mm back box by using a bespoke extension frame to provide the missing depth. Since an 18mm box is significantly shallower than the 35mm minimum required by most Zigbee or Wi-Fi modules, you will typically need a 15mm to 20mm spacer. This approach allows you to house the hardware safely without the need for destructive wall excavation or chiselling.
Will a spacer make my smart switch look bulky?
A bespoke spacer will not look bulky because it is manufactured to match the exact footprint of your light switch faceplate. Unlike generic, one-size-fits-all shims that often overhang the edges, a custom-fit frame aligns perfectly with the perimeter of your switch. When colour-matched to the wall or the faceplate, the spacer appears as an intentional architectural detail rather than a corrective patch that ruins the room's aesthetic.
Do I need longer screws when using a light switch spacer?
Yes, you will need longer M3.5 electrical screws to ensure the switch is securely fastened through the spacer into the back box lugs. If you add a 15mm spacer, you should increase your screw length by at least that amount. Standard screws provided with switches are usually 25mm long; therefore, you would likely require 40mm or 50mm screws to complete a safe and stable installation that doesn't feel loose.
Are electrical spacers safe for heat-generating smart modules?
Electrical spacers are safe and often improve safety by providing the extra cubic capacity required for heat dissipation. Smart modules can generate heat during operation; cramming them into a tight space without airflow can lead to thermal throttling or failure. By using a smart switch shallow back box solution, you create a ventilated chamber that allows the hardware to operate within its specified temperature limits according to BS 7671 standards.
How do I measure the depth needed for a Shelly or Sonoff module?
To find the required depth, subtract the internal depth of your back box from the total depth of the smart module and then add a 5mm safety margin. For example, if a Sonoff module is 35mm deep and your box is 25mm, the deficit is 10mm. Adding the 5mm allowance for wiring management results in a total required spacer thickness of 15mm. This ensures cables aren't crushed during the final fitting.
What is the difference between a generic pattress box and a bespoke spacer?
A generic pattress box is a standalone, surface-mounted enclosure, whilst a bespoke spacer is a precision-engineered frame designed to extend an existing flush-mounted box. Spacers are tailored to match the specific dimensions and aesthetic of your decorative faceplate. This makes them a more professional smart switch shallow back box solution for interior design projects where a standard, bulky surface box would look out of place against high-end decor.
Can I use spacers for multi-gang smart switch setups?
Yes, spacers are an ideal solution for multi-gang setups where internal wiring space is even more restricted. You can specify bespoke large extension frames that cover two, three, or four-gang switches in a single, unified unit. This ensures that all modules remain perfectly aligned and provides a clean, professional finish that individual shims cannot achieve, especially in high-traffic areas like kitchens where multiple smart modules are often grouped together.
Do spacers work on uneven or tiled walls?
Spacers work effectively on uneven or tiled walls by providing a rigid, flat foundation for the switch faceplate to sit against. If you have tiled halfway up a wall or have an uneven plaster finish, a custom spacer can bridge the gap and ensure the switch is mounted securely. This prevents the faceplate from flexing or cracking the surrounding tiles when the fixing screws are tightened, providing a stable and professional-looking installation.
Electrical Safety
Always isolate the circuit and confirm it is dead before removing a socket or switch faceplate. Only carry out the work if you are competent to do so. If you find damaged wiring, signs of overheating or anything unsafe, stop and contact a qualified electrician.