
Whether you're a seasoned electrician or a confident DIYer, you've probably encountered the frustrating situation where a wall socket or light switch sits proud of the wall, or where a back box is simply too shallow to accommodate a modern faceplate. That's where socket spacers - also known as dry lining boxes, pattress spacers, or surface mount adaptors - come in.
What Is a Socket Spacer?
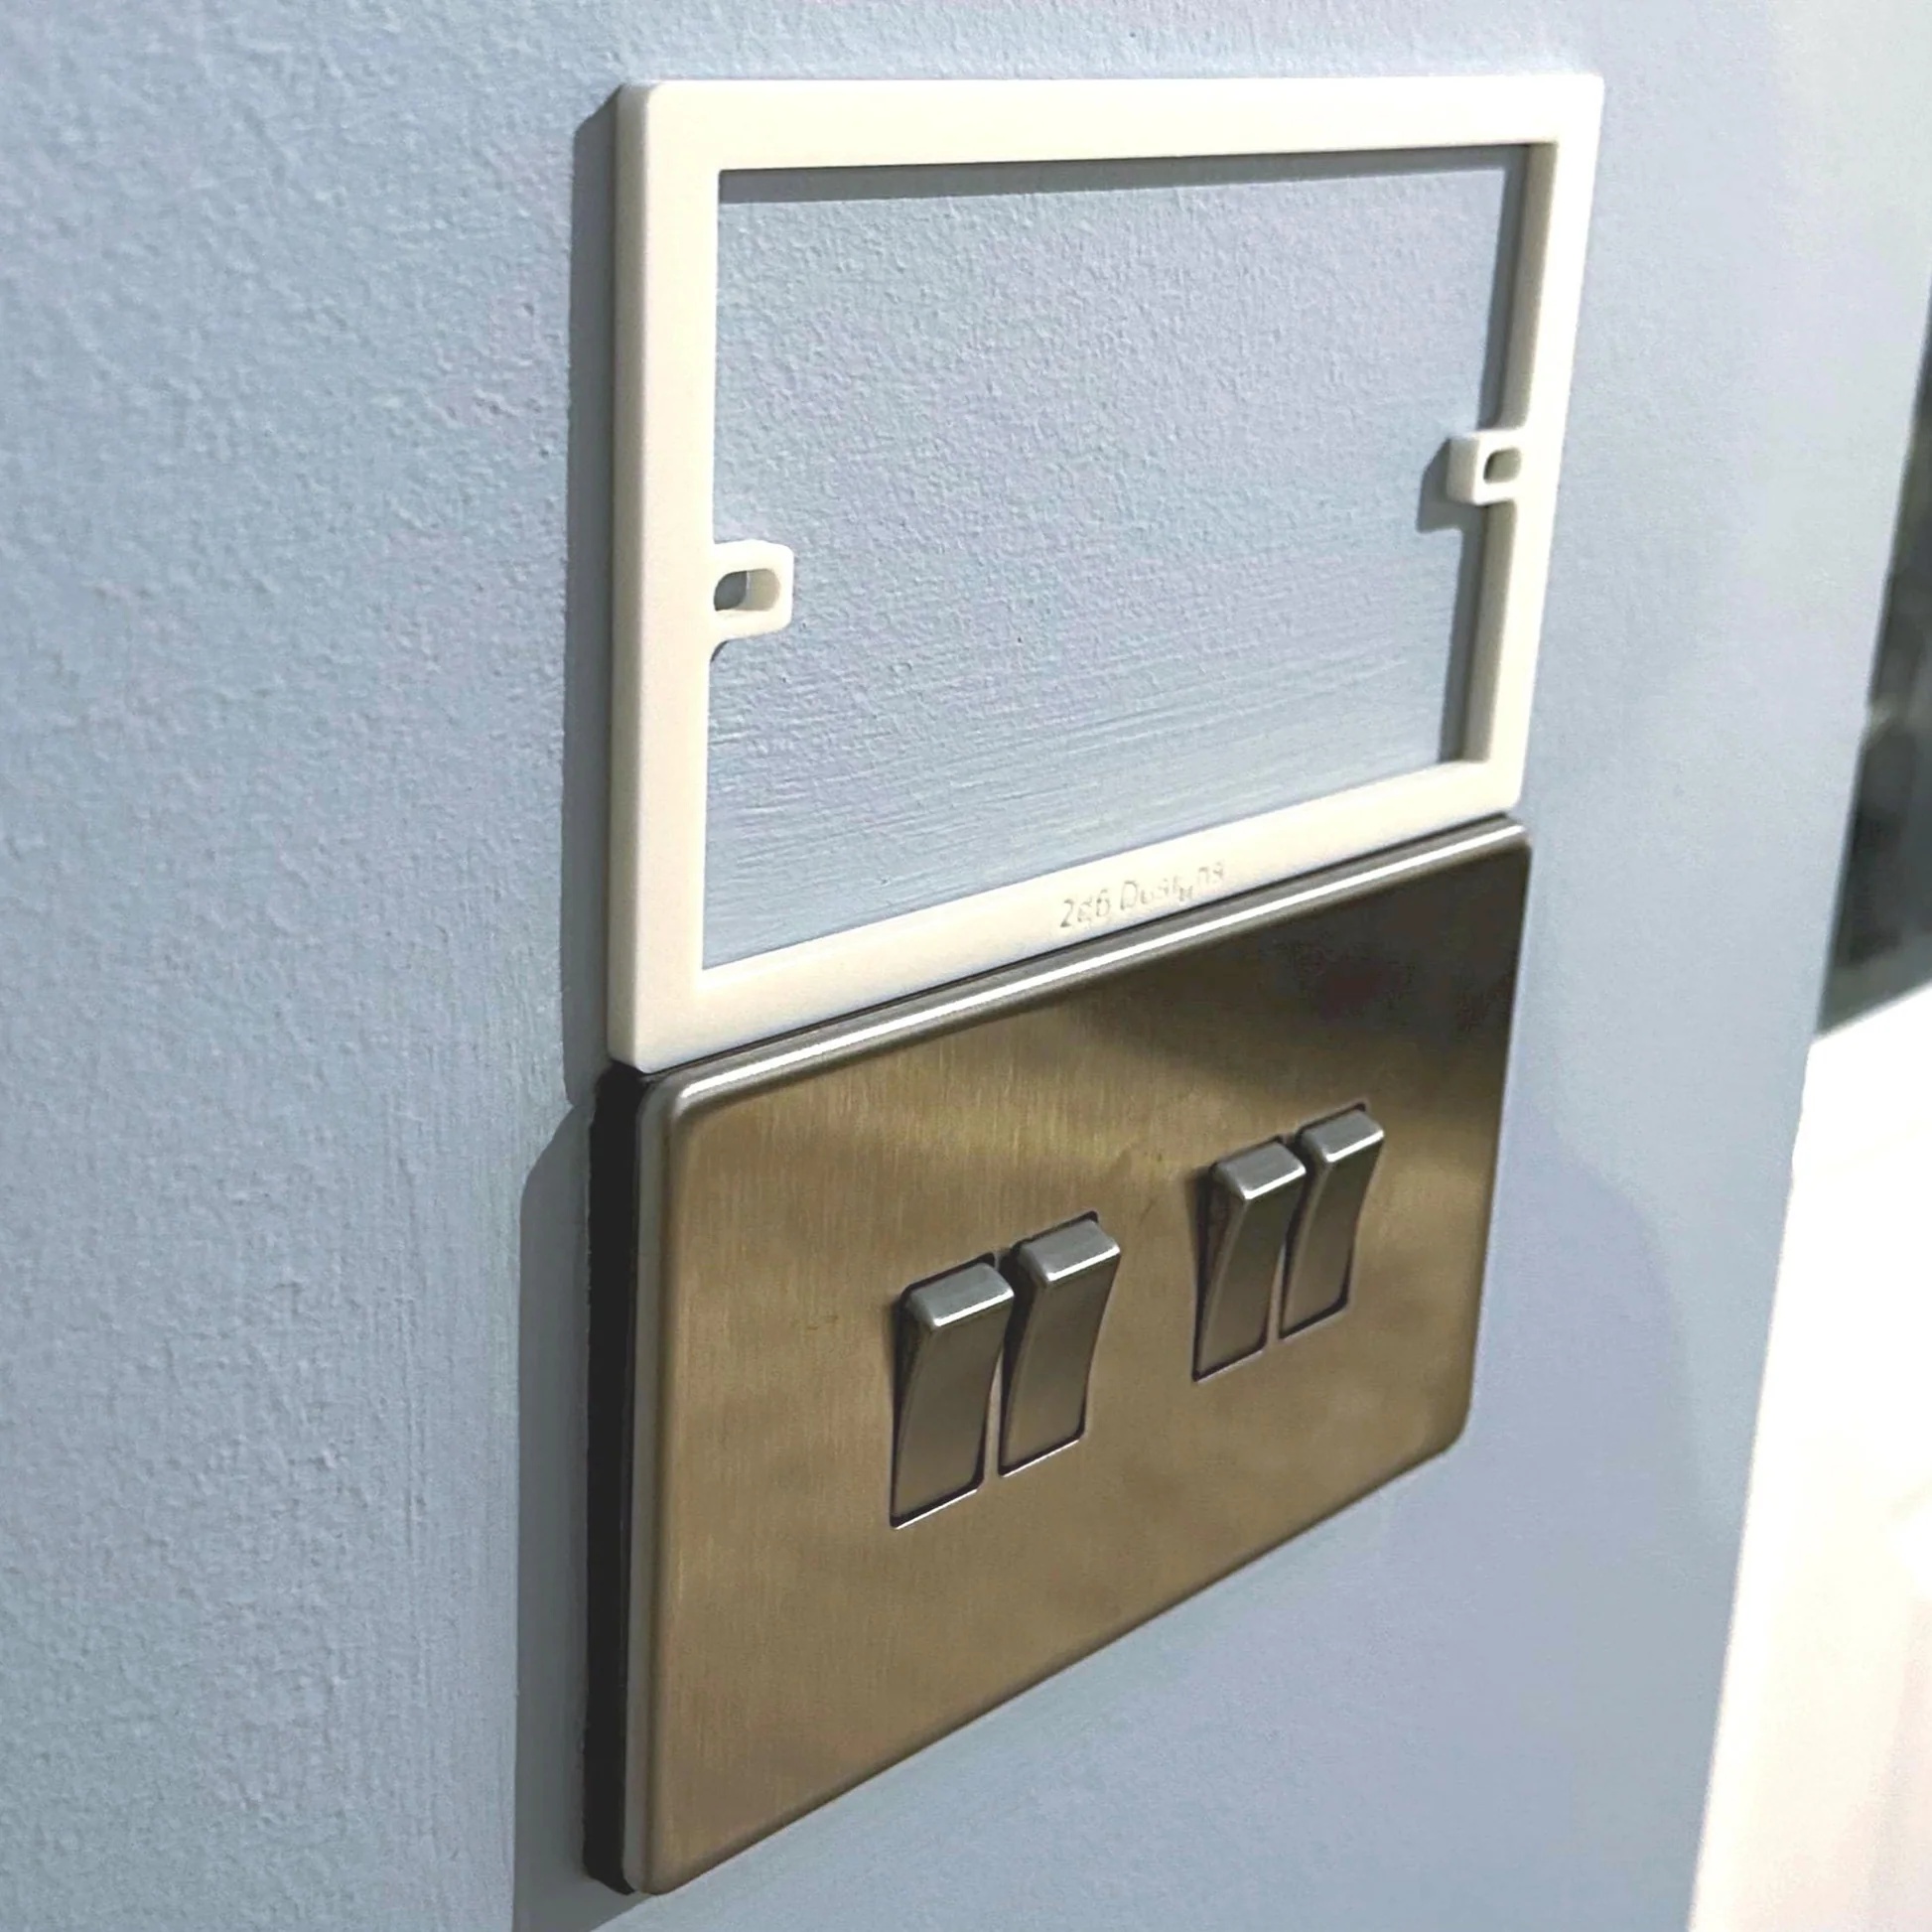
A socket spacer is a thin frame that sits between your electrical back box and the faceplate of a socket or light switch. Its primary job is to add depth to the installation, bringing a sunken faceplate flush with the wall surface, or providing more wiring space behind a faceplate.
When Do You Need One?
You're likely to need a socket spacer if:
- Your faceplate doesn't sit flush against the wall, leaving a visible gap
- The back box is too shallow for a modern dimmer switch or USB socket
- You've re-plastered or tiled and the wall surface is now proud of the box
- You're installing a conversion kit that requires a specific depth
The Benefits of Custom Spacers
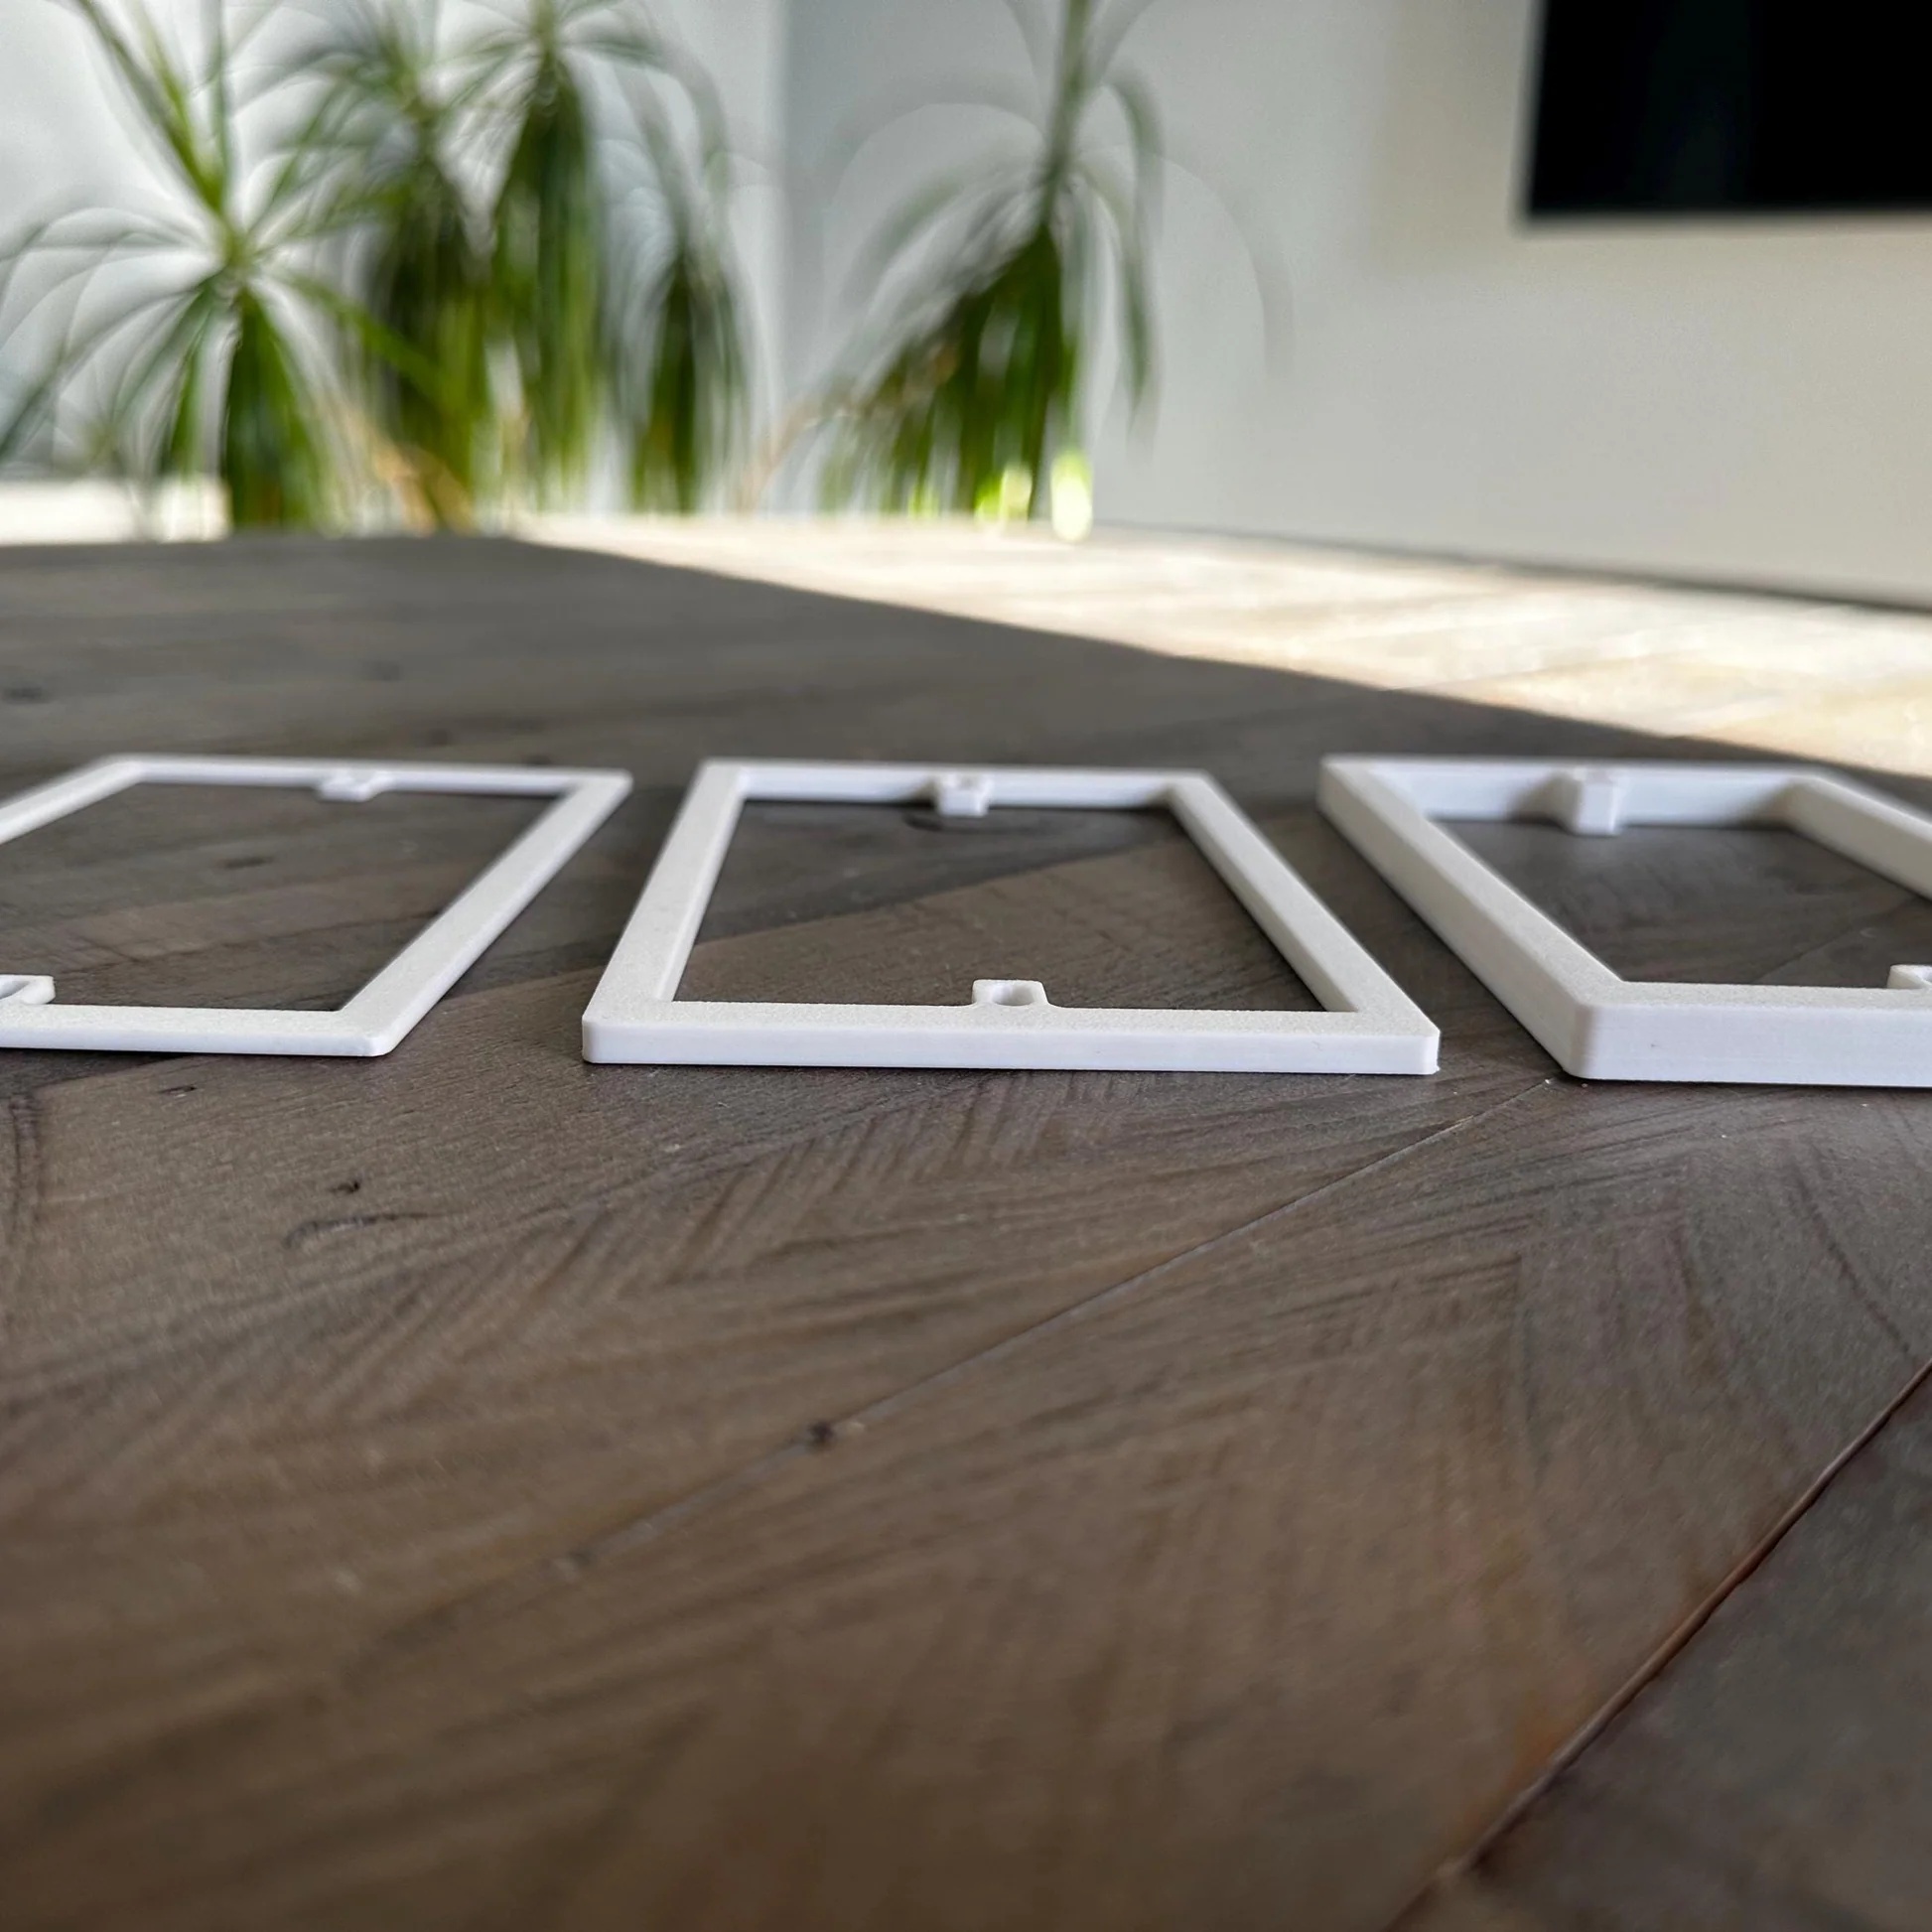
Off-the-shelf spacers come in fixed depths - typically 10mm. But every installation is different. A custom spacer made to your exact specification means:
- Perfect flush fit - No more unsightly gaps or bulging faceplates.
- Total customisation - Specify the exact width, height, depth and corner radius required to match your faceplate.
- A professional finish - One less thing for a building inspector or eagle-eyed customer to notice
At SocketSpacers.com, every spacer is made to order. Specify your exact width, height, depth, corner radius, and whether you need fixing lugs - and we'll manufacture it to your precise requirements.
Installation Tips
Installing a socket spacer is straightforward, but a few tips make the job easier:
- Always isolate the circuit before working near any electrical installation
- Check the depth required with a straightedge against the wall surface
- Use the correct length fixing screws to pass through the spacer and engage the back box threads
- If using fixing lugs, ensure they align with the back box fixing points
- Sometimes it's possible to install the spacer without disconnecting any wires, but otherwise, take a photo and make sure you put them back in the right places
Ready to Order?
Use our Build My Spacer tool to configure your perfect spacer and get a quote. The whole process takes about two minutes, and we'll direct you to our secure checkout to complete your order.