
A plug socket or light switch that sits too far back in the wall can make a room look unfinished, especially after new tiles, plaster, cladding or wall panels have been fitted. It can also make the faceplate harder to secure properly, because the screws may pull the plate back into the wall instead of letting it sit neatly on the finished surface.
The good news is that many recessed sockets and sunken light switches can be fixed without replacing the back box. In most cases, the simplest solution is to fit a socket spacer behind the faceplate.
At SocketSpacers.com, we make custom socket and switch spacers for UK fittings, so you can bring your faceplate forward by the exact depth you need. You can configure one using the Build My Spacer tool.
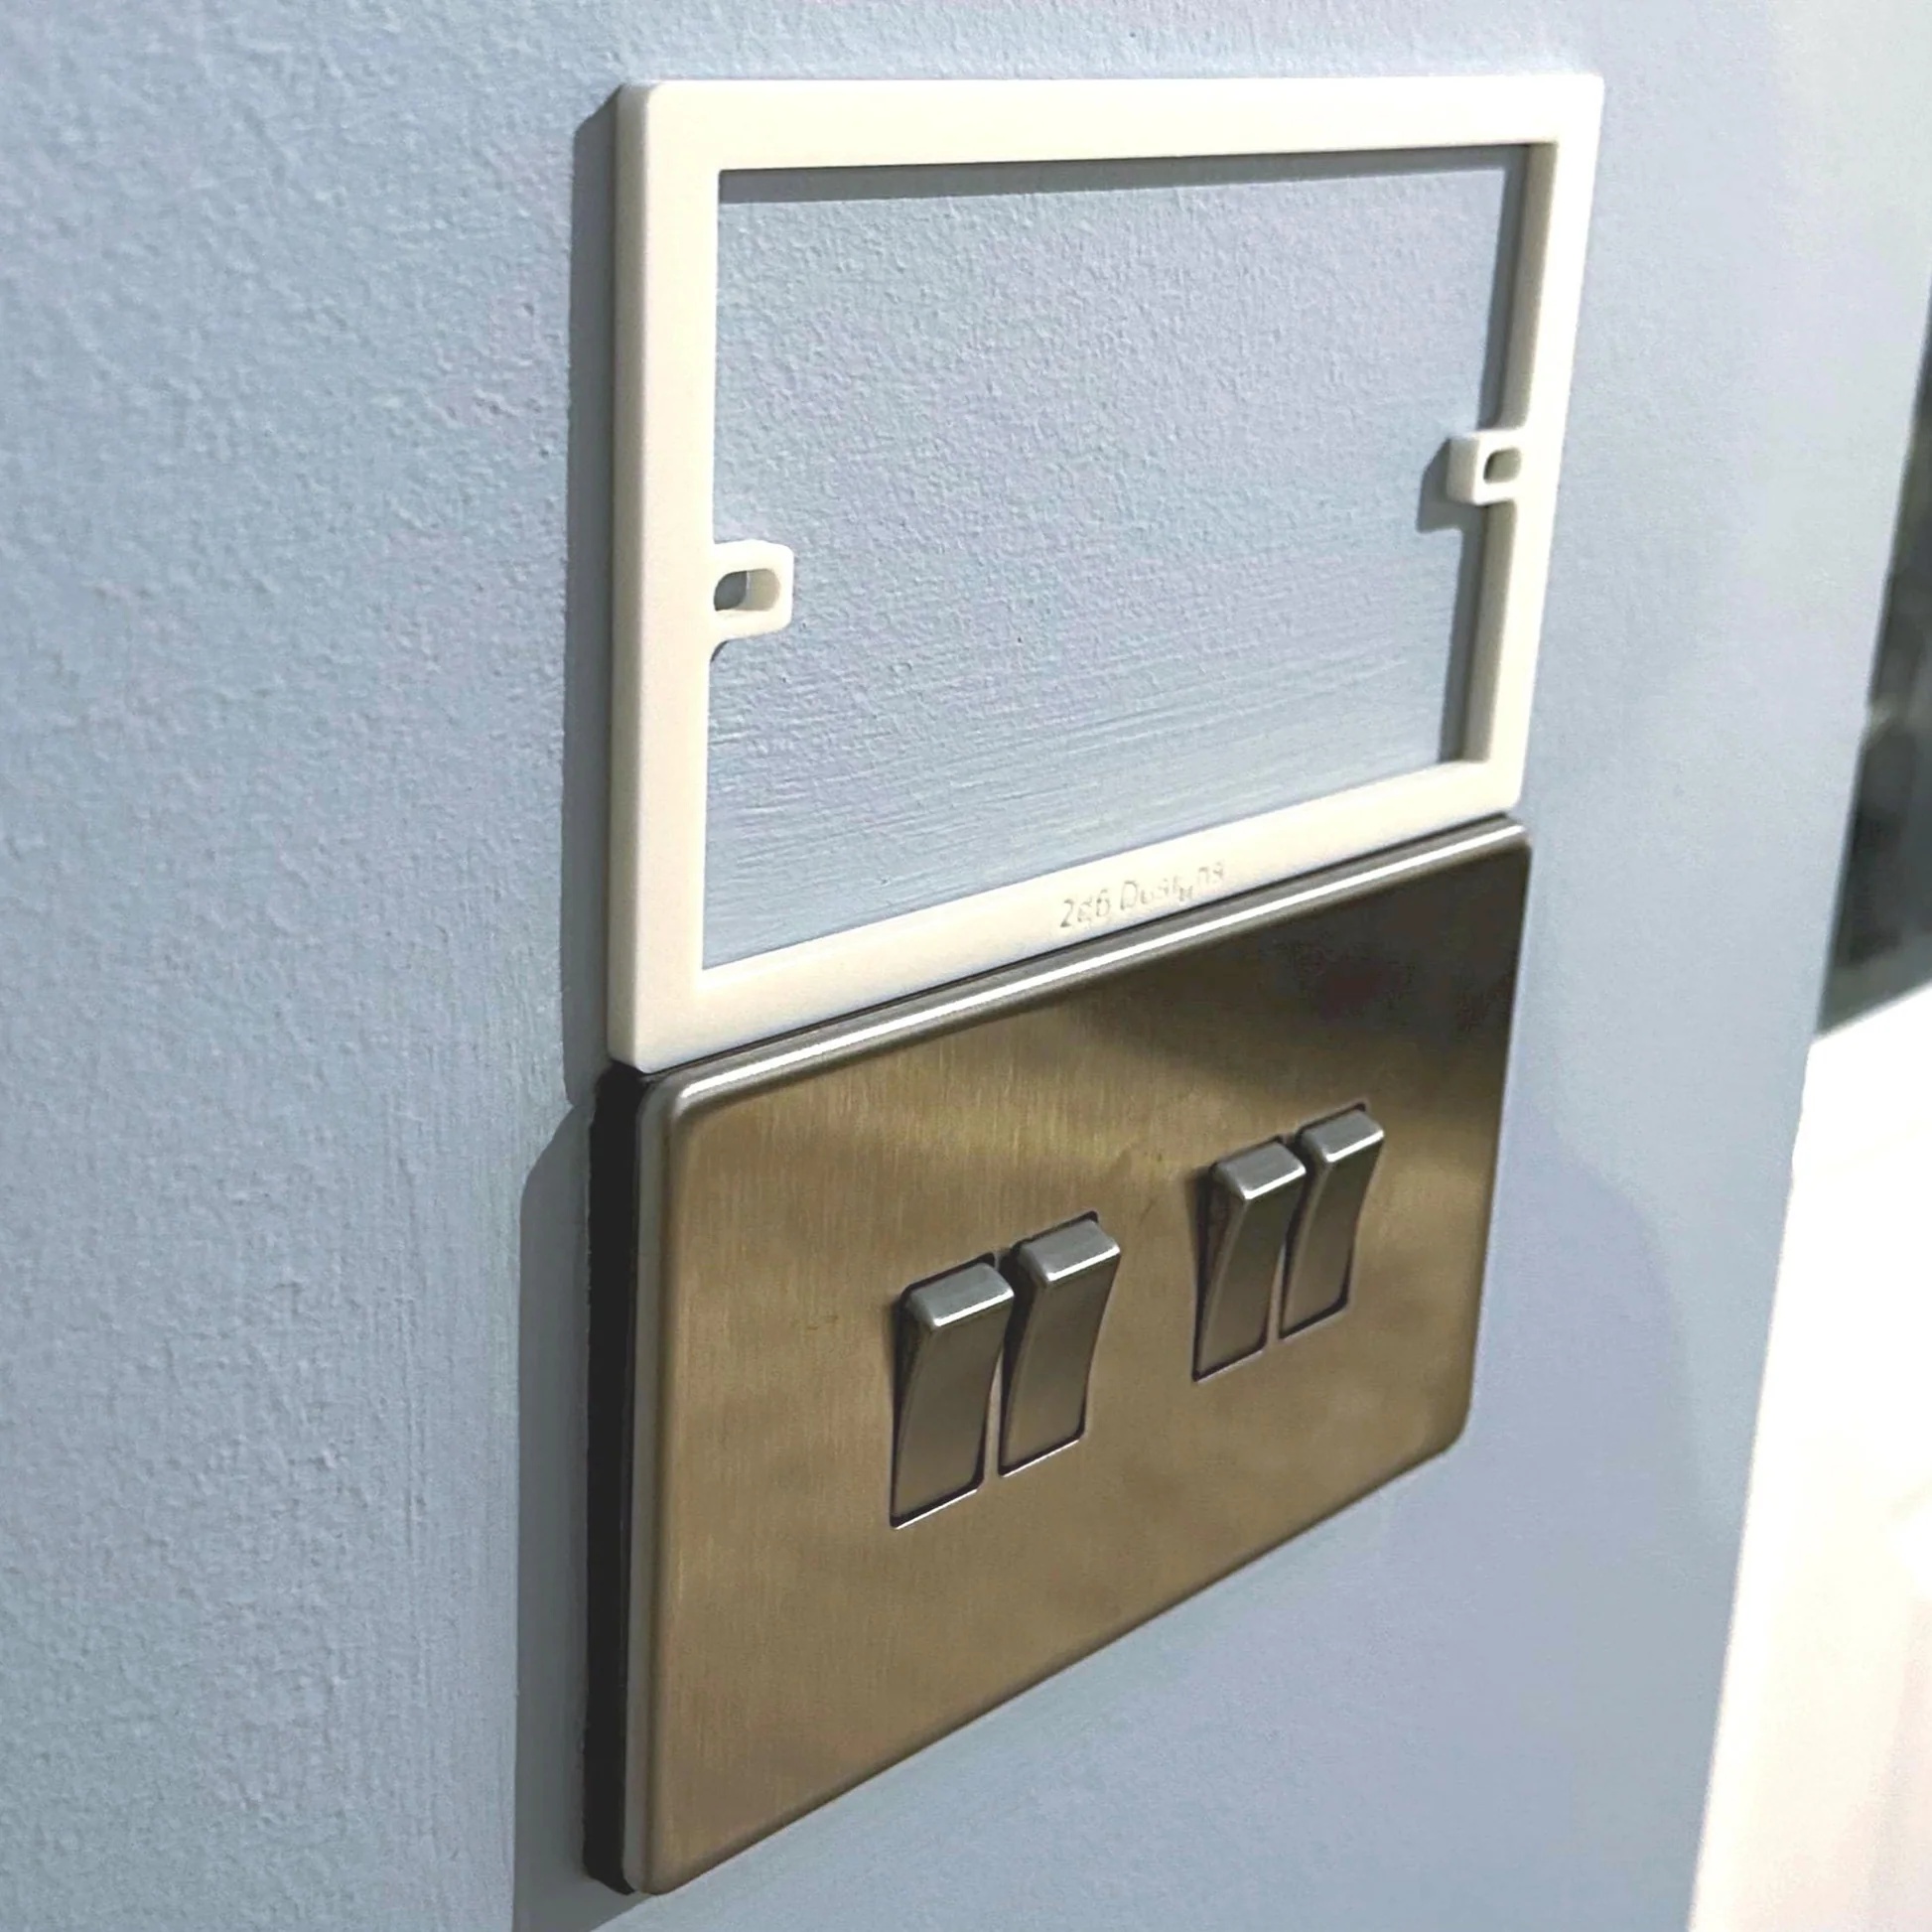
What Is a Recessed Socket?
A recessed socket is a socket where the front faceplate sits behind the finished wall surface instead of sitting flush against it.
You may notice:
- A visible gap around the faceplate
- The socket or switch looks sunken into the wall
- The faceplate bends when the screws are tightened
- The screws do not seem long enough
- The socket sits behind tiles, plaster or wall panelling
- One side of the faceplate sits deeper than the other
- The finish looks untidy compared with the surrounding wall
This can happen with plug sockets, light switches, fused spurs, dimmer switches, cooker switches, data plates and other UK electrical accessories.
Why Do Sockets and Switches Become Sunken?
A socket usually becomes recessed because the finished wall surface has moved forward, while the back box has stayed in the same place.
Common causes include:
Tiling Over an Existing Wall
Tiles and adhesive add thickness to the wall. If the back box was fitted flush with the old wall surface, the new tiled surface may now sit several millimetres in front of it.
This is very common in kitchens, utility rooms, bathrooms, splashbacks and tiled feature walls.
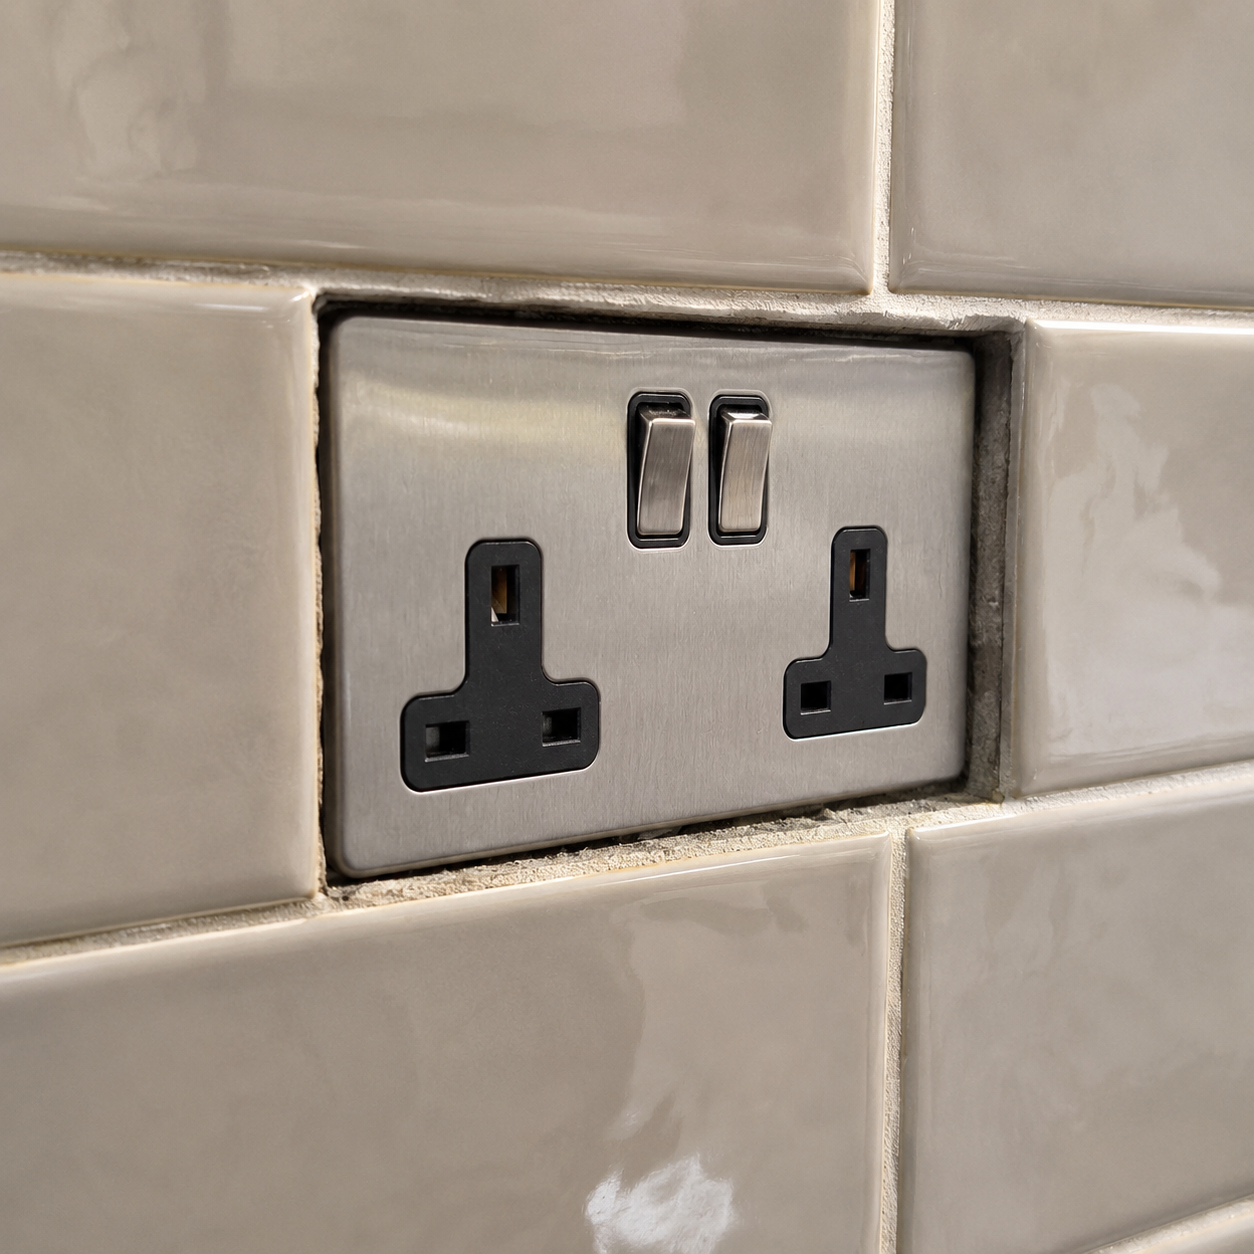
Fresh Plaster or Skim Coating
A plaster skim can be enough to make a switch or socket sit slightly too far back. Even a small difference of 2mm to 5mm can make the faceplate look uneven or recessed.
Wall Panelling or Cladding
MDF panelling, PVC panels, decorative cladding and acoustic wall panels all add depth. If the electrical accessory is not brought forward to match, it can end up sitting behind the new surface.
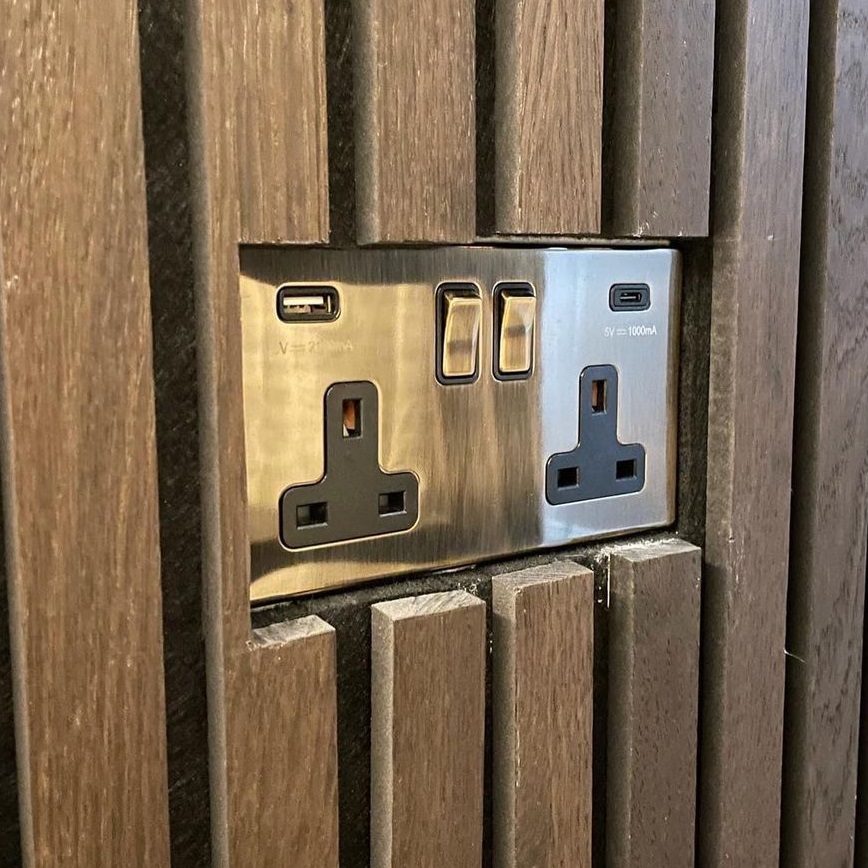
Back Boxes Fitted Too Deep
Sometimes the back box was simply fitted too far into the wall. This is especially common in older properties, uneven walls or DIY installations where the box was not set to the finished surface level.
Uneven Walls
Older UK homes often have walls that are not perfectly flat. A spacer can help create a neater, more even finish where the faceplate does not naturally sit flush.
Is a Recessed Plug Socket Dangerous?
A slightly recessed socket is not automatically dangerous, but it should not be ignored.
The main concerns are:
- The faceplate may not be held securely
- The screws may not engage properly with the back box
- The faceplate may bend, crack or sit under stress
- The wiring may be cramped behind the plate
- Gaps around the faceplate can look unfinished
- The installation may be mechanically weak
If you see exposed copper, damaged insulation, burn marks, heat damage, buzzing, cracking, loose wiring or anything that looks unsafe, stop and contact a qualified electrician.
If the issue is simply that the wall surface now sits further forward than the back box, a socket spacer may be the right solution.
What Is a Socket Spacer?
A socket spacer is a frame that sits between the wall and the faceplate of a socket or switch.
It brings the faceplate forward by a set amount, helping it sit flush with the finished wall surface.
The basic order is:
- Wall or finished surface
- Socket spacer
- Socket or switch faceplate
The fixing screws pass through the faceplate and spacer, then into the back box behind. This means you can correct the depth without cutting out the old back box or damaging the surrounding wall.
How to Measure for a Socket Spacer
The spacer needs to match the amount your faceplate needs to move forward.
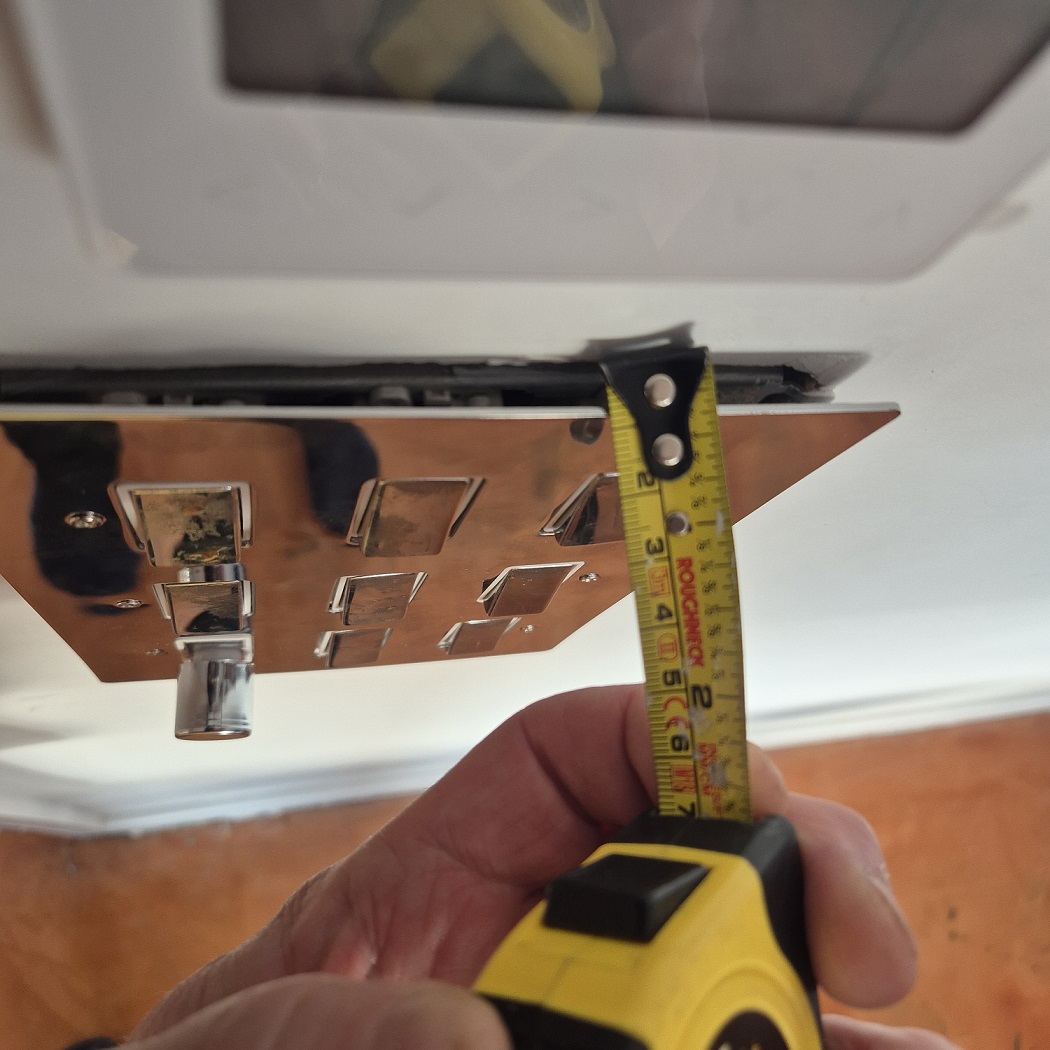
Use a straight edge across the finished wall surface and measure the gap back to the faceplate or back box position. If the socket is recessed because of tiles, measure how much the tile surface sits proud of the back box.
As a rough guide:
- Light skim or paint build-up: 2mm to 3mm
- Fresh plaster: 3mm to 5mm
- Thin tiles or splashback: 5mm to 8mm
- Standard wall tiles: 6mm to 10mm
- Thick tiles or panels: 10mm to 15mm
- Deeper wall build-up: 15mm to 20mm
Most recessed sockets only need a relatively small spacer, but measuring first gives a much better finish than guessing.
Single Gang or Double Gang?
UK sockets and switches are usually described as single gang or double gang.
A single gang spacer is commonly used for:
- Single plug sockets
- Light switches
- Fused spurs
- Dimmer switches
- Data plates
- TV or aerial plates
A double gang spacer is commonly used for:
- Double plug sockets
- Wider light switches
- Cooker switches
- Larger appliance switches
- Larger decorative faceplates
If you are ordering a spacer, make sure the size matches the faceplate you want to bring forward.
Why Choose a Custom Socket Spacer?
Off-the-shelf spacers can be useful, but they usually come in limited sizes and fixed depths. That does not always work well when the gap is caused by tiles, plaster or older uneven walls.
A custom spacer lets you choose the exact:
- Width
- Height
- Depth
- Corner radius
- Colour
- Fixing lug option

That means the spacer can be made to suit your specific faceplate and wall, rather than forcing your installation to fit a standard part.
You can create a custom spacer in a couple of minutes using the Build My Spacer page.
Do You Need Longer Screws?
Sometimes, yes.
When you add a spacer, the original screws may no longer be long enough to reach the back box properly. UK socket and switch screws are commonly M3.5 electrical screws.
As a rough rule:
- Thin spacers may work with the existing screws
- Medium spacers may need slightly longer screws
- Deeper spacers often need longer screws
The faceplate should tighten securely without being forced, bent or left loose.
How to Fit a Socket Spacer
Only attempt this if you are confident and competent working around electrical fittings. If you are unsure, use a qualified electrician.
1. Turn Off the Power
Switch off the relevant circuit at the consumer unit. Do not rely on the socket switch or light switch being off.
2. Confirm the Circuit Is Off
Use a suitable tester to check the socket or switch is not live before removing the faceplate.
3. Remove the Faceplate Screws
Carefully unscrew the faceplate and ease it forward. Do not pull hard on the wires.
In many simple cases, you may be able to fit the spacer without disconnecting any wiring. If the wires are short, tight or difficult to position safely, stop and call an electrician.
4. Place the Spacer Behind the Faceplate
Position the spacer between the wall and the faceplate. Make sure it lines up with the screw holes and sits flat against the finished surface.
5. Refit the Faceplate
Pass the screws through the faceplate and spacer, then into the back box. Tighten carefully until secure.
Do not overtighten. Overtightening can bend the faceplate, damage the spacer or put stress on the back box.
6. Check the Finish
The faceplate should sit level, secure and flush. There should be no twisting, visible strain or uneven pressure.
7. Turn the Power Back On
Once everything is fitted securely, turn the circuit back on and test the socket or switch.
Can You Use Socket Spacers Behind Tiles?
Yes. This is one of the most common uses for socket spacers.
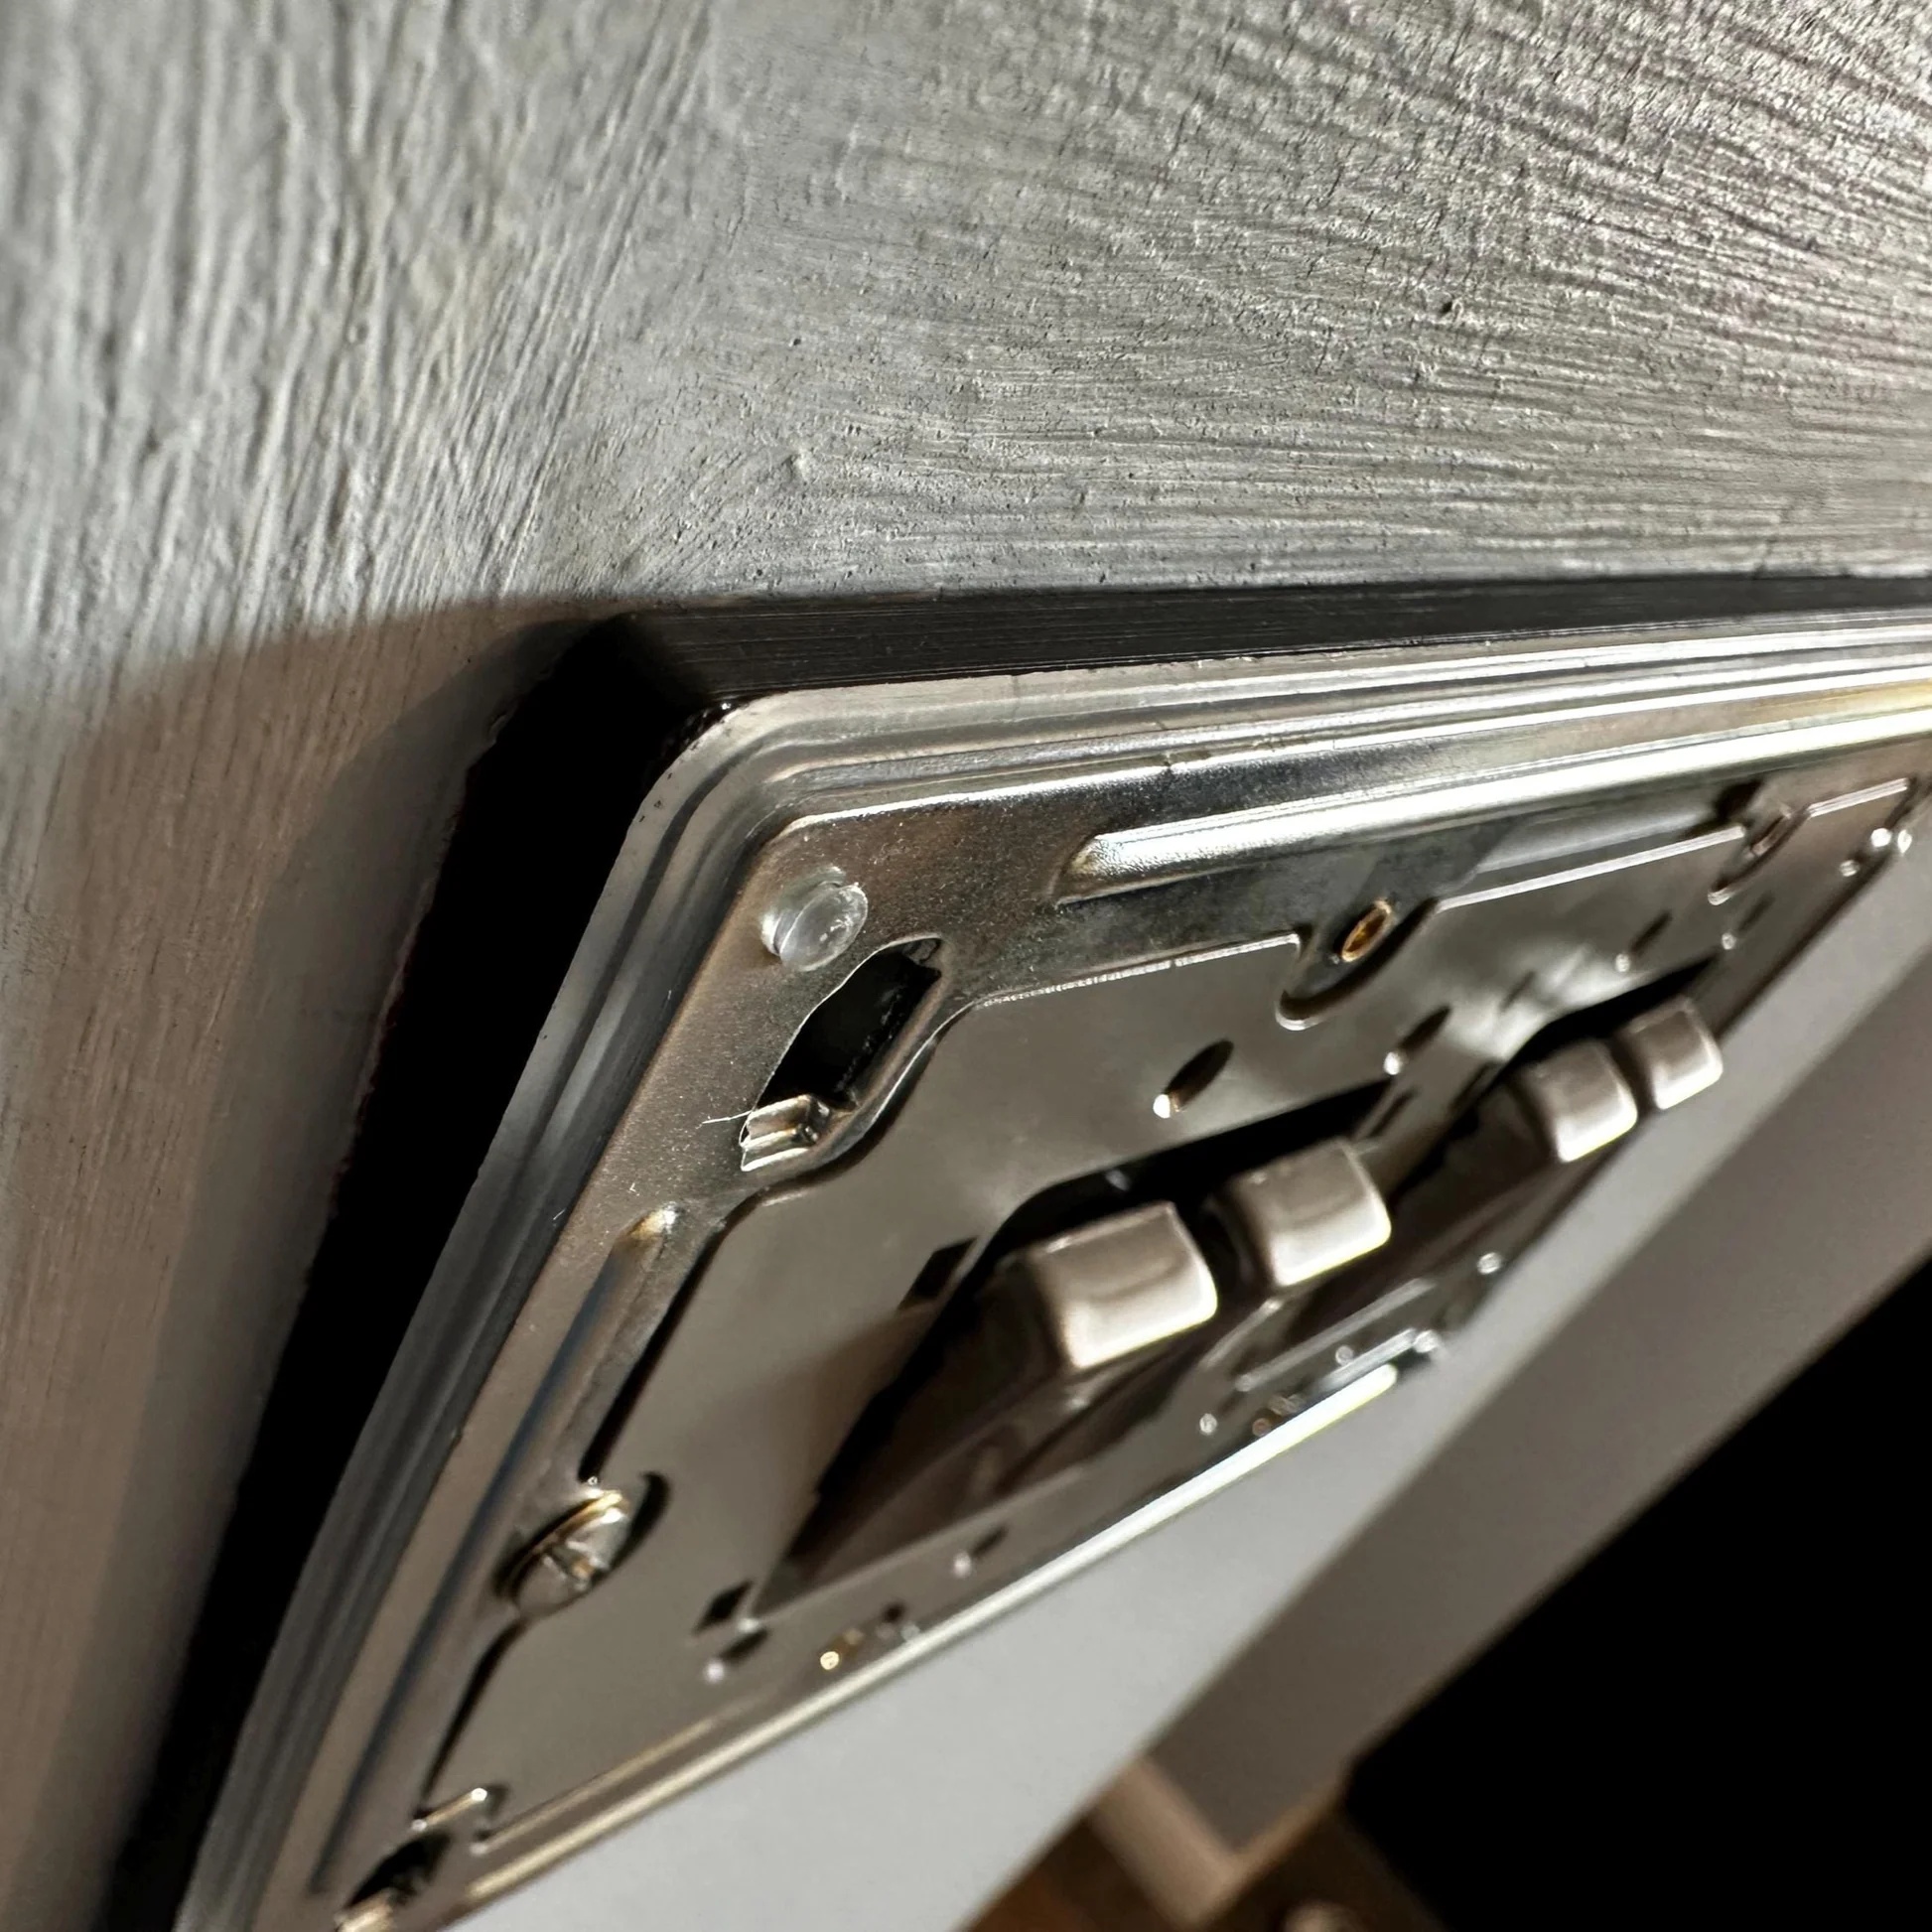
When tiles are fitted around an existing socket, the faceplate can end up sitting behind the tile surface. A spacer fills the difference so the faceplate sits neatly on top of the tiles instead of being pulled back into them.
This gives a much cleaner finish and helps avoid stressing the faceplate.
Can You Use Socket Spacers for Light Switches?
Yes, socket spacers can also be used with many UK light switches, as long as the spacer matches the faceplate and the switch can be fitted safely.
They are useful for light switches that have become recessed after plastering, tiling or panelling. They can also help with dimmer switches and smart switches where the wiring needs a little more room behind the faceplate.
Common Mistakes to Avoid
When fixing a recessed socket or switch, avoid:
- Working without isolating the circuit
- Assuming power is off without testing
- Pulling hard on short wires
- Using screws that are too short
- Overtightening the faceplate
- Choosing a spacer that is too thick
- Ordering the wrong gang size
- Ignoring damage to the back box or wiring
- Using a spacer to hide an unsafe installation
A spacer should make the faceplate sit naturally and securely. It should not be used to force a damaged fitting into place.
Frequently Asked Questions
What is the easiest way to fix a recessed plug socket?
The easiest fix is usually to fit a socket spacer behind the faceplate. This brings the socket forward so it sits flush with the finished wall surface.
Why is my socket sunken after tiling?
Tiles and adhesive add thickness to the wall. If the back box stayed in its original position, the socket may now sit behind the tile surface. A spacer can bring the faceplate forward.
Can I fit a socket spacer myself?
A confident DIYer may be able to fit a spacer if the work is simple, the power is isolated and no wiring needs to be altered. If you are unsure, use a qualified electrician.
Are socket spacers safe?
Socket spacers are non-electrical parts used to position the faceplate correctly. They can be a safe and tidy solution when fitted correctly and when the existing wiring and back box are in good condition.
Do socket spacers work with light switches?
Yes. They can be used with many UK light switches, including standard switches, dimmers and some smart switches, provided the size and depth are suitable.
What thickness spacer do I need?
Measure how far the finished wall surface sits in front of the back box or faceplate position. Choose a spacer depth that brings the faceplate flush with the wall.
Ready to Fix Your Recessed Socket?
A recessed plug socket or sunken light switch can make a newly finished wall look untidy, but it is often simple to correct.
If the back box is secure and the wiring is safe, a socket spacer can bring the faceplate forward, create a neater finish and avoid the mess of replacing the back box.
Use the Build My Spacer tool to choose the width, height, depth, colour and fixing options for your spacer.
For custom socket and switch spacers made for UK fittings, visit SocketSpacers.com.