
Table of Contents
-
Why Increased Wiring Space Behind Sockets is Essential for Safety
-
Bespoke Socket Spacers: The Professional Finish for UK Homes
Why Increased Wiring Space Behind Sockets is Essential for Safety
Modern electrical installations demand more than just a connection; they require adequate space for safety, performance, and future-proofing. Increased wiring space behind a socket refers to the essential volume needed to house cables and the back of the socket module without compression, sharp bends, or heat build-up. In an era of bulky smart switches and USB-integrated sockets, the standard backbox is often no longer sufficient. When you need more room, the solution is not to force the components into an undersized enclosure.
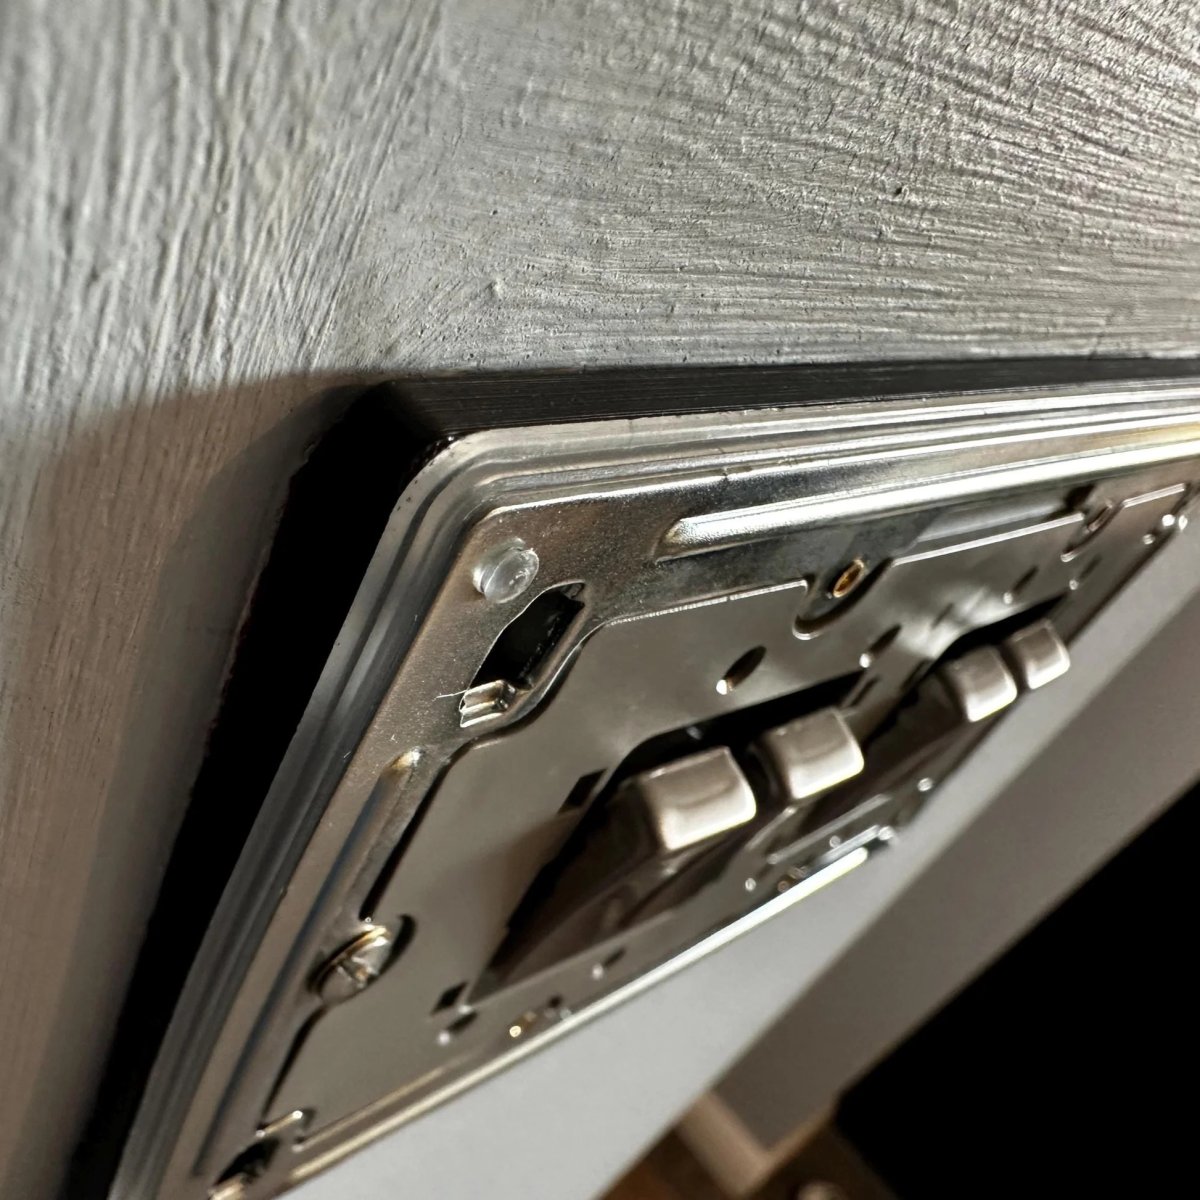
Forcing a faceplate onto an overcrowded backbox is a significant safety hazard. It can damage cable insulation, create loose connections, and restrict airflow, leading to overheating and a potential fire risk. A professionally engineered socket spacer provides a safe, compliant method for creating this vital extra room. It extends the backbox forward from the wall, giving you the necessary depth whilst maintaining the integrity of the electrical enclosure as required by BS 7671 wiring regulations.
If you are struggling to fit a new, deeper accessory, our Build My Spacer configurator allows you to design a solution with the precise depth you need, ensuring a safe and professional finish.
The Hidden Hazards of Overcrowded Backboxes
An overcrowded backbox is more than just an installation inconvenience; it is a latent safety risk. The primary dangers stem from physical stress on the components and the thermal environment within the enclosure.
-
Insulation Damage and Short Circuits: When wires are crammed into a box, the pressure can score or breach the PVC insulation. This exposes the live conductors, creating a severe risk of a short circuit. The arc from a short circuit can ignite surrounding materials, leading to a fire.
-
Overheating in High-Load Circuits: Electrical cables generate heat, especially in high-load circuits like those for ring mains or kitchen appliances. This heat is designed to dissipate into the surrounding air. In a tightly packed box, airflow is non-existent. The trapped heat can degrade the cables and the plastic components of the socket over time, increasing fire risk.
-
Loose Connections: Forcing a faceplate on puts physical tension on the screw terminals holding the wires. This constant strain can cause connections to loosen, leading to high-resistance joints. A poor connection is a common cause of electrical faults and overheating at the terminal, which can melt the socket faceplate.
Identifying a Lack of Wiring Room
Recognising that you need more space behind your socket is the first step towards a safer installation. The signs are often clear during an upgrade or installation project, even if the backbox itself is perfectly flush with the wall.
-
The Faceplate Will Not Sit Flat: The most obvious sign is a faceplate that will not tighten flush against the wall. If you feel you are fighting against a bundle of wires to close a 1mm or 2mm gap, the box is too full.
-
Screws are Under Tension: If the fixing screws tighten but the faceplate remains springy or pops away from the wall when you release pressure, the components behind it are under compression.
-
Upgrading to Modern Fittings: The need for increased wiring space is most common when replacing standard fittings with modern, bulkier alternatives. Smart switches, Wi-Fi extenders, and sockets with integrated USB ports are all significantly deeper than their traditional counterparts and rarely fit comfortably into older, shallower backboxes.
Factors That Affect Available Wiring Volume in UK Backboxes
The amount of usable space behind a socket is determined by the backbox depth and the volume taken up by wires and the accessory itself. In the UK, backboxes come in standard depths, typically 16mm, 25mm, 35mm, and 47mm. Whilst a 25mm box was once adequate for a simple socket on a ring main, it offers very little free space for today's technology.
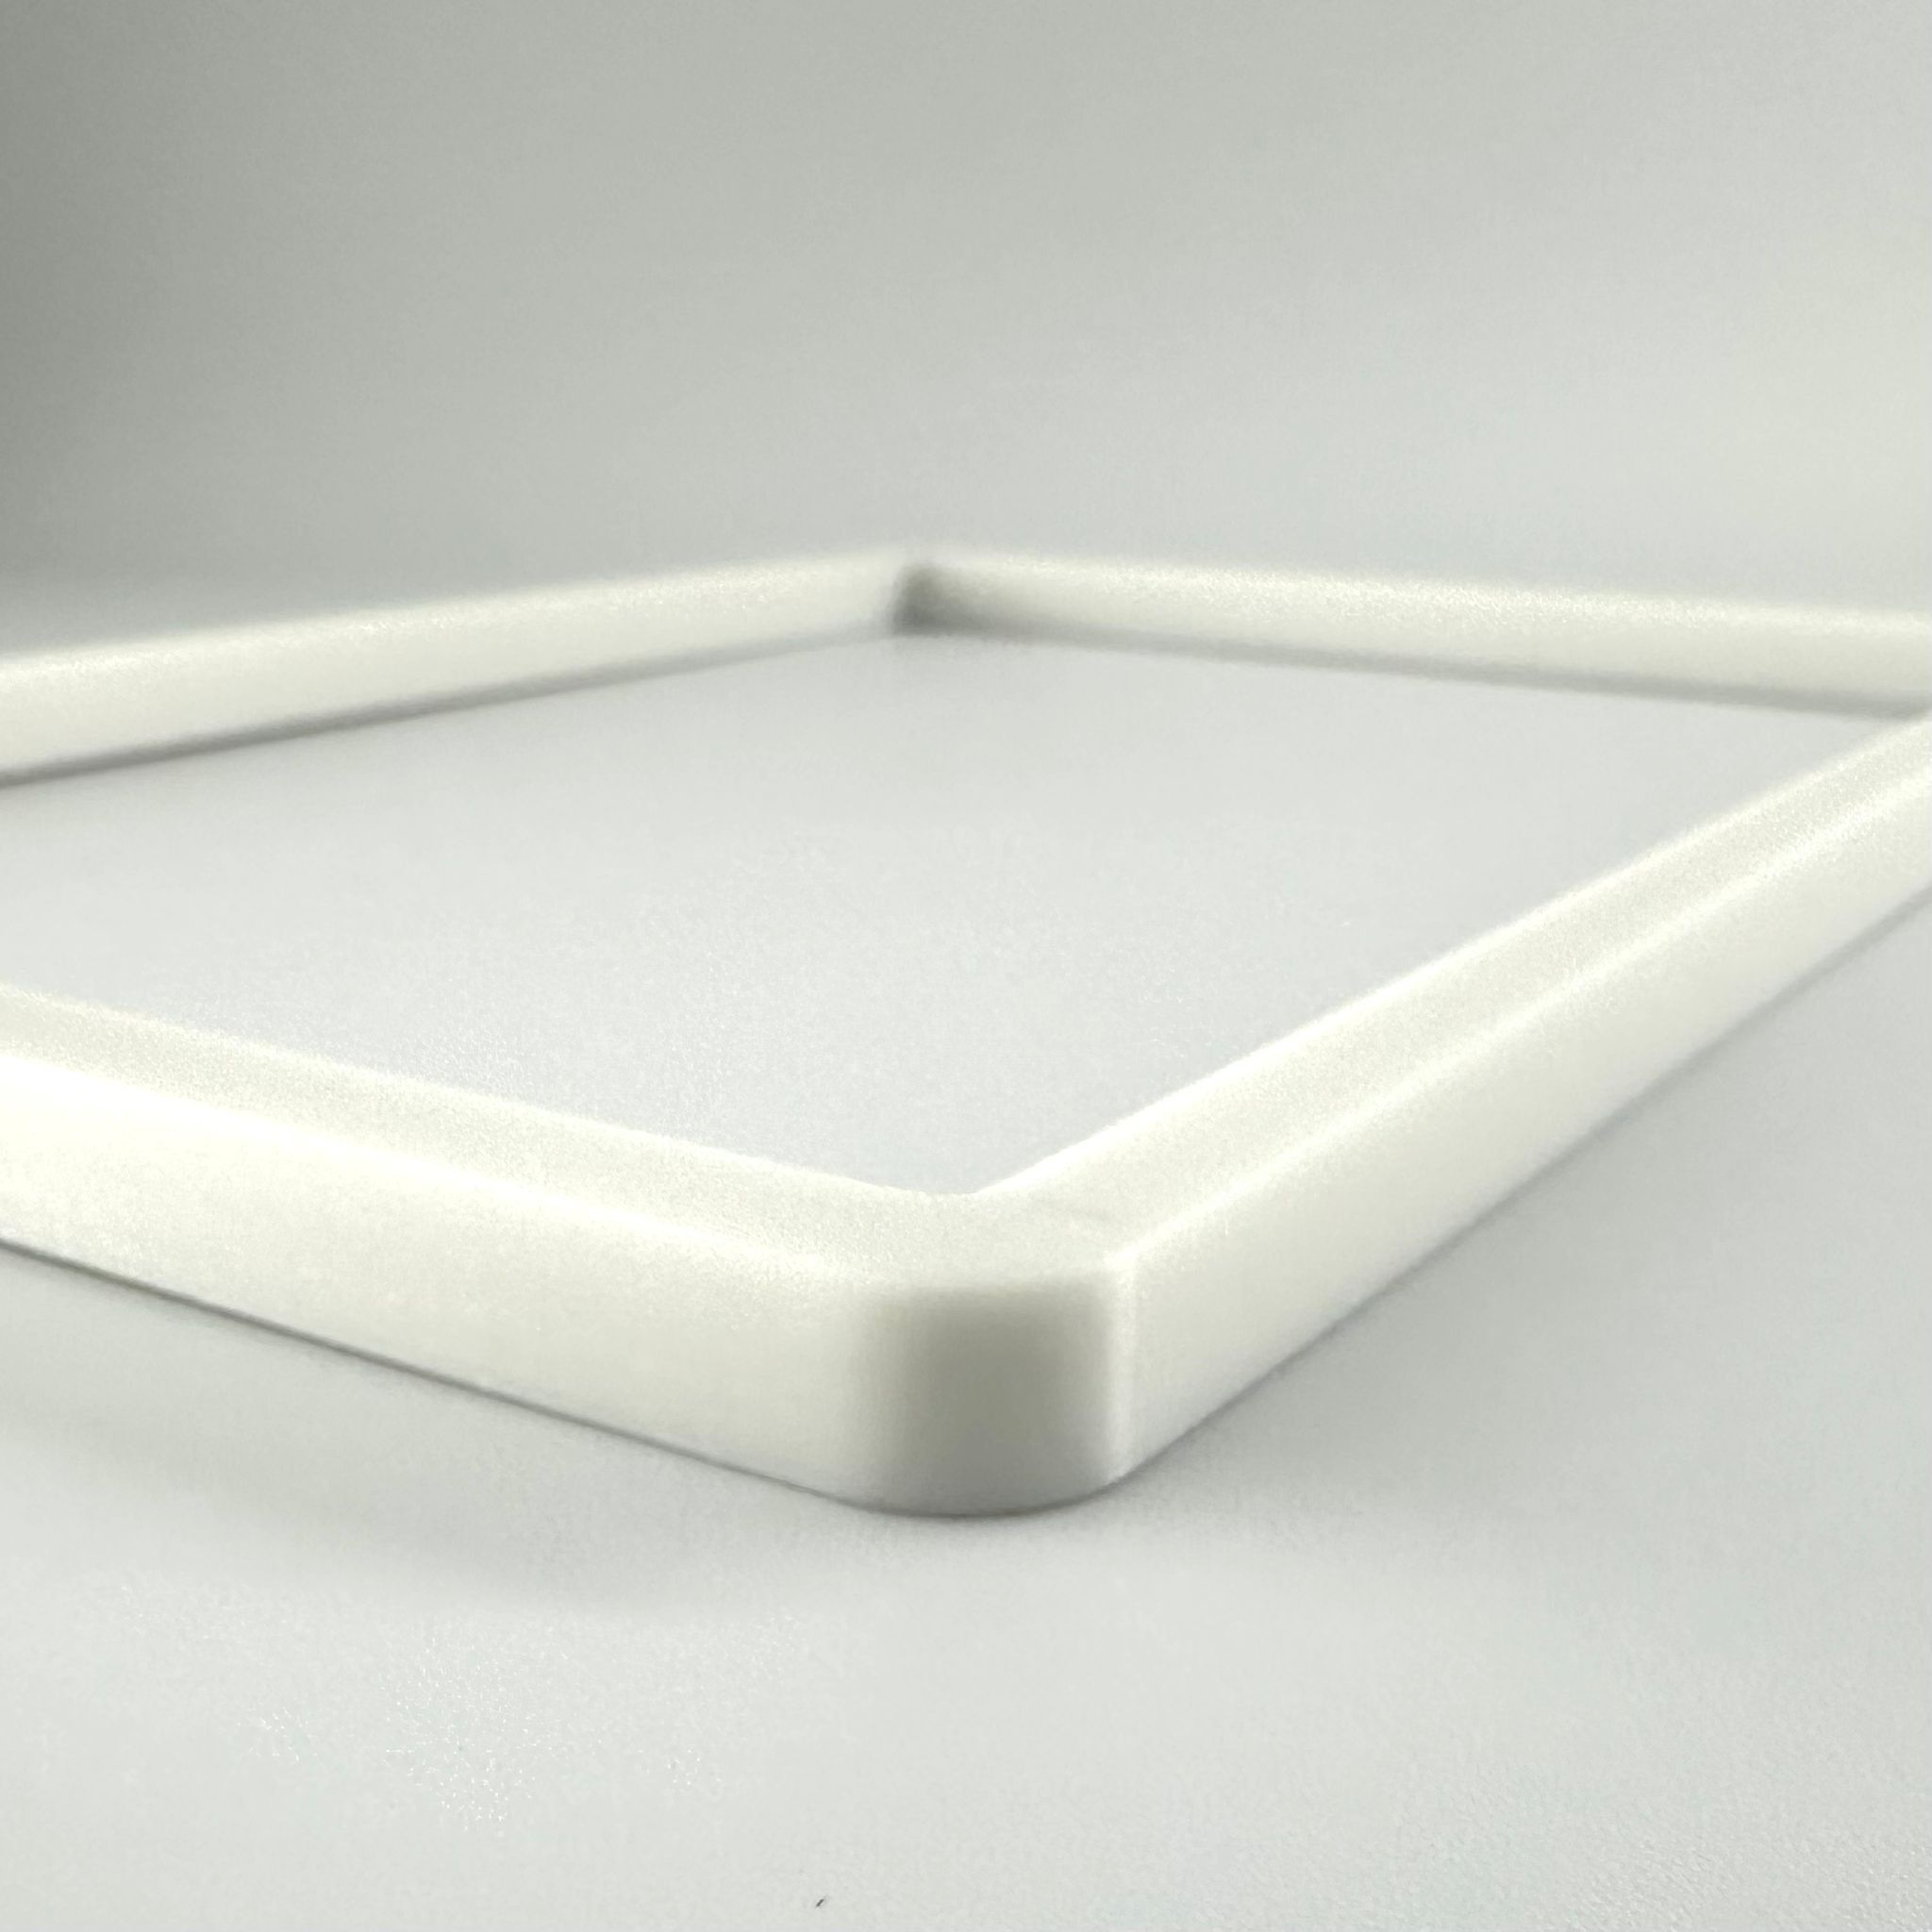
Modern accessories have fundamentally changed the equation. A smart dimmer module or the transformer for a USB port can easily occupy the majority of a 25mm box before a single wire is added. This is why proactively adding depth with an extension frame or spacer has become a standard professional practice. A custom spacer allows you to add precisely the amount of depth required, whether it is 10mm for a dimmer or 25mm for a complex smart home module, without replacing the entire backbox.
The Impact of Modern Electrical Fittings
The evolution of electrical accessories is the primary driver for needing increased wiring space. The sleek, feature-rich faceplates we see hide increasingly complex and bulky components that must be safely accommodated.
-
USB-Integrated Sockets: Sockets with built-in USB charging ports require an internal transformer to step down the mains voltage. This hardware adds significant depth to the back of the module, making it a tight fit even in a 35mm backbox, especially with the stiff cables of a ring circuit.
-
Smart Switches and Dimmers: Smart home technology is a major culprit. Wi-Fi chips, relays, and control circuitry make smart switches far deeper than a simple mechanical switch. Many popular models are impossible to install safely in a 25mm backbox without creating extra space. For more on this, see our guide to custom light switch spacers.
-
Managing the Cable Bundle: The sheer volume of copper can be a challenge. In a ring final circuit, a double socket can have six 2.5mm² cables entering the box. If a spur is also taken from that point, the number of conductors increases further. Bending these stiff cables into position requires space to avoid putting stress on the terminals.
Planning for Extra Space During Redecorating
Redecorating projects are the perfect opportunity to assess and improve your electrical fittings. Rather than discovering a lack of space after the fact, you can plan for it. If you are upgrading to more advanced sockets or switches as part of the project, you can anticipate the need for more depth.
Instead of viewing a bulky new socket as a problem, consider it a planned upgrade. A bespoke socket spacer can be chosen to match your new decor, available in matte white, grey, or black to complement the faceplate. By ordering a spacer of the exact depth required, you create a feature that looks intentional and professionally installed. This forward-thinking approach avoids the struggle of a last-minute fix and ensures your new fittings are both functional and safe from day one.

Comparing Solutions for Overcrowded Socket Boxes
When faced with an accessory that will not fit, homeowners and even some electricians consider various workarounds. However, only one solution provides a safe, compliant, and professional result without requiring destructive building work.
The common problem is an overcrowded backbox that is perfectly flush with the wall. The challenge is not bridging a gap, but creating new space. The temptation might be to just use longer screws and let the faceplate "float" off the wall, but this is unsafe and unprofessional. A bespoke spacer, on the other hand, is designed for this exact scenario. It elegantly extends the socket from the wall, creating the required wiring space whilst ensuring a solid, secure fit and a continuous, safe enclosure.
Replacing the Backbox vs. Using a Spacer
The most drastic solution to an overcrowded box is to replace it with a deeper one. This involves chiselling out the existing box from the masonry, deepening the hole, and cementing a new, larger box in place. This process is messy, time-consuming, and risks damaging the surrounding plaster and decor, requiring subsequent repair and redecoration.
A socket spacer achieves the same goal, increased wiring space, in a matter of minutes. It is a non-destructive solution that requires no building work. You simply fit the spacer between the wall and the existing faceplate, using longer screws to secure the assembly to the original backbox. This saves hours of labour and eliminates the cost and hassle of making good, making it the overwhelmingly preferred method for professionals and DIYers alike.
Standard Spacers vs. Bespoke Solutions
Off-the-shelf spacers are typically available in a few fixed depths, such as 5mm or 10mm. These can be a workable solution if your needs happen to align perfectly with the sizes on offer. However, modern installations often require a more precise fit.
-
Limitations of Fixed Depths: What if you need exactly 14mm of extra space for a particular smart switch? A 10mm spacer is not enough, and stacking spacers is unstable and looks unprofessional. A bespoke solution allows you to specify the exact thickness you need, down to the millimetre.
-
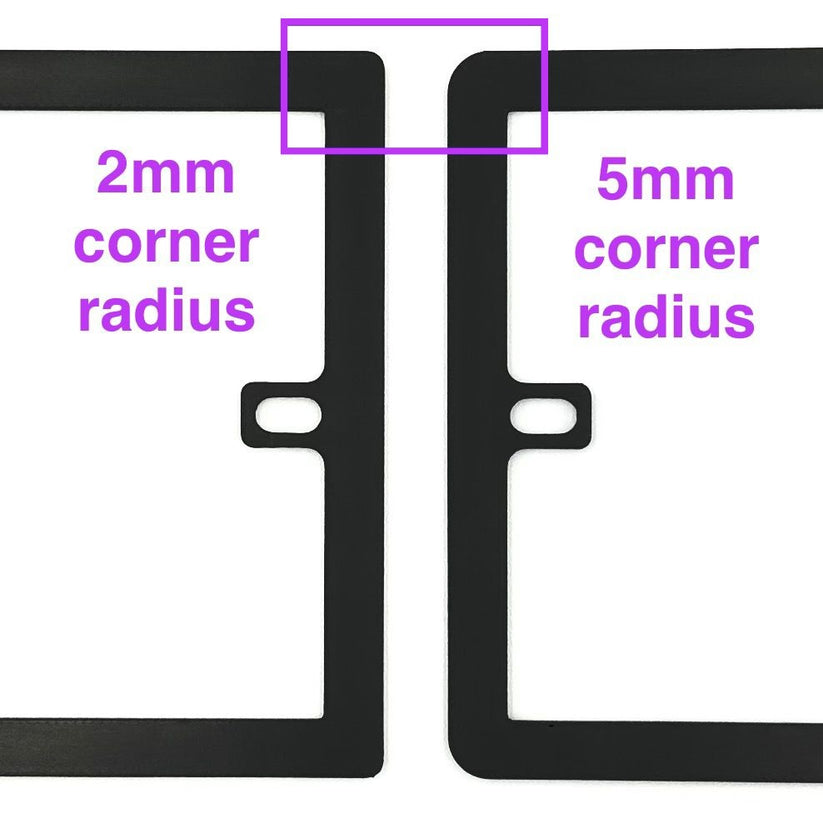
Aesthetics and Fit: Standard spacers are often generic in appearance, with a different corner radius or a glossy finish that clashes with modern matte faceplates. A bespoke spacer is manufactured to match, with options for colour (white, grey, black), finish (matte), and a precise corner radius to sit perfectly flush with your chosen faceplate.
-
Support for All Sizes: The need for more space is not limited to single or double sockets. Media plates and multi-gang switch panels often present the biggest challenges. Our Build My Spacer tool can create custom frames for any size, including complex double gang socket spacers and larger multi-gang configurations that standard products do not support.
Step-by-Step Guide to Planning More Wiring Space
Creating the perfect amount of extra wiring space is a straightforward process of assessment and specification. By thinking ahead, you can order a custom solution that makes the final installation quick, safe, and visually appealing.
The key is to determine the additional depth your new accessory requires compared to the old one. This is not about measuring a gap in the wall, but about calculating the extra volume you need to create. Once you know the depth, choosing a colour and style to complement your faceplate ensures the final result looks like a deliberate part of your home's design.
1. Determine the Required Spacer Depth
First, assess your new hardware. Measure the depth of the new socket or switch module from the back of the faceplate to its deepest point. Compare this with the depth of the backbox you are fitting it into (e.g., 25mm). You also need to account for the space the wires will occupy.
A good rule of thumb is to allow at least 10mm of free space for wiring. For example, if your smart switch is 22mm deep and your backbox is 25mm, you only have 3mm left. This is not enough. To create a comfortable 10mm of wiring room, you would need a spacer of at least 7mm. For a professional and stress-free fit, ordering a 10mm or 12mm spacer would be ideal. With a bespoke service, you can choose the exact dimension that works best for your project.
2. Using the Build My Spacer Configurator
Once you know the depth you need, the easiest way to specify your requirements is with the Build My Spacer online tool. This intuitive configurator guides you through the process of creating a perfectly tailored spacer.
-
Select Your Gang Size: Choose from standard single, double, or multi-gang configurations.
-
Enter Your Custom Dimensions: Input the precise depth you calculated. You can also define the exact height and width if you are matching a non-standard faceplate.
-
Choose Your Finish: Select the colour (matte white, grey, or black) and corner radius that will perfectly match your socket or switch plate, ensuring a seamless and integrated look.
-
Get an Instant Quote: The tool provides immediate pricing, allowing you to plan your project budget effectively.
Bespoke Socket Spacers: The Professional Finish for UK Homes
Choosing a made-to-order socket spacer is the definitive way to achieve increased wiring space behind a socket safely and aesthetically. Unlike generic, one-size-fits-all solutions, a bespoke spacer is engineered to integrate flawlessly with your existing fittings, transforming a functional necessity into a polished design feature.
Manufactured with precision in the UK, these spacers solve the common problem of overcrowded backboxes without compromise. They provide the critical extra room needed for modern smart home devices and complex wiring, ensuring installations are not only possible but also fully compliant with electrical safety standards. By using a custom-fit spacer, you permanently eliminate the risks associated with compressed cables and ensure a solid, secure mounting for your faceplate. See what our customers have achieved by browsing our reviews.
The Benefits of Bespoke Manufacturing
The advantage of a custom-made solution lies in the details. A bespoke spacer is designed to look like it belongs, elevating the finish from a simple repair to a high-end installation.
-
A Perfect Aesthetic Match: With a custom-fit spacer, the frame aligns perfectly with the faceplate's dimensions and corner radius. The choice of matte colours ensures it complements the finish of modern sockets and switches, looking like a deliberate design choice.
-
Any Depth, Any Size: Bespoke manufacturing removes the limitations of off-the-shelf products. Whether you need an unusual depth of 18mm for a media wall or a large frame for a multi-gang grid switch, a custom solution can be created to your exact specifications.
-
Unwavering Stability: A single, solid spacer provides a much more stable and secure mounting surface than stacking multiple thin shims. This ensures the socket is robust and does not flex or move when in use, providing a safe and durable result.
Ordering Your Custom Solution
Getting the perfect spacer for your project is simple. Our design and ordering process is built for clarity and precision, ensuring you receive a product that meets your exact needs. The process is straightforward: measure the space you need, specify your dimensions, and let our UK-based manufacturing create the ideal solution.
By investing in a bespoke spacer, you are choosing the most professional, reliable, and visually appealing method to manage wiring space. It is the preferred choice of electricians and discerning DIYers who value safety, compliance, and a flawless finish.
Electrical Safety
Always isolate the circuit and confirm it is dead before removing a socket or switch faceplate. Only carry out the work if you are competent to do so. If you find damaged wiring, signs of overheating or anything unsafe, stop and contact a qualified electrician.