
Table of Contents
- Solving the Sunken Socket Problem with Extension Frames
- Comparing Standard Metal Frames and Bespoke Plastic Spacers
- Determining the Ideal Depth for Your Extension Frame
- A Practical Guide to Installing Back Box Extenders
- Why Bespoke Extension Frames Deliver a Professional Finish
Solving the Sunken Socket Problem with Extension Frames
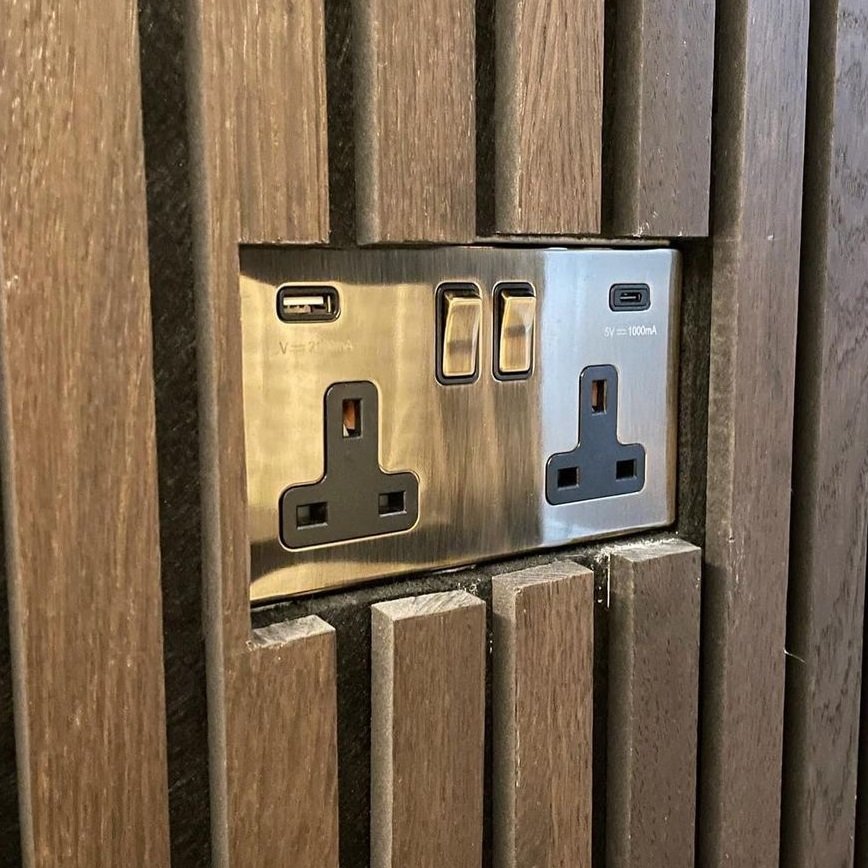
After completing a renovation project like tiling a kitchen splashback or adding decorative panelling, you might find your electrical sockets are no longer flush with the wall. This common issue, known as a sunken or recessed back box, can result in two frustrating problems: a wobbly socket that feels unstable when you plug something in, or a recessed socket where the faceplate sits deep within the new wall surface, looking unprofessional and sometimes making it difficult to use. An electrical back box extension frame is a specialised component designed to solve this, bridging the gap between the recessed box and the new wall surface for a secure, professional finish.
- An electrical back box extension frame is specifically made to bring a recessed electrical box forward, aligning it perfectly with the finished wall.
- This issue commonly occurs after adding new materials to a wall, such as thick plaster, kitchen tiles, or decorative wood panelling.
- A flush finish is not just for aesthetics; it is a critical safety requirement to ensure the faceplate is securely supported and internal wiring is protected.
- Planning ahead is key. Using the Build My Spacer tool early in your project ensures you have the correct depth spacer ready for the final installation, saving time and frustration.
Why Electrical Back Boxes Become Recessed
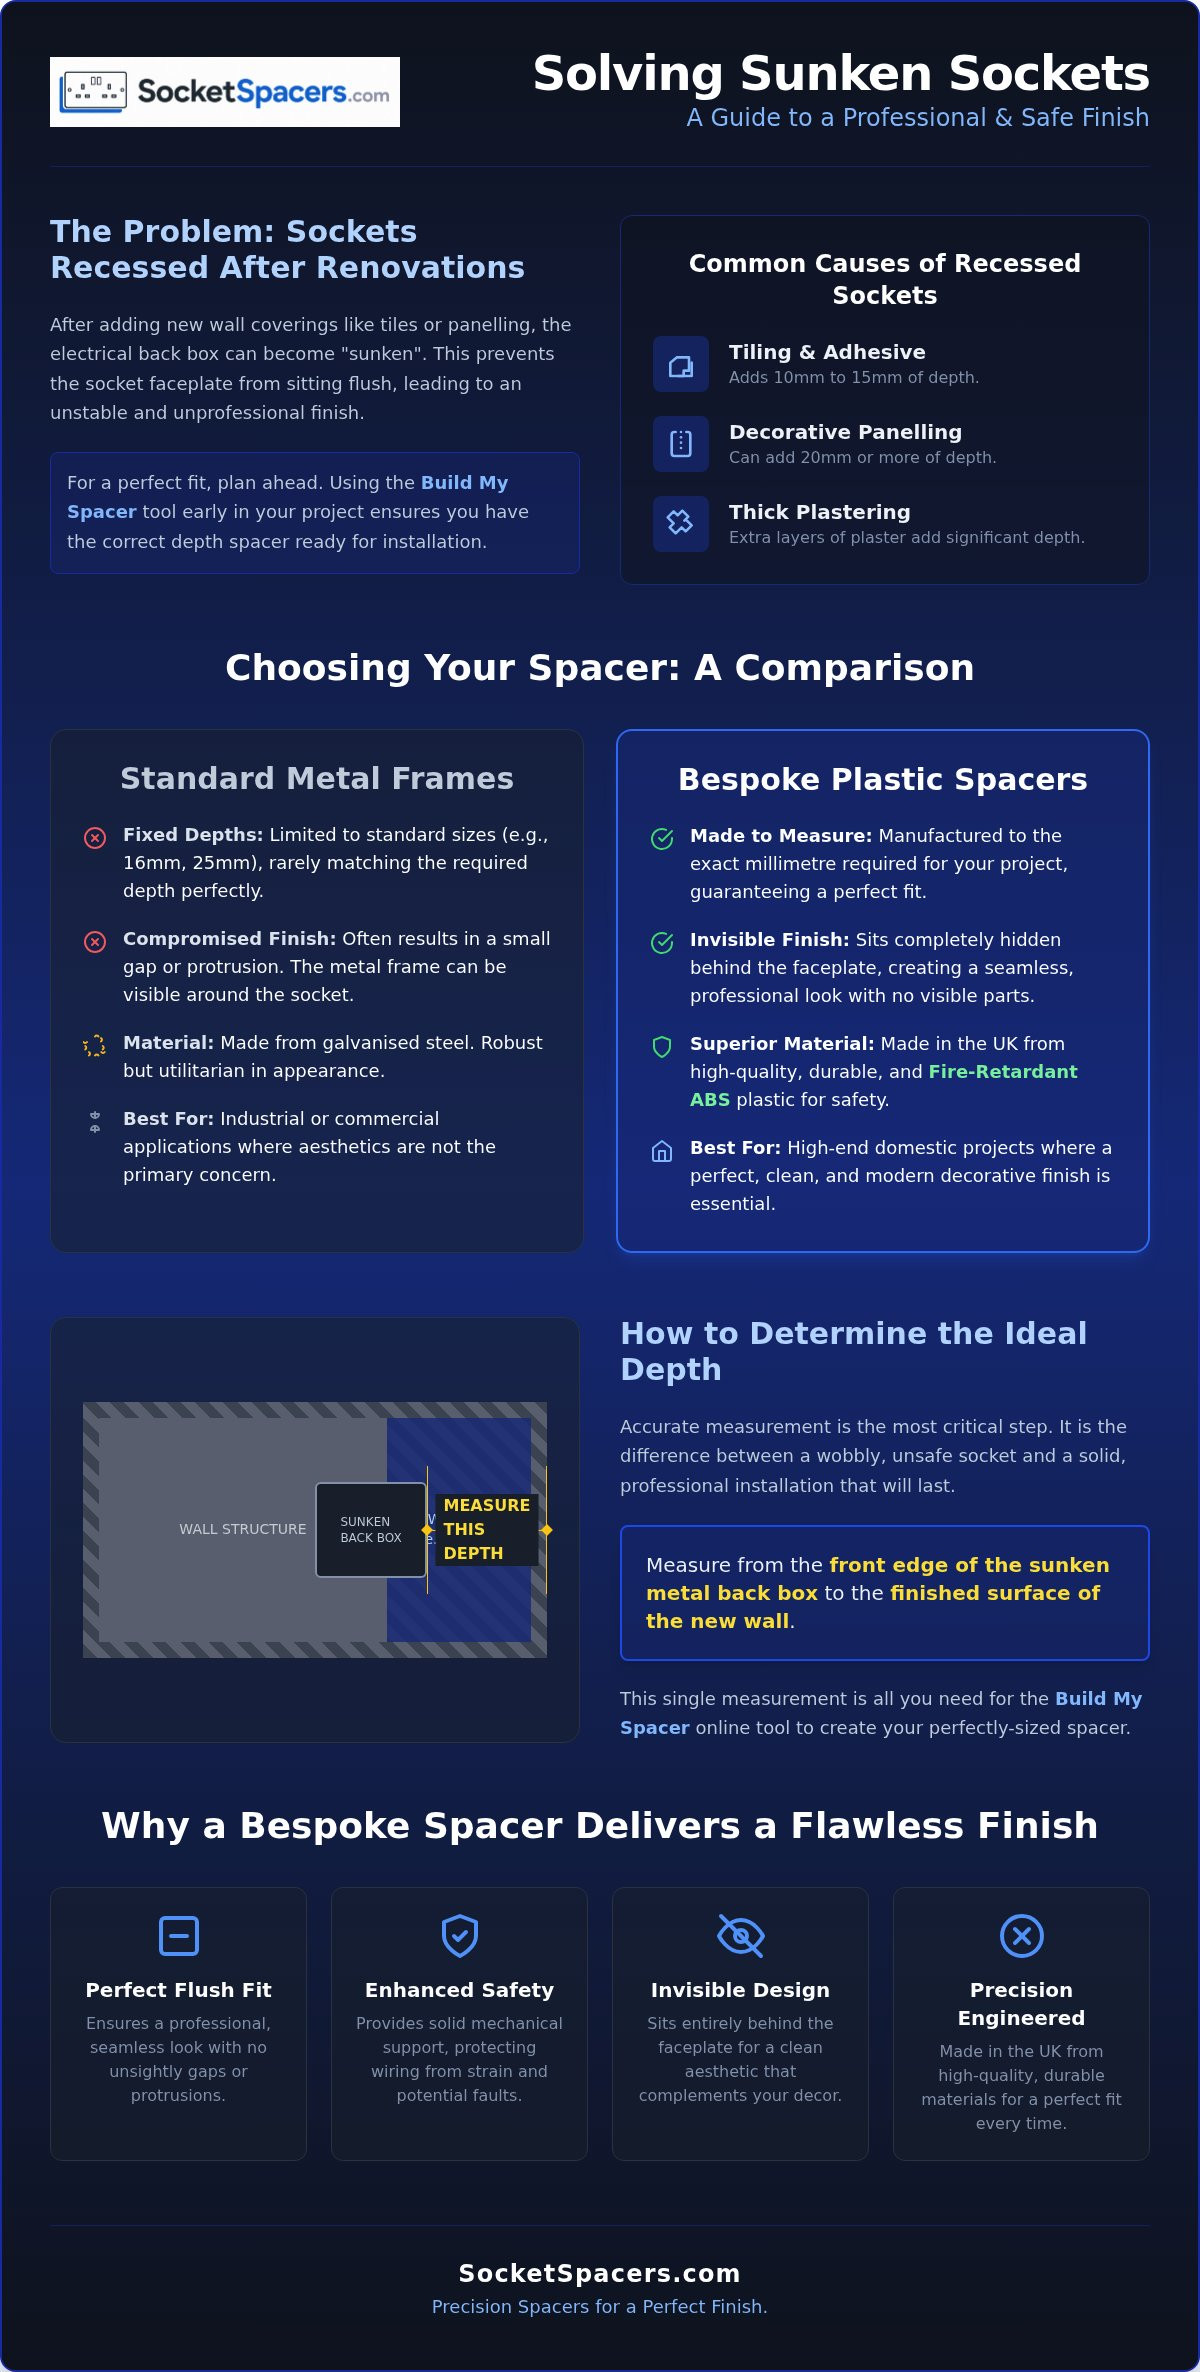
During construction, a standard metal back box (or pattress box) is typically installed to sit flush with the final plasterboard. However, home improvements often add extra thickness to the wall. A layer of tiles and adhesive can add 10mm to 15mm, whilst modern acoustic or wood panelling can add 20mm or more. Without extending the original back box, the socket faceplate has nothing to rest against.
Some people try to solve this with extra long screws, but this creates a "floating" socket. The faceplate is suspended away from the back box, leading to significant wobble and strain on the wiring every time a plug is inserted or removed. The alternative is to tighten the screws fully, pulling the faceplate deep into the wall. This recessed finish looks unprofessional, creates an unsightly gap for dust and debris to enter, and can even prevent some plugs from being fully inserted.
The Importance of a Flush Finish
Achieving a flush finish is essential for both safety and functionality. A properly installed electrical back box extension frame provides solid mechanical support for the socket, preventing any movement. This stability protects the internal wiring connections from strain, which can otherwise lead to loose connections and potential electrical faults. Furthermore, a flush finish creates a seal between the faceplate and the wall surface. This prevents dust, moisture, and debris from entering the back box, protecting the delicate wiring inside. A perfectly aligned socket not only looks professional but also demonstrates a commitment to correct and safe installation practices, complementing the quality of your renovation work.
Comparing Standard Metal Frames and Bespoke Plastic Spacers
When choosing an electrical back box extension frame, the two main options are standard off-the-shelf metal frames and custom-made plastic spacers. While both serve the same basic function, they have distinct differences in material, flexibility, and aesthetic finish. The choice between them often depends on the specific requirements of your project and the desired quality of the final result.
- Standard metal extension frames are durable but are limited to fixed depths, typically 16mm or 25mm, which may not match your wall's specific thickness.
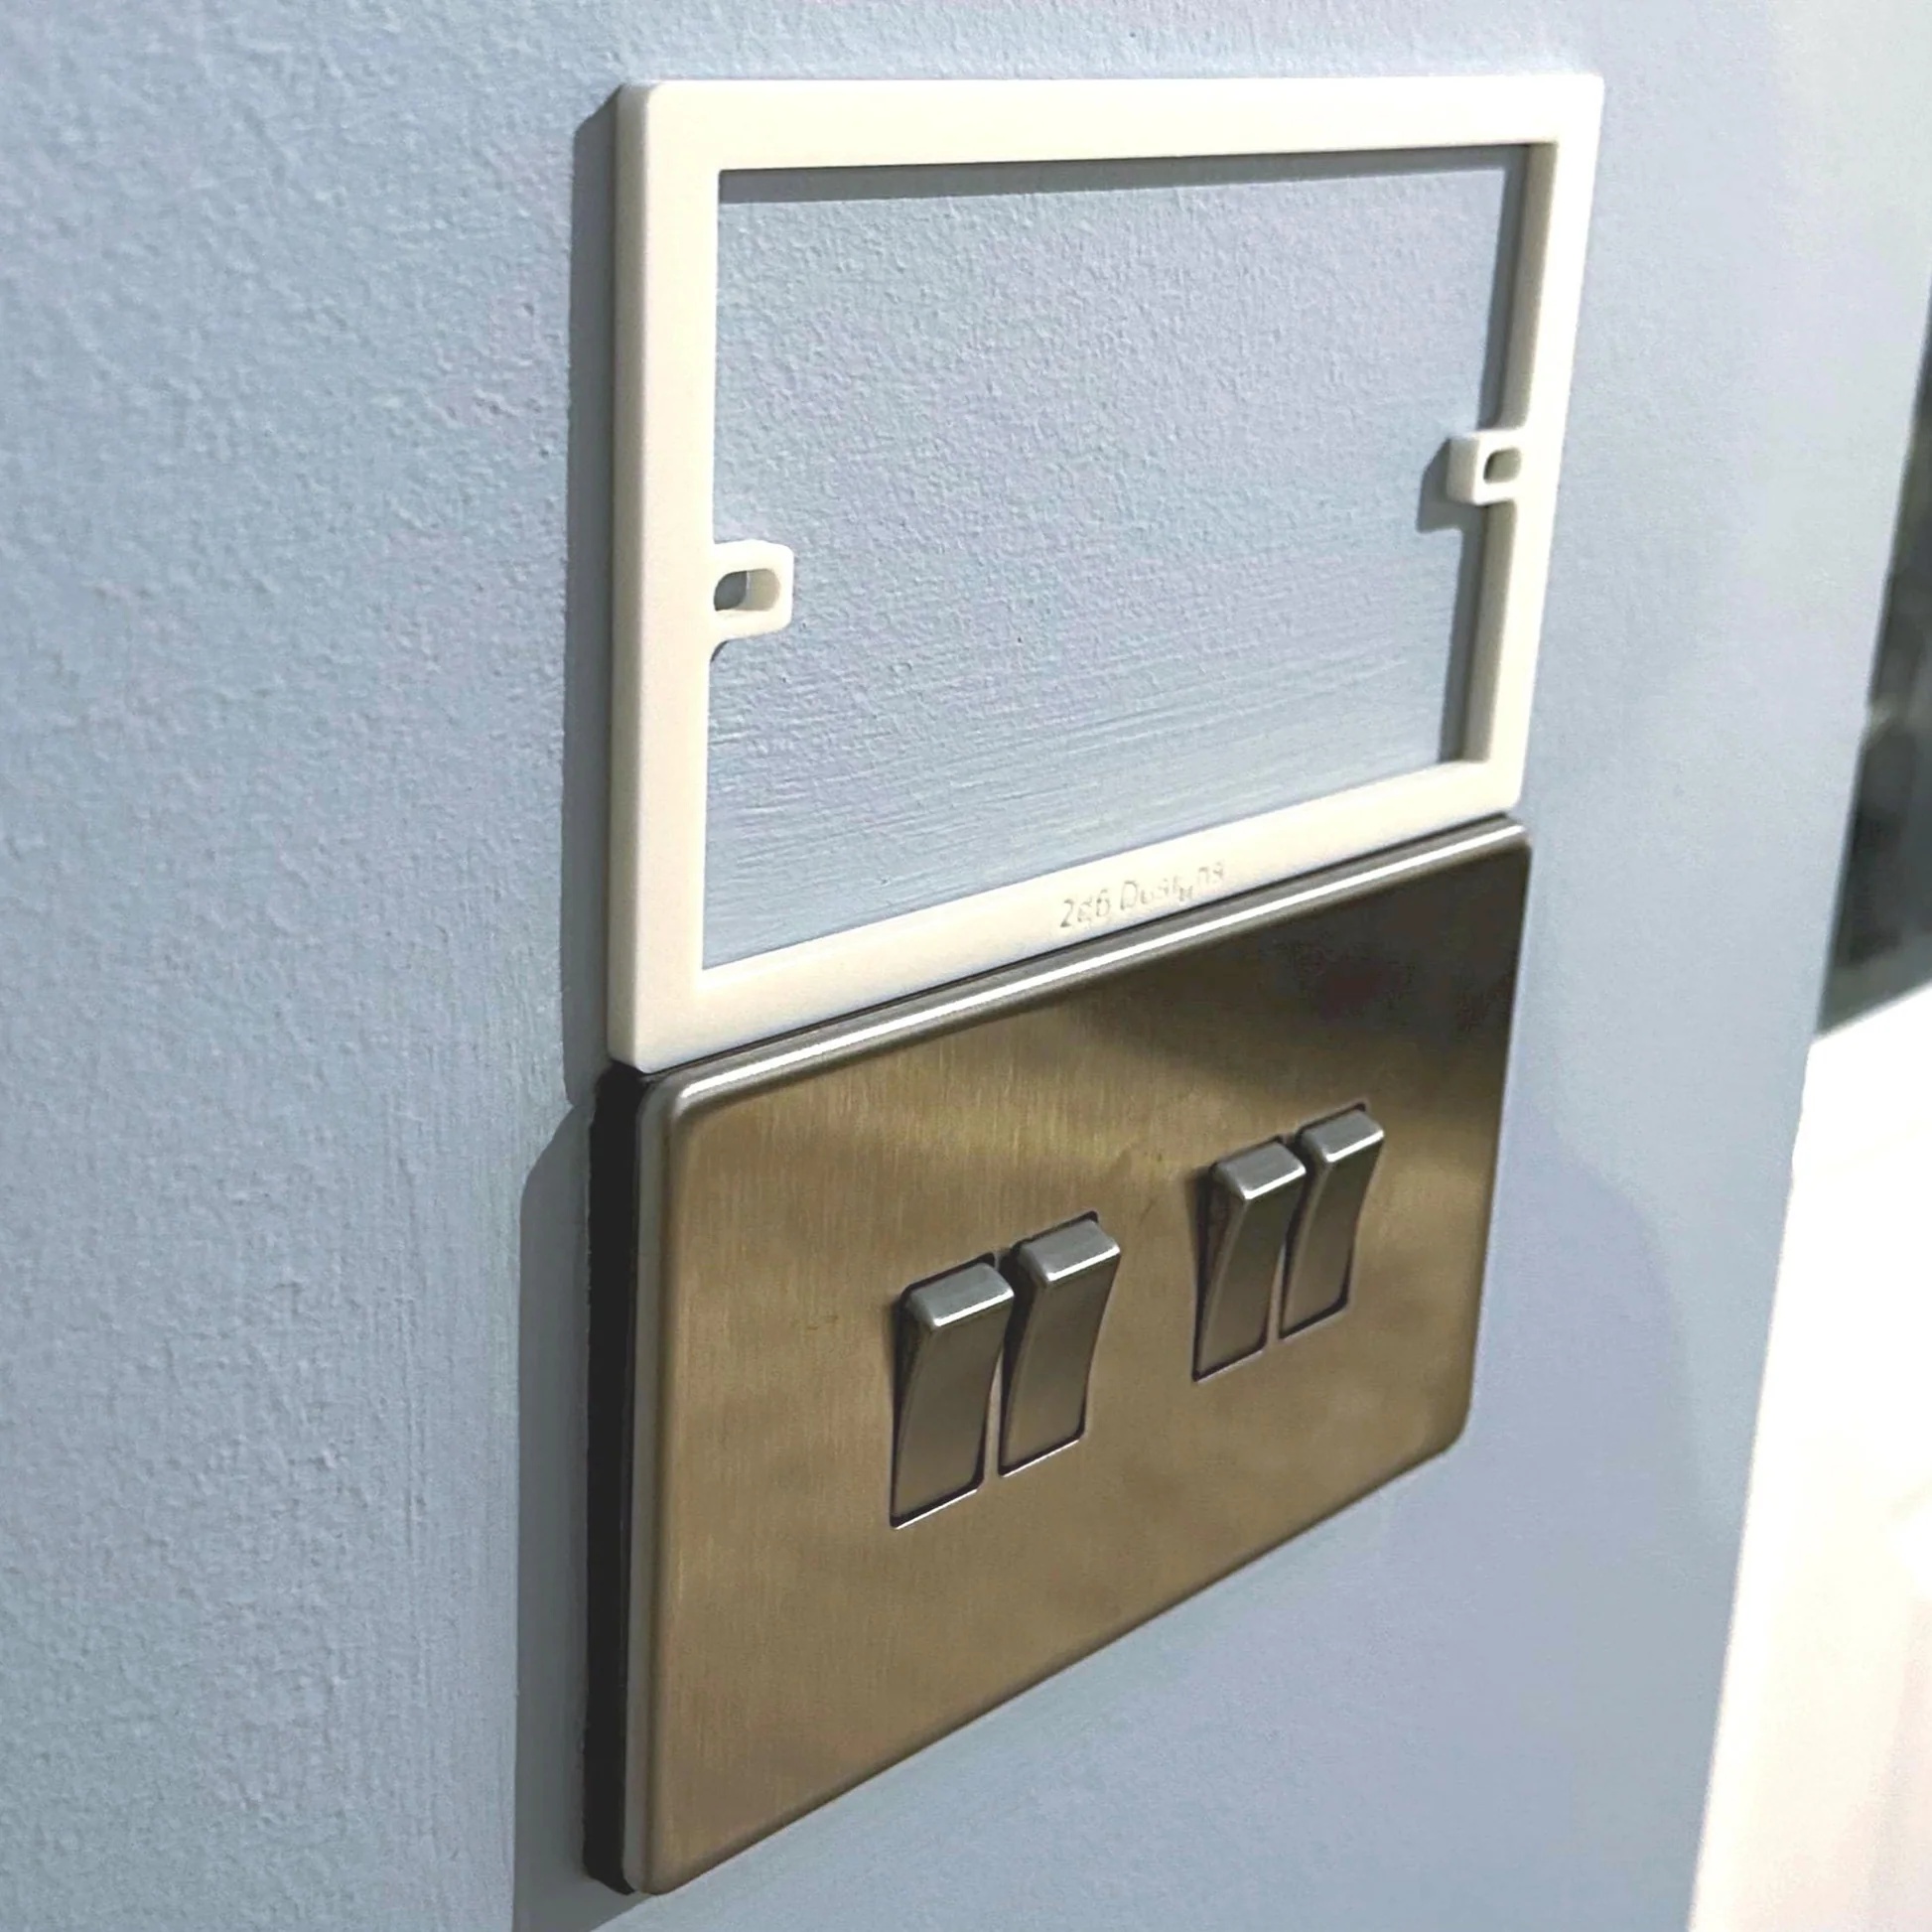
- Bespoke plastic spacers offer a more discreet and clean appearance, as they are designed to be completely hidden behind the faceplate.
- Metal frames are often better suited for industrial or commercial applications where utility is prioritised over aesthetics.
- Custom plastic spacers, made from materials like fire-retardant ABS, are the preferred choice for high-end domestic projects where a perfect decorative finish is paramount.
Standard Metal Extension Boxes
Metal extension boxes are widely available from electrical wholesalers and trade counters. They are typically made from galvanised steel, offering robust and long-lasting performance. These frames are designed to fit over the existing back box, extending its sides forward. However, their primary limitation is their lack of versatility. They are manufactured in standard increments, meaning if your new tile and adhesive add up to 18mm, a 16mm frame will be too short and a 25mm frame will be too deep. This "one size fits all" approach often leads to a compromised finish. Additionally, the metal edges can sometimes be visible around the faceplate, which is not ideal for modern, minimalist interiors.
Bespoke Plastic Spacer Plates
For a truly seamless and professional finish, made to measure socket spacers offer a superior alternative. Unlike metal frames, these are manufactured to the exact millimetre required for your project. This precision ensures the socket faceplate sits perfectly flush against the wall surface without any gaps or protrusions. Manufactured in the UK from high-quality, fire-retardant ABS plastic, these spacers are both durable and safe for electrical installations. Their design allows them to sit neatly between the back box and the faceplate, remaining completely invisible once installed. This creates a clean "shadow gap" effect or a perfectly flush look that is impossible to achieve with ill-fitting standard frames.
Determining the Ideal Depth for Your Extension Frame
The success of your installation hinges on one critical factor: accurate measurement. Choosing the correct depth for your electrical back box extension frame is the difference between a wobbly, unsafe socket and a solid, professional installation. Taking the time to measure correctly ensures you order a product that fits perfectly the first time, avoiding delays and rework.
- Accurate measurement is the most important step for achieving a professional finish.
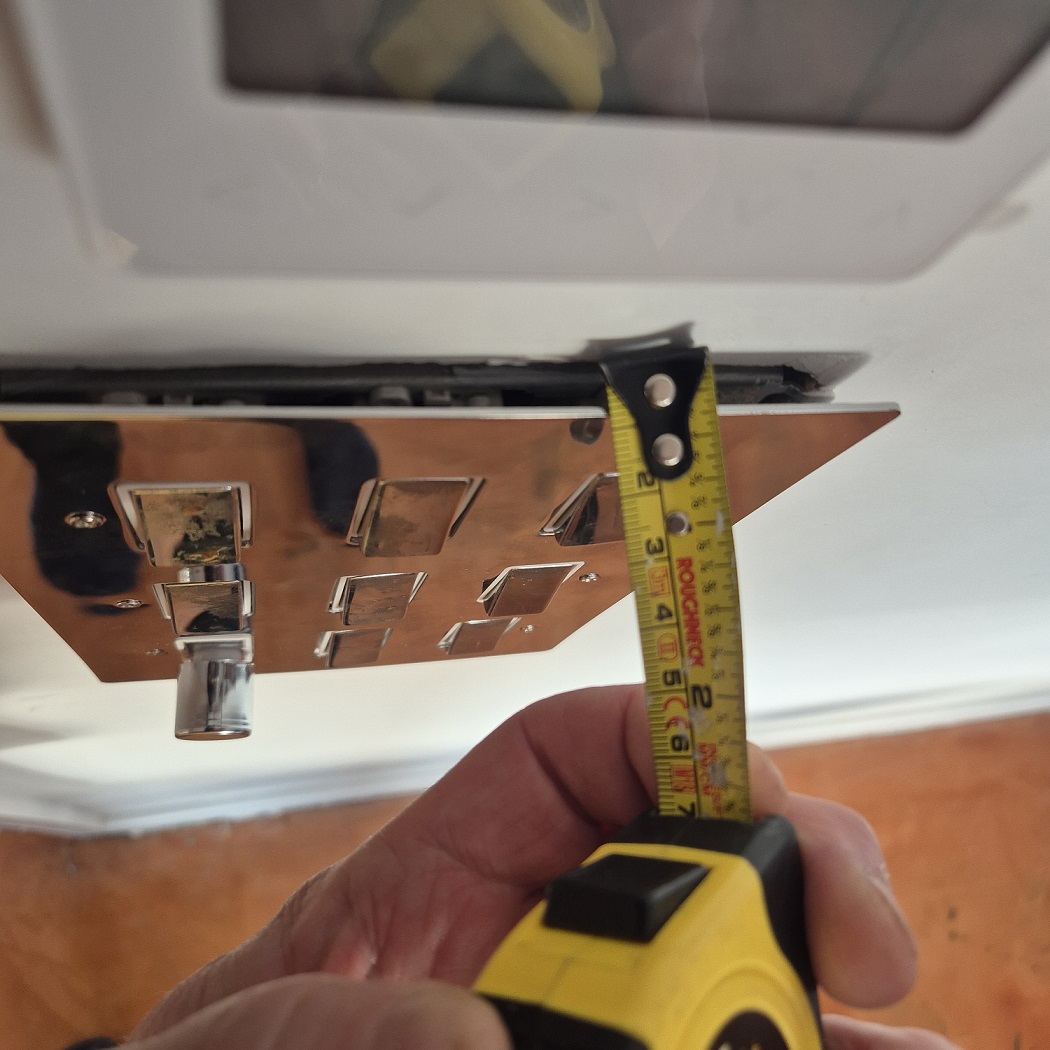
- To find the required depth, you must measure from the front edge of the sunken metal back box to the finished surface of the wall (e.g., the face of the tile or panel).
- For non-standard or particularly deep recesses, the Build My Spacer configurator allows you to order depths that are not available from standard retail stock.
- Always consider the small lip or "over-hang" of the socket faceplate. A correctly sized spacer should be hidden completely once the screws are tightened.
Measuring for Precision
Measuring the required depth is a straightforward process. Use a rigid ruler or a depth gauge for accuracy. Place the end of the ruler on the front edge of the metal back box and measure to the finished wall surface. Take measurements at several points around the box, especially if you are working with uneven surfaces like rustic tiles or handmade plasterwork, and use the largest measurement to ensure a gap-free fit. Before ordering a custom frame, it is also wise to double-check that the screw holes on your faceplate align perfectly with the lugs in the back box. A simple visual check can prevent installation issues later on.
Managing Crowded Wiring Space
Beyond solving depth issues, extension frames offer another significant benefit: providing increased wiring space behind sockets. Modern electrical installations, especially those involving smart home technology, often require more room. Smart switches, USB sockets, and Wi-Fi boosters are typically deeper than traditional components, making them difficult to fit into shallow back boxes. An extension frame creates the extra volume needed to house these devices and their wiring comfortably. This prevents the dangerous practice of crushing or forcing cables into a crowded box, which is a common cause of damaged insulation and electrical faults. By adding a spacer, you ensure a safer, more reliable installation for all your modern devices.
A Practical Guide to Installing Back Box Extenders
Installing an electrical back box extension frame is a manageable task for a competent DIYer, but safety must always be the top priority. Before starting any electrical work, no matter how minor it seems, you must ensure the circuit you are working on is completely de-energised. This guide provides a practical overview of the installation process.
- Safety First: Always isolate the power at the consumer unit (fuse box) and use a voltage tester to confirm there is no electricity at the socket before you begin.
- Start by unscrewing the faceplate and gently pulling the socket assembly forward to expose the recessed back box and its wiring.
- Carefully slide the extension frame or spacer over the wiring and position it against the front of the back box, ensuring the screw holes align.
- Use new, longer M3.5 electrical screws to secure the faceplate. The screws must pass through the faceplate, the spacer, and into the threaded lugs of the original back box.
Step-by-Step Installation Advice
Once the power is off, the process is methodical. After removing the faceplate, carefully thread the existing wires through the central aperture of the extension frame. Be gentle to avoid snagging or damaging the insulation. Position the spacer so it sits flat against the back box. Before tightening the screws, ensure the spacer is square with the wall surface. As you tighten the new, longer screws, do so evenly to avoid warping the faceplate. For a perfect result, use a small spirit level on top of the socket as you perform the final tightening to ensure it remains perfectly horizontal. This small detail makes a significant difference to the overall professional appearance.
Safety Considerations and Regulations
All electrical work in the UK, including modifications, should comply with BS 7671 Wiring Regulations. Using a professionally manufactured extension frame is a far safer solution than resorting to DIY fixes like stacking washers or using makeshift plastic shims. These methods do not provide adequate mechanical support and can create fire hazards. High-quality spacers, like those made from fire-retardant ABS, are designed for this specific purpose and ensure a safe, stable installation. If you have any doubts about the condition of the existing wiring or are unsure about any aspect of the installation, it is always best to consult a qualified electrician.
Why Bespoke Extension Frames Deliver a Professional Finish
In high-end renovations and custom-designed interiors, off-the-shelf components often fail to meet the required standard of finish. Standard extension frames are a functional but imperfect compromise. Bespoke extension frames, on the other hand, are engineered for precision, providing a flawless result that complements premium materials and meticulous craftsmanship. They are the definitive solution for achieving a truly professional electrical finish.
- Bespoke frames are the preferred choice for projects involving expensive materials like acoustic media walls, custom cabinetry, or thick stone splashbacks.
- The ability to order plug socket extension frames to an exact depth specification eliminates guesswork and the need for on-site modifications.
- SocketSpacers.com provides custom multi-gang solutions that are almost impossible to source from standard electrical wholesalers.
- Use the Build My Spacer tool to configure a solution that perfectly matches your unique interior design and technical requirements.
Custom Double Gang Solutions
Fixing sunken double gang sockets presents a particular challenge, especially on tiled kitchen splashbacks where precision is highly visible. Using individual shims or washers can lead to an unstable and uneven finish. A single, custom-moulded double gang spacer provides uniform support across the entire fitting. This ensures the faceplate sits perfectly flat without any flexing or distortion. For even larger installations, such as media plates with multiple outlets, bespoke large extension frames can be manufactured to provide the same level of stability and aesthetic perfection, ensuring a consistent and high-quality result across all fittings.
The Build My Spacer Advantage
The ordering process for custom spacers is simplified through online configurator tools. The Build My Spacer system allows both professional electricians and DIY enthusiasts to specify the exact dimensions they need, from the depth and colour to the gang configuration. This removes the hassle of trying to find a standard product that is "close enough." With UK-based manufacturing, you can be assured of high-quality materials, stringent quality control, and reliable delivery. The results speak for themselves, delivering a level of precision that elevates the finish of any project. You can see examples of the professional results achieved by viewing customer reviews and project photos.
Frequently Asked Questions
What is the difference between a socket spacer and an extension frame?
While the terms are often used interchangeably, an extension frame typically fits over the existing box to extend its walls, whereas a spacer plate sits between the box and the faceplate to fill a gap. Both serve the same primary purpose: ensuring the socket is flush with the wall surface.
Do I need a qualified electrician to install an extension frame?
If you are simply adding a spacer behind a faceplate without disconnecting or altering the wiring, it is generally considered a DIY task. However, if any wires need to be disconnected or the back box itself needs attention, you should always consult a qualified electrician to ensure the installation is safe and compliant.
Can I use an extension frame for a smart switch?
Yes, extension frames are an excellent solution for smart switches, which are often deeper than standard switches. By adding a frame, you create the necessary depth to house the smart components without having to chisel out a deeper hole in your wall.
What screw length do I need with an extension frame?
The required screw length depends on the depth of your spacer plus the depth of the faceplate. As a general rule, add the depth of your spacer to the length of your original screws. For a 20mm spacer, you will likely need M3.5 screws that are 50mm or longer to ensure the screw has enough thread to engage securely with the lugs of the original back box.
Are plastic spacers safe to use for electrical fittings?
Yes, provided they are from a reputable manufacturer. High-quality plastic spacers, such as those made in the UK from fire-retardant ABS plastic, are specifically designed for this application. They are durable, non-conductive, and provide excellent mechanical stability for the faceplate, making them a safe and reliable choice for domestic settings. You can learn more about
[socket spacer material and safety standards
](https://socketspacers.com/blog/are-socket-spacers-safe-uk-material-and-safety-standards)in our guide.
Can I get an extension frame for a 3-gang or 4-gang socket?
Yes, bespoke manufacturers like SocketSpacers.com can produce multi-gang extension frames to your exact specifications. These are often not available as standard items in local DIY stores, making custom-ordered frames the only reliable way to achieve a professional finish for larger switch and socket plates.
Electrical Safety
Always isolate the circuit and confirm it is dead before removing a socket or switch faceplate. Only carry out the work if you are competent to do so. If you find damaged wiring, signs of overheating or anything unsafe, stop and contact a qualified electrician.