
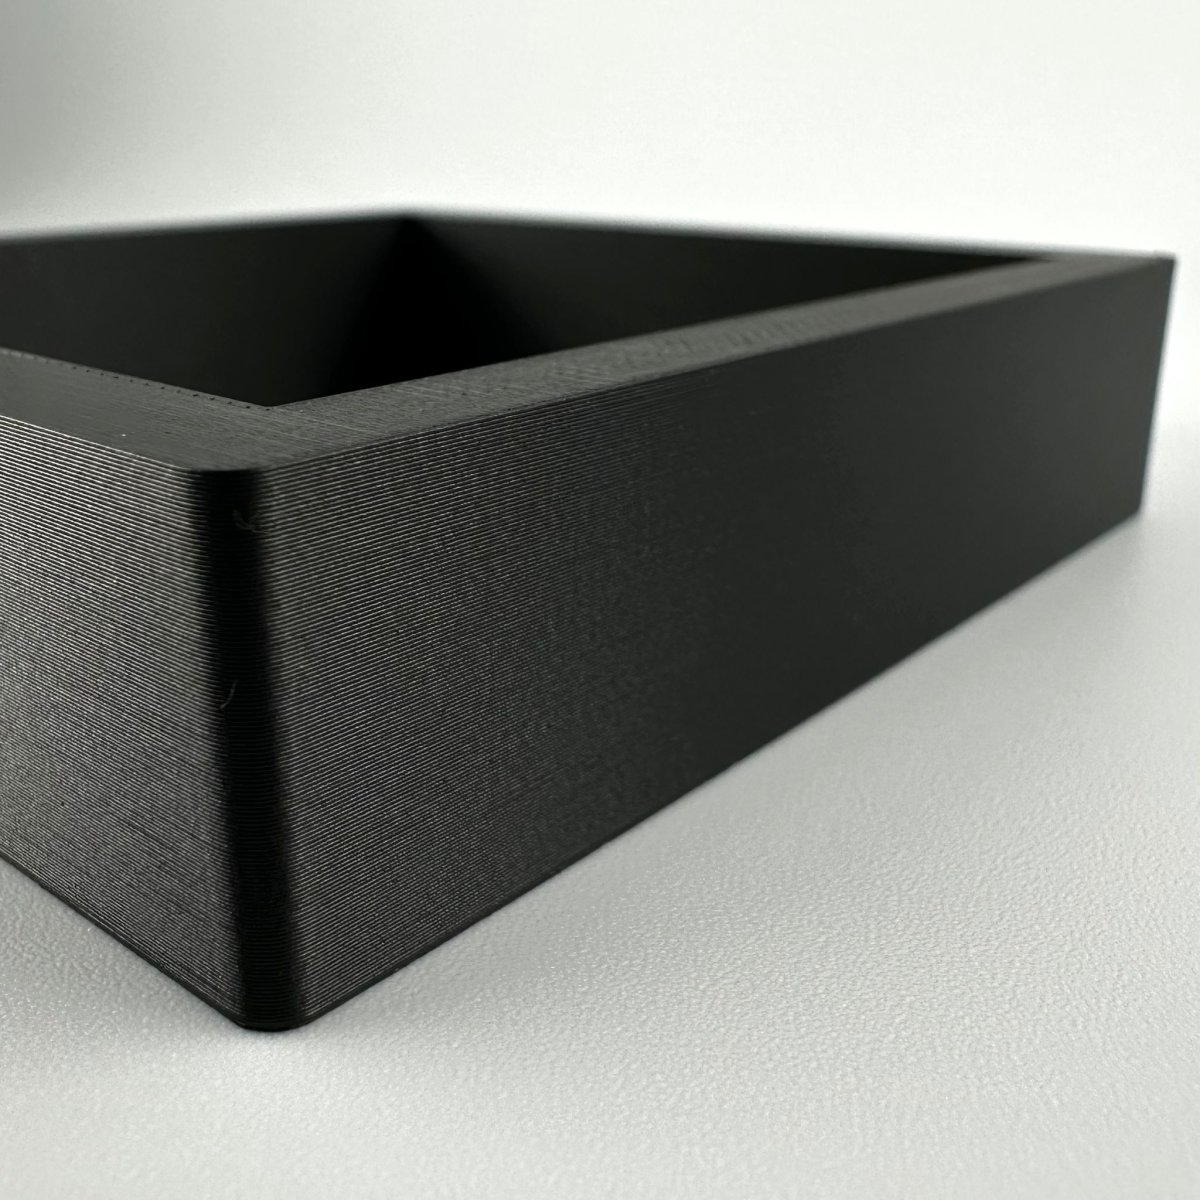
Imagine spending a weekend carefully tiling your kitchen only to find your electrical sockets are now recessed too deeply into the wall for the screws to reach. It is a common technical frustration that often leads people to search for a deep socket back box alternative that doesn't involve the destructive mess of hacking out masonry. You can solve this specific issue with precision by using the Build My Spacer configurator tool to design a tailored extension frame that matches your unique requirements.
We understand the worry of damaging expensive finishes or crushing delicate wiring behind a faceplate whilst trying to force a fit. Discover how to gain the exact clearance required for modern smart home modules or fix sunken sockets without the labour of replacing your existing back boxes. This guide provides a professional walkthrough on measuring for custom spacers, ensuring compliance with the latest UK wiring regulations, and achieving a flush finish that matches your interior design perfectly.
Key Takeaways
- Discover why a bespoke spacer is the most efficient deep socket back box alternative for modern renovations and smart home upgrades.
- Learn how to accurately measure the gap between your existing back box and new wall surfaces like tiles or decorative panelling.
- Understand how to provide essential clearance for smart home modules and bulky wiring to prevent heat build-up or crushed cables.
- Use the Build My Spacer configurator tool to specify a precise extension frame that ensures a flush, professional finish.
- Save time and avoid the mess of chasing walls by extending your current fittings forward rather than replacing the entire back box.
Table of Contents
- Why You Need a Deep Socket Back Box Alternative in 2026
- Comparing Standard Deep Back Boxes to Custom Socket Spacers
- The Best Solutions for Smart Switches and Overcrowded Wiring
- How to Measure and Install a Socket Extension Frame
- Why Bespoke Spacers Provide a Superior Professional Finish
Why You Need a Deep Socket Back Box Alternative in 2026
Homeowners and tradespeople are increasingly encountering a spatial bottleneck behind their electrical fittings. Modern UK properties, particularly those with timber frames or thin internal partitions, often limit the depth available for a Pattress or back box. Most standard installations use 25mm or 35mm boxes, which were perfectly adequate for traditional switches but are now struggling to accommodate the bulk of modern wiring and smart home components. If you find yourself struggling with a sunken fitting, the Build My Spacer configurator tool allows you to design a bespoke solution that avoids structural changes entirely.
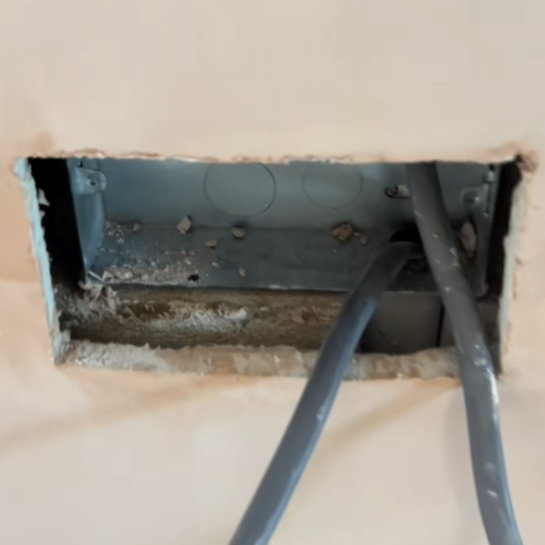
Finding a reliable deep socket back box alternative is no longer just about aesthetics; it's about safety and efficiency. When a wall is re-tiled or panelled, the existing back box remains fixed in the original substrate, leaving the socket recessed. This creates a gap that can expose internal wiring or make it impossible for standard screws to reach the lugs. Attempting to replace the box with a deeper version usually involves hacking out masonry, which generates significant dust and often leads to expensive repair work for plaster or paint.
The Problem with Standard Deep Boxes
Standard 47mm boxes are often cited as the deepest available solution. Whilst these offer significant volume, they are often impossible to install in modern UK homes featuring thin partition walls or shallow brickwork cavities. If you attempt to force a deeper box into a wall that cannot accommodate it, you risk puncturing the other side of the partition or hitting structural supports. There is also a significant risk of damaging internal cables whilst attempting to remove an old, galvanised steel box. If a cable is nicked during the removal process, the resulting repair can require a full re-wire of that specific circuit, turning a simple upgrade into a major project.
When a Spacer Plate is the Logical Choice
Choosing a bespoke spacer plate is often the most pragmatic path forward for high-end renovations. If you have invested in expensive kitchen tiles or decorative wall panelling, the last thing you want to do is disturb the surface with heavy-duty drilling. A spacer allows you to utilise the existing box whilst extending the faceplate forward by the exact millimetre required. This approach provides immediate wiring space without the need for a professional electrician to re-wire the entire circuit. It's an effective deep socket back box alternative that preserves the integrity of your decor whilst achieving a professional finish that looks like a deliberate part of the original electrical design.
Comparing Standard Deep Back Boxes to Custom Socket Spacers
Whilst standard deep boxes provide the volume required for modern wiring, their installation is often restricted to the early stages of construction. In a new build, a 47mm box can be fitted before the walls are plastered. However, during a renovation or a simple decorative upgrade, these boxes become problematic. They require flush mounting, which means you must cut into the existing wall, create substantial debris, and then repair the surrounding area. A bespoke deep socket back box alternative allows you to utilise the existing housing whilst extending the faceplate forward by the exact millimetre required to clear your new wall surface.
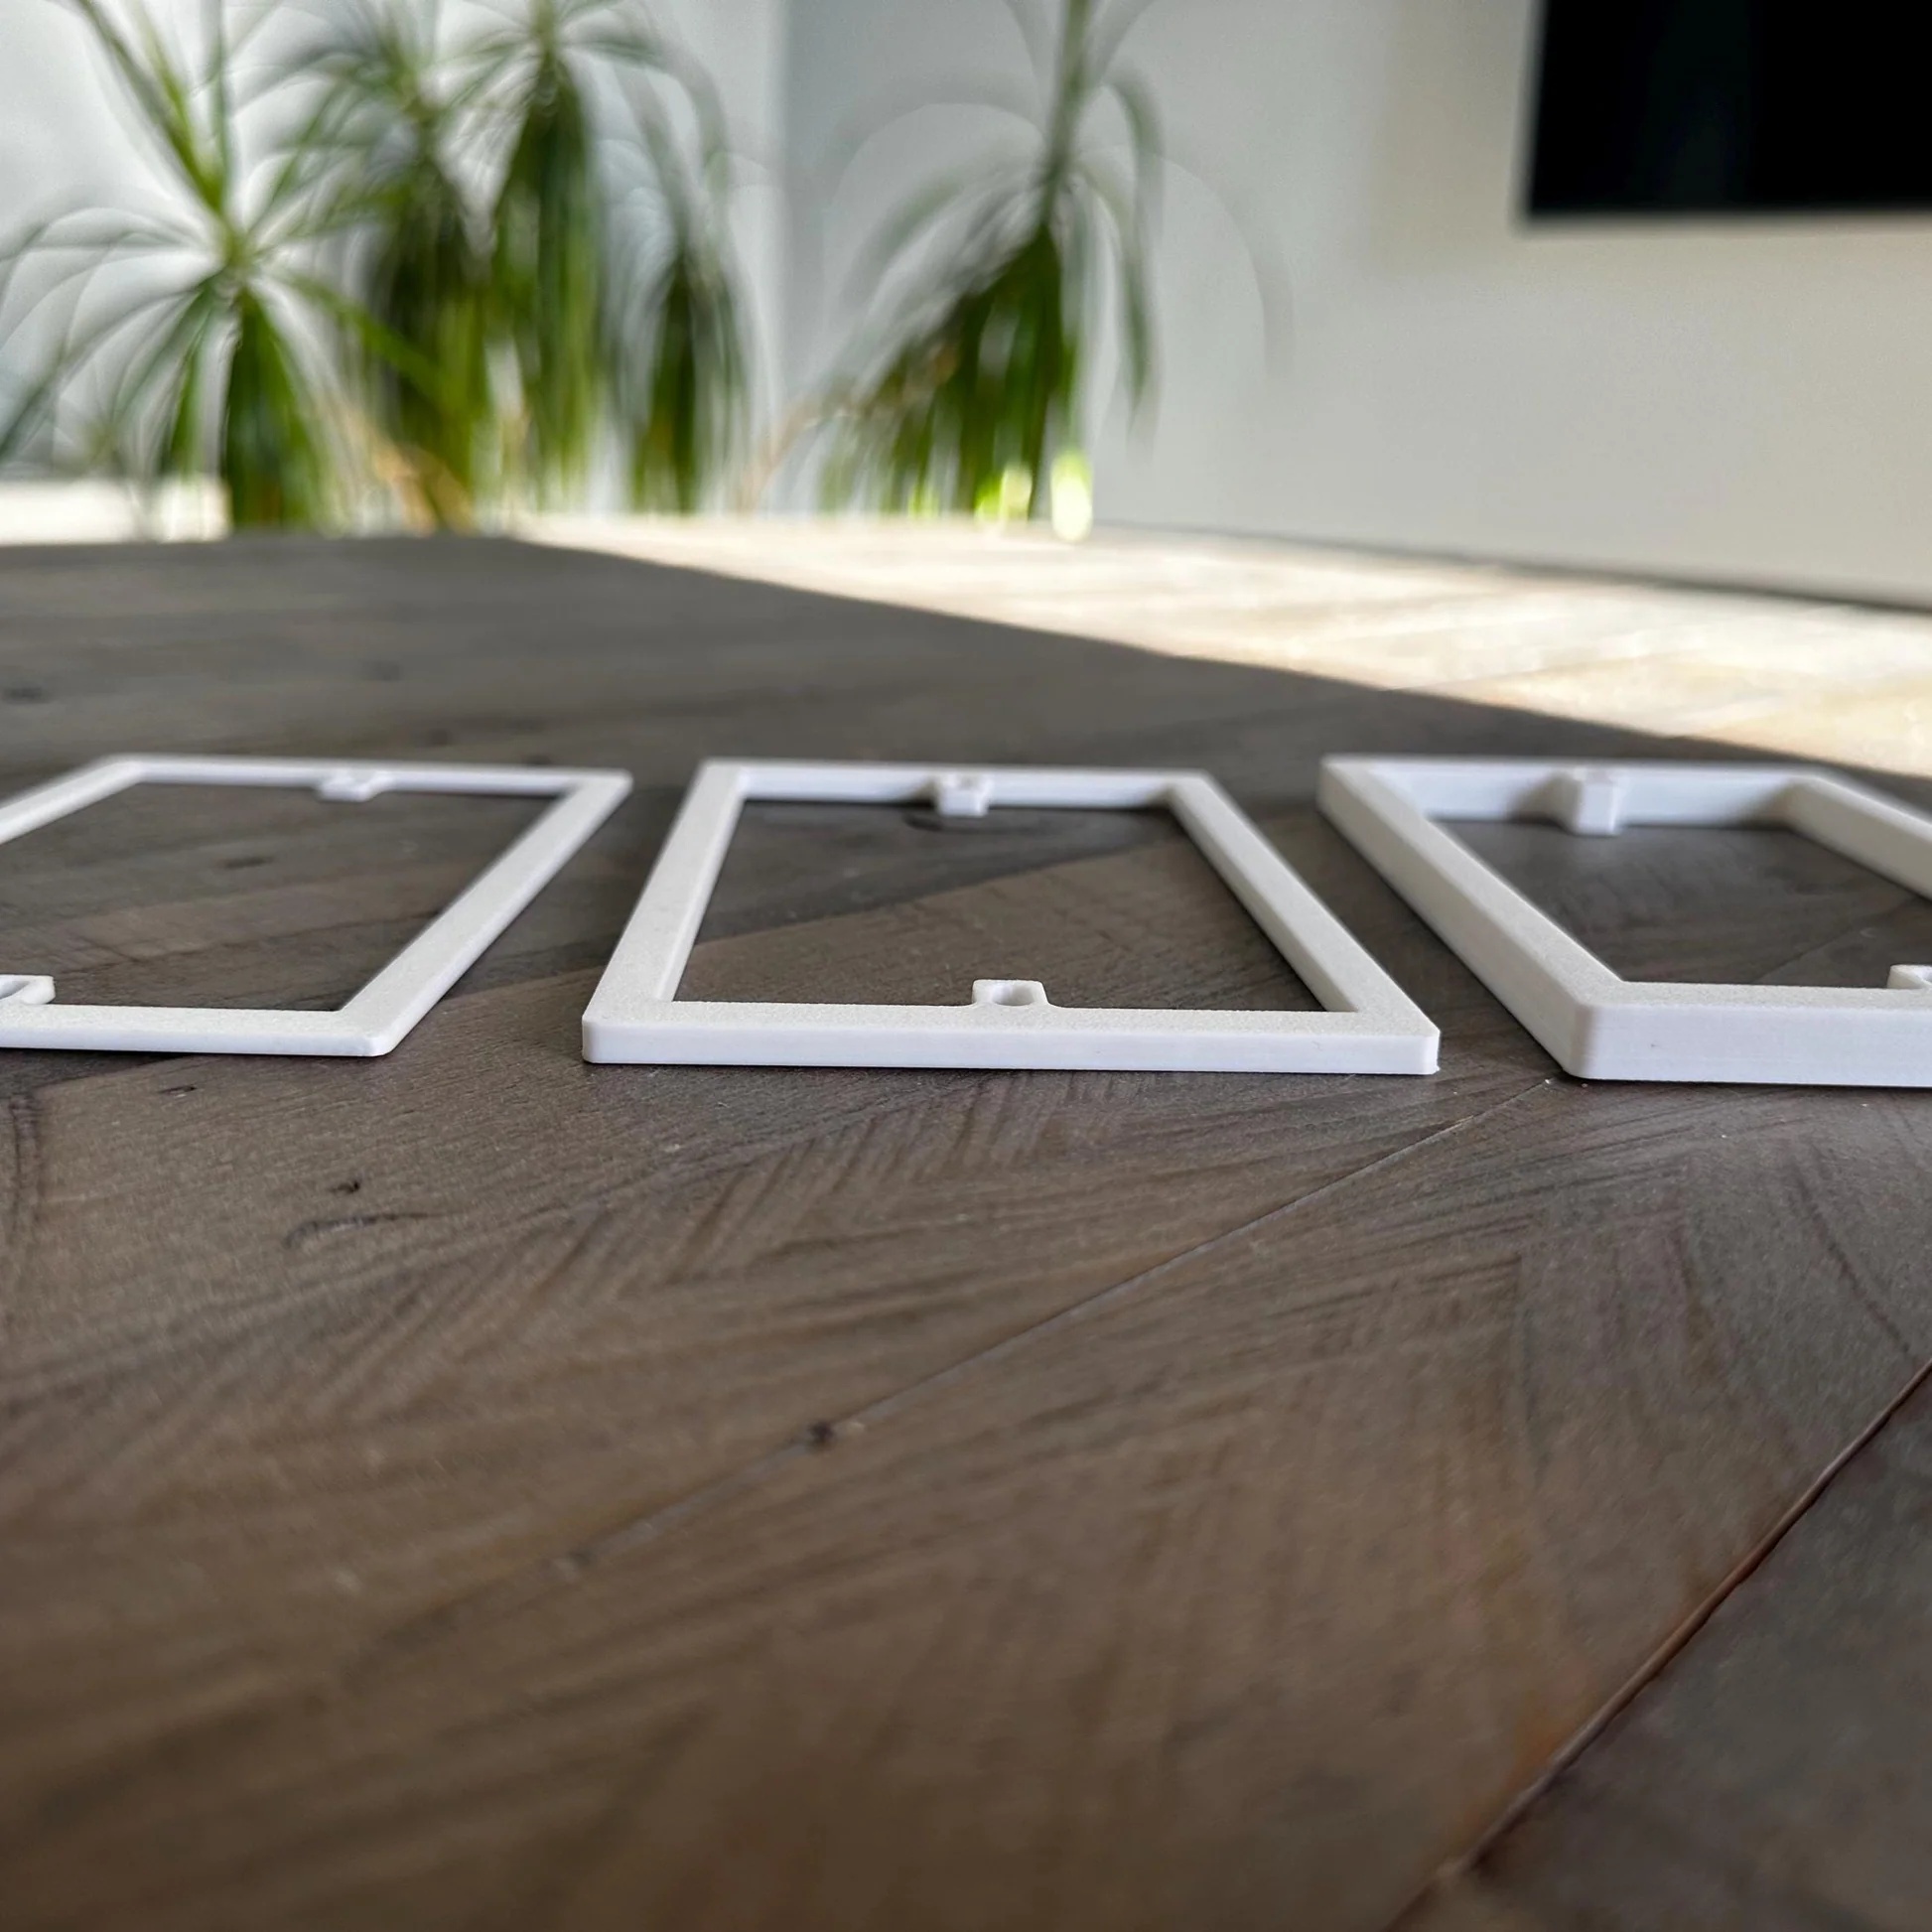
Precision is the primary advantage of choosing a custom-made solution. Standard retailers typically stock spacers in fixed 10mm or 15mm increments, which rarely align perfectly with the thickness of high-end tiles or bespoke panelling. Custom manufacturing ensures the spacer matches the exact gang configuration of your switches, whether you are dealing with single, double, or complex multi-gang setups. These components are also available in a variety of colours, allowing you to match the spacer to your faceplates or wall decor for a seamless look. Maintaining proper box volume and depth is a critical safety requirement, as detailed by international standards like the National Electrical Code (NEC), which highlights the dangers of overcrowding electrical enclosures.
Installation Effort and Mess
Replacing a back box is a destructive process that involves hammer drills, dust, and the inevitable need for re-plastering or painting. If you are working in a finished room, this level of disruption is rarely acceptable. Fitting a custom spacer is a clean, non-invasive process that requires only a screwdriver and longer 3.5mm electrical screws. A bespoke spacer acts as a functional collar that bridges the gap between the wall substrate and the faceplate. This method keeps the original box intact whilst providing the necessary depth for your components without the mess of masonry work.
Cost and Time Efficiency
Labour costs for an electrician to replace multiple back boxes across a home can escalate quickly, especially when you factor in the subsequent cost of decorators to fix the walls. Bespoke spacers can be fitted in minutes by a DIY enthusiast or a tradesperson, significantly reducing the project timeline. If you are looking for a way to streamline your renovation, you can find more information in our guide on the Top 10 Benefits of Custom Fit Plug Socket Extension Frames in 2026. By using the Build My Spacer configurator, you can order exactly what you need for each room in one go. Choosing custom socket spacers is a pragmatic investment that saves both time and the logistical headache of a full structural electrical modification.
The Best Solutions for Smart Switches and Overcrowded Wiring
The rise of smart home technology is a primary driver for homeowners seeking a deep socket back box alternative. Modern modules, such as those from Shelly or Sonoff, are designed to sit behind your existing light switch to provide automation. However, these modules typically require between 15mm and 20mm of depth on their own. When you add the physical body of the switch and the necessary wiring, a standard 25mm or even 35mm box is physically incapable of housing the equipment. Many DIY enthusiasts attempt to solve this by chiselling out the masonry behind the box, but this is a dangerous practice that can compromise the structural and fire integrity of the wall. Using the Build My Spacer tool allows you to specify the exact depth needed to house your smart hardware safely without destructive modifications.
Overcrowded wiring is not just a spatial nuisance; it is a technical hazard. In a double gang socket, the volume of cables can lead to significant heat build-up if the wires are crushed together. When cables are forced into a tight space, the pressure can cause connections to loosen over time or damage the insulation. A custom double gang socket spacer provides the essential breathing room required for safe and tidy cable management. This is particularly important in 2026, as the BS 7671:2018+A4:2026 regulations place a heavy emphasis on ensuring electrical installations are protected against mechanical damage and thermal effects.
Managing Crowded Back Boxes Safely
Forcing a faceplate onto a crowded back box is one of the most common causes of arcing or short circuits in domestic properties. If the cables are bent too sharply to fit the space, you risk breaking the internal copper strands or damaging the sheath. Bespoke spacers help maintain the minimum bend radius for modern electrical cables, ensuring long-term reliability. For a deeper look at how to organise your installation, read our guide on Managing Plug Socket Wiring Space: A Guide to Safe and Flush Installations. This approach ensures your home remains compliant with the latest safety standards whilst providing a clean, flush finish.
Bespoke Multi-Gang Solutions
Standard extension frames are almost exclusively designed for single or double gang fittings, leaving those with high-end multi-gang switches in a difficult position. In media rooms or large kitchens, 3-gang and 4-gang light switches are common, yet these often fail to align with generic off-the-shelf spacers. Made-to-measure frames solve this by matching the exact gang configuration and screw-hole alignment of your specific faceplates. This allows you to achieve a uniform, professional look across every electrical point in the room, regardless of how complex the underlying wiring or smart modules might be.
How to Measure and Install a Socket Extension Frame
Achieving a professional result with a deep socket back box alternative requires a methodical approach to measurement and installation. Unlike standard off-the-shelf products that force you to work with fixed dimensions, a bespoke spacer allows you to account for the unique variables of your specific wall surface. Whether you are dealing with thick porcelain tiles in a kitchen or decorative timber panelling in a lounge, the goal is to create a seamless bridge between the sunken box and the new faceplate. This process ensures that your electrical fittings are safe, secure, and aesthetically pleasing.
Step-by-Step Measurement Guide
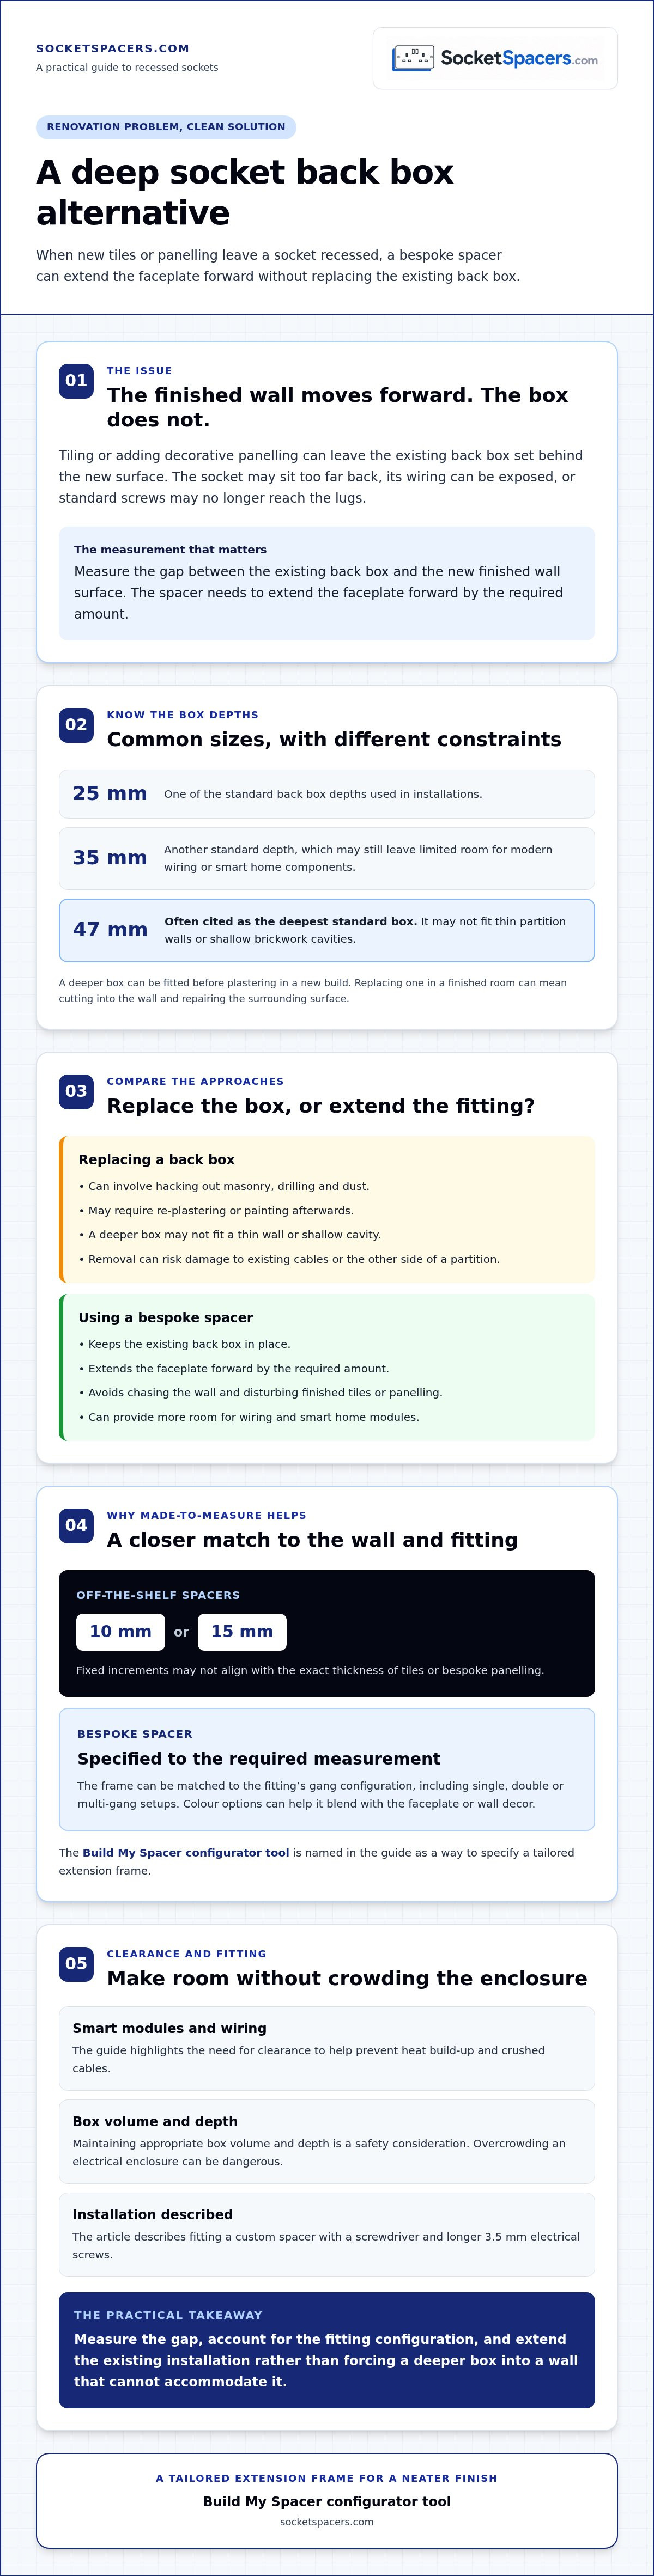
The first step is to identify the exact gap between the existing back box and the new wall surface. Use a depth gauge or a standard ruler to measure the distance from the metal lugs inside the box to the outer edge of the finished wall. If you are installing smart home hardware, you must also account for the depth of the module itself. Most modules require a safety margin of 3mm to 5mm for wiring comfort, which prevents the cables from being crushed when the faceplate is tightened. If your wall is uneven, take measurements from all four corners of the box and use the largest value to ensure the spacer covers the entire perimeter without leaving unsightly gaps.
Precision is vital at this stage. Once you have your dimensions, you can use the Build My Spacer configurator tool to input your requirements. This ensures the final product fits the exact gang configuration of your switch or socket. Before you begin the physical installation, check that you have longer 3.5mm electrical screws ready. Standard screws are typically too short to reach the lugs once a spacer is in place, so having 50mm or 75mm versions on hand will prevent delays.
Design your bespoke spacer now
The Installation Process
Safety is the priority for any electrical work. Isolate the power at the consumer unit before loosening any screws to ensure the circuit is dead. Once the power is off, unscrew the faceplate and gently pull it away from the wall to expose the wiring. Depending on the design of your deep socket back box alternative, you will either slide the spacer over the faceplate or pass the cable bundle through the centre of the frame. Position the spacer so it sits flush against the wall surface, which is essential to prevent dust ingress and maintain the mechanical integrity of the fitting.
Align the screw holes of the faceplate with the spacer and the original back box lugs. Thread your longer 3.5mm screws through the faceplate and spacer, tightening them gradually. Do not over-tighten the screws, as this can crack the faceplate or the spacer; instead, aim for a firm, steady fit that holds the unit securely against the wall. Once the installation is complete, restore the power and test the socket or switch to ensure everything is functioning correctly.
Why Bespoke Spacers Provide a Superior Professional Finish
Selecting a deep socket back box alternative is often the final step in a high-end renovation where standard utility parts simply won't suffice. Off-the-shelf spacers are typically limited to 10mm or 15mm increments. If your specific tile and adhesive combination measures 12mm, these generic options will either leave a visible gap or cause the faceplate to protrude awkwardly. Custom manufacturing ensures the spacer matches the exact gang configuration of your switches, providing a seamless transition between the wall and the hardware. This level of precision is essential when installing designer faceplates that demand a flush, level seat to look their best. High-quality plastic manufacturing provides a durable and clean look that complements even the most premium finishes.
The Difference Between DIY Hacks and Bespoke Quality
It's tempting to use makeshift solutions like washers or plastic shims to bridge a gap, but these DIY hacks are unprofessional and potentially unsafe. Makeshift spacers do not provide a continuous enclosure, which can leave the internal wiring exposed to dust, debris, or moisture. A bespoke spacer creates a solid, continuous collar that hides the side of the metal back box and prevents unwanted ingress. This approach ensures the mechanical integrity of the fitting whilst maintaining a clean aesthetic. Using a single-piece frame also reduces the risk of the faceplate becoming loose over time. For a deeper technical look at these components, refer to The Essential Guide to Custom Depth Light Switch Spacer Plates. A dedicated deep socket back box alternative ensures you don't have to compromise on safety for the sake of a tidy finish.
Supporting UK Manufacturing
Choosing a specialist UK manufacturer like SocketSpacers.com offers distinct advantages over mass-produced imports. Local production allows for rigorous quality control and the level of precision required for bespoke orders. UK electricians and contractors benefit from a reliable source of custom parts that are specifically designed for British standard fittings. This ensures that the screw hole alignments and gang spacings are accurate to the millimetre. By supporting local manufacturing, you gain access to expert advice and faster lead times for tailored solutions. You can ensure a perfect fit for your project by using the Build My Spacer configurator to specify your exact requirements. This tool allows you to select the precise depth and colour to match your interior design needs, ensuring a professional result every time.
Achieving a Professional Finish for Modern Electrical Projects
Modern electrical upgrades don't have to result in damaged walls or compromised safety. By opting for a bespoke spacer, you solve the problem of recessed fittings and overcrowded wiring without the destructive labour of structural modifications. These custom solutions ensure your installation remains compliant with BS 7671:2018+A4:2026 whilst providing the necessary clearance for advanced smart home technology.
You've seen how a dedicated deep socket back box alternative maintains the mechanical integrity of your circuit and protects against thermal build-up. As a UK-based specialist manufacturer, we provide the precision needed for any gang configuration, ensuring a flush result that off-the-shelf parts cannot match. Professional electricians trust these frames to deliver a clean finish on even the most complex high-end renovations.
Design your custom extension frame with our Build My Spacer tool
Take the frustration out of your next installation by choosing a solution tailored to your exact measurements. Our bespoke extension frames provide the reliability you need for a safe and tidy home.
Frequently Asked Questions
Can I extend a socket without replacing the back box?
Yes, you can extend a socket by using a bespoke extension frame that sits between the wall and the faceplate. This method allows you to gain extra depth without the mess of digging out the original housing. It's a highly effective deep socket back box alternative for homes where walls have been thickened by tiling, plastering, or decorative panelling. This approach preserves the existing electrical connections whilst providing a professional, flush finish.
What is the best alternative to a deep back box for smart switches?
A custom-made socket spacer is the most practical alternative to a deep back box when installing smart home modules. Standard boxes are often too shallow to house both the switch and the electronic module. By using a spacer, you extend the faceplate forward to create the necessary internal volume. This provides a reliable deep socket back box alternative that avoids the structural risk of chiselling into masonry or partition walls to fit a deeper metal box.
How much extra wiring space do I need for a Shelly module?
Most Shelly modules require an additional 15mm to 20mm of depth behind the switch to accommodate the device and its associated wiring. When measuring for your installation, you should also include a safety margin of approximately 3mm to 5mm. This prevents the module from being crushed against the back of the box, which ensures better heat dissipation and reduces the risk of mechanical damage to the cables during the final fitting.
Are socket spacers safe to use in UK homes?
Yes, bespoke socket spacers are safe when they are manufactured from durable, high-quality plastics and installed correctly. They help maintain the integrity of the electrical enclosure by providing a continuous collar that prevents dust and debris from entering the back box. Using a properly fitted spacer is significantly safer than using makeshift shims or washers, as it ensures the faceplate remains securely attached to the wall substrate according to UK safety standards.
What screw size do I need when using a socket extension frame?
You will typically need longer M3.5 electrical screws to reach the lugs of the original back box through the spacer. Standard screws provided with faceplates are usually 25mm or 35mm long, which will be insufficient once an extension frame is added. Depending on the depth of your spacer, you should have 50mm or 75mm screws ready. Always ensure the screws are tightened firmly but avoid over-tightening to prevent cracking the faceplate or the spacer.
Can I get a spacer for a multi-gang light switch?
Yes, bespoke spacers can be manufactured for any gang configuration, including 3-gang or 4-gang light switches. Standard retailers rarely stock extension frames for these larger fittings, making custom manufacturing the only viable option for a professional finish. These frames are designed to match the exact screw-hole alignment and outer dimensions of your specific multi-gang faceplate, ensuring a uniform look across more complex media rooms or kitchen installations.
Do I need an electrician to fit a socket spacer?
Whilst fitting a spacer is a straightforward mechanical task, you must always prioritise safety by isolating the circuit at the consumer unit. If you are comfortable safely disconnecting and reconnecting a faceplate, it's a task many DIY enthusiasts can complete. However, if the wiring is complex or if you are installing smart modules for the first time, consulting a qualified electrician ensures the work complies with the latest BS 7671 wiring regulations.
What colours are bespoke socket spacers available in?
Bespoke spacers are available in a variety of colours to complement your interior decor or faceplate finish. Common choices include white, black, and grey, though custom options can often be specified to match specific design requirements. Selecting a matching colour ensures the spacer blends seamlessly with the wall or the switch itself, providing a professional appearance that looks like an intentional part of the original electrical design rather than an afterthought.
Electrical Safety
Always isolate the circuit and confirm it is dead before removing a socket or switch faceplate. Only carry out the work if you are competent to do so. If you find damaged wiring, signs of overheating or anything unsafe, stop and contact a qualified electrician.