
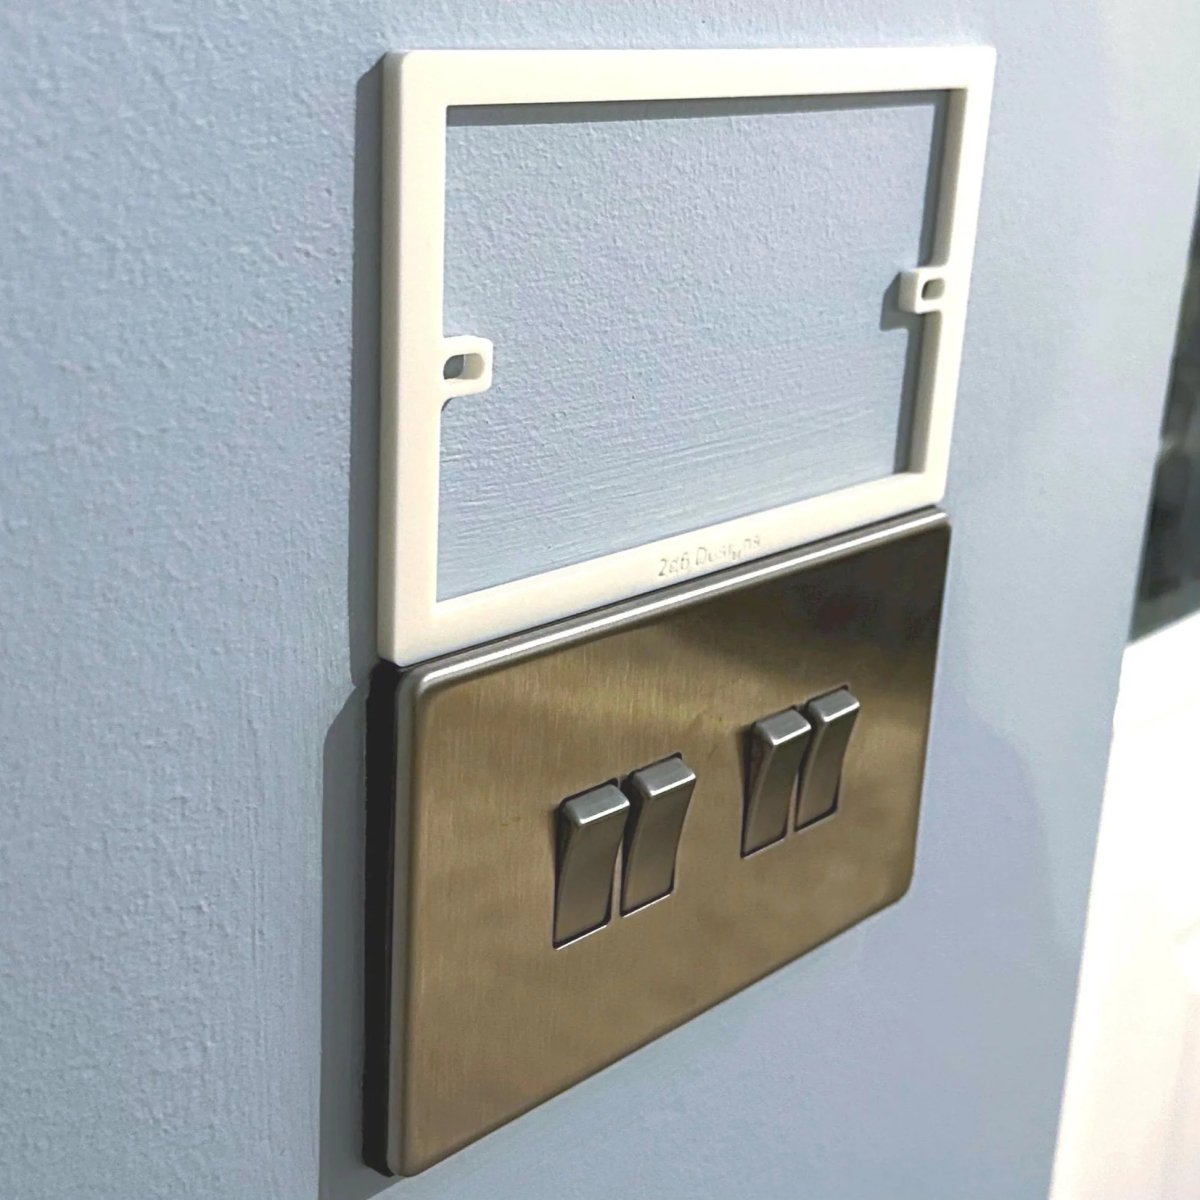
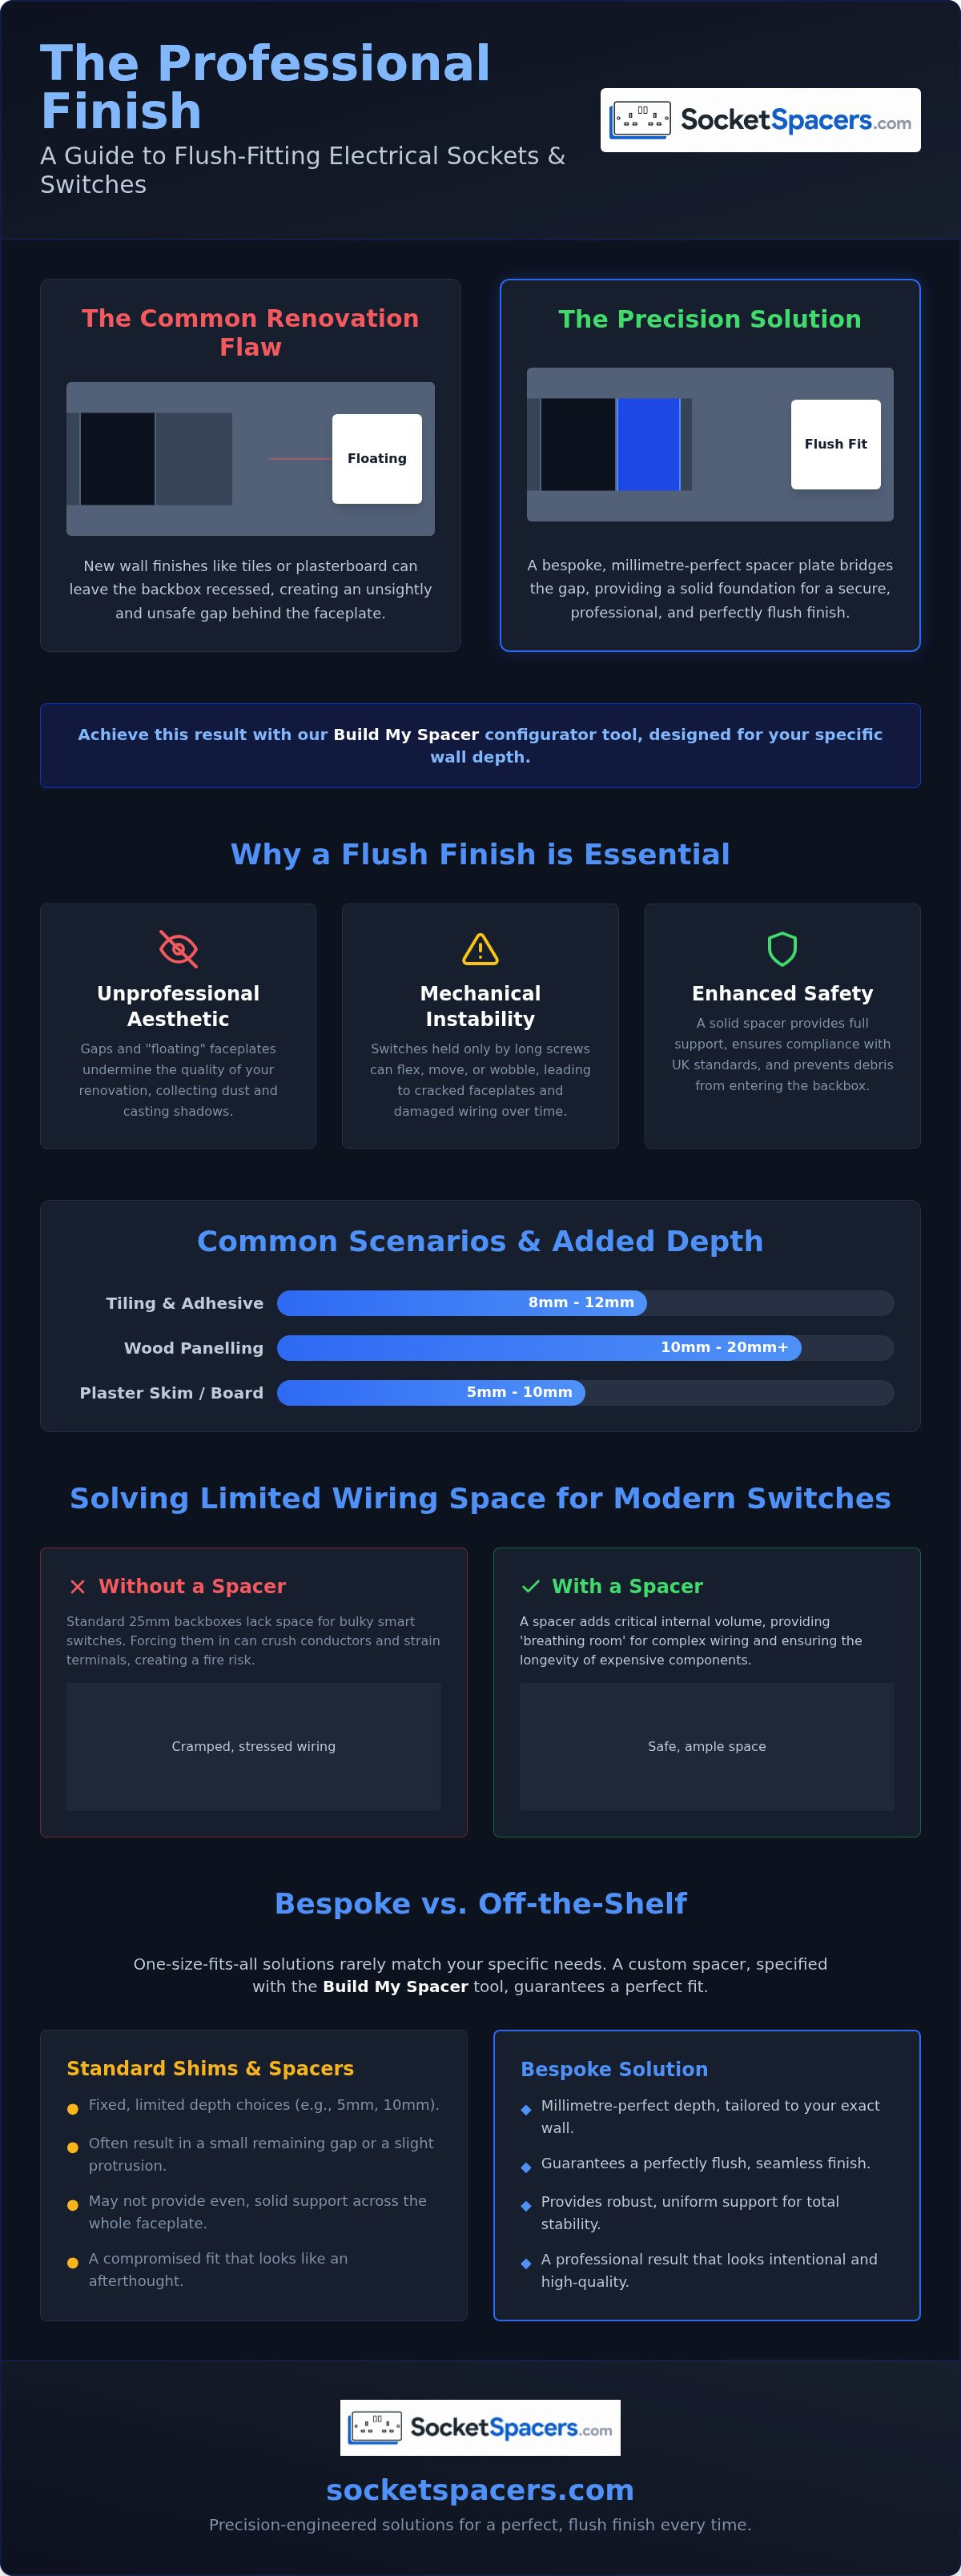
A perfectly decorated room is instantly undermined by a light switch that sits several millimetres deep into the wall, leaving an unsightly gap where dust and shadows collect. You've likely spent hours tiling or plastering, only to find the standard backbox is now buried too deep for the faceplate to sit flush against the surface. It's a common technical frustration that makes even the most expensive renovation look unfinished and unprofessional. Using our Build My Spacer configurator tool, you can resolve these alignment issues with a precision-engineered solution tailored to your specific wall depth.
We agree that safety and aesthetics should never be a compromise. This guide explains how a bespoke light switch spacer plate provides the necessary support for your electrical fittings, ensuring they are secure rather than floating on extended screws. You'll learn the importance of exact measurements for a millimetre-perfect result and how to achieve a flush finish that satisfies both UK safety standards and your own high expectations. We will cover everything from identifying backbox depth issues to ordering the exact size needed for a seamless installation.
Key Takeaways
- Understand why millimetre precision is essential for achieving a flush finish when walls have been thickened by tiles, plasterboard, or panelling.
- Discover how a bespoke light switch spacer plate creates necessary internal volume for modern wiring without requiring messy structural alterations to your walls.
- Learn the safety and stability advantages of using solid, made-to-order spacers over unreliable DIY shims or standard off-the-shelf alternatives.
- Utilise the Build My Spacer configurator tool to specify the exact depth and dimensions required for your specific installation.
- Master the straightforward measurement and installation techniques needed to ensure your electrical fittings are secure, professional, and aesthetically seamless.
Table of Contents
- What is a Light Switch Spacer Plate and Why is it Essential?
- Solving the Problem of Limited Light Switch Wiring Space
- Bespoke vs Standard: Why Millimetre Precision Matters
- How to Measure and Install Your Light Switch Spacer
- The SocketSpacers Advantage: Ordering Your Bespoke Solution
What is a Light Switch Spacer Plate and Why is it Essential?
A light switch spacer plate is a precision-engineered frame designed to bridge the gap between a recessed electrical backbox and a new wall surface. In UK electrical installations, the metal or plastic Pattress box is usually fixed to the masonry or studwork before the final wall finish is applied. If you later add tiles, thick plaster, or timber panelling, that box becomes sunken relative to the new surface. It's a common technical frustration for both renovators and tradespeople.
Instead of the messy and time-consuming task of digging out the original box and re-sitting it, a spacer provides a structural extension. By using the Build My Spacer configurator tool, you can specify an exact depth that brings the switch faceplate perfectly flush. This eliminates the floating effect where the switch is held in place only by long screws. Without proper support, switches often flex or move dangerously during operation, which can lead to damaged wiring or cracked faceplates.
Common Scenarios: Tiling, Panelling, and Plastering
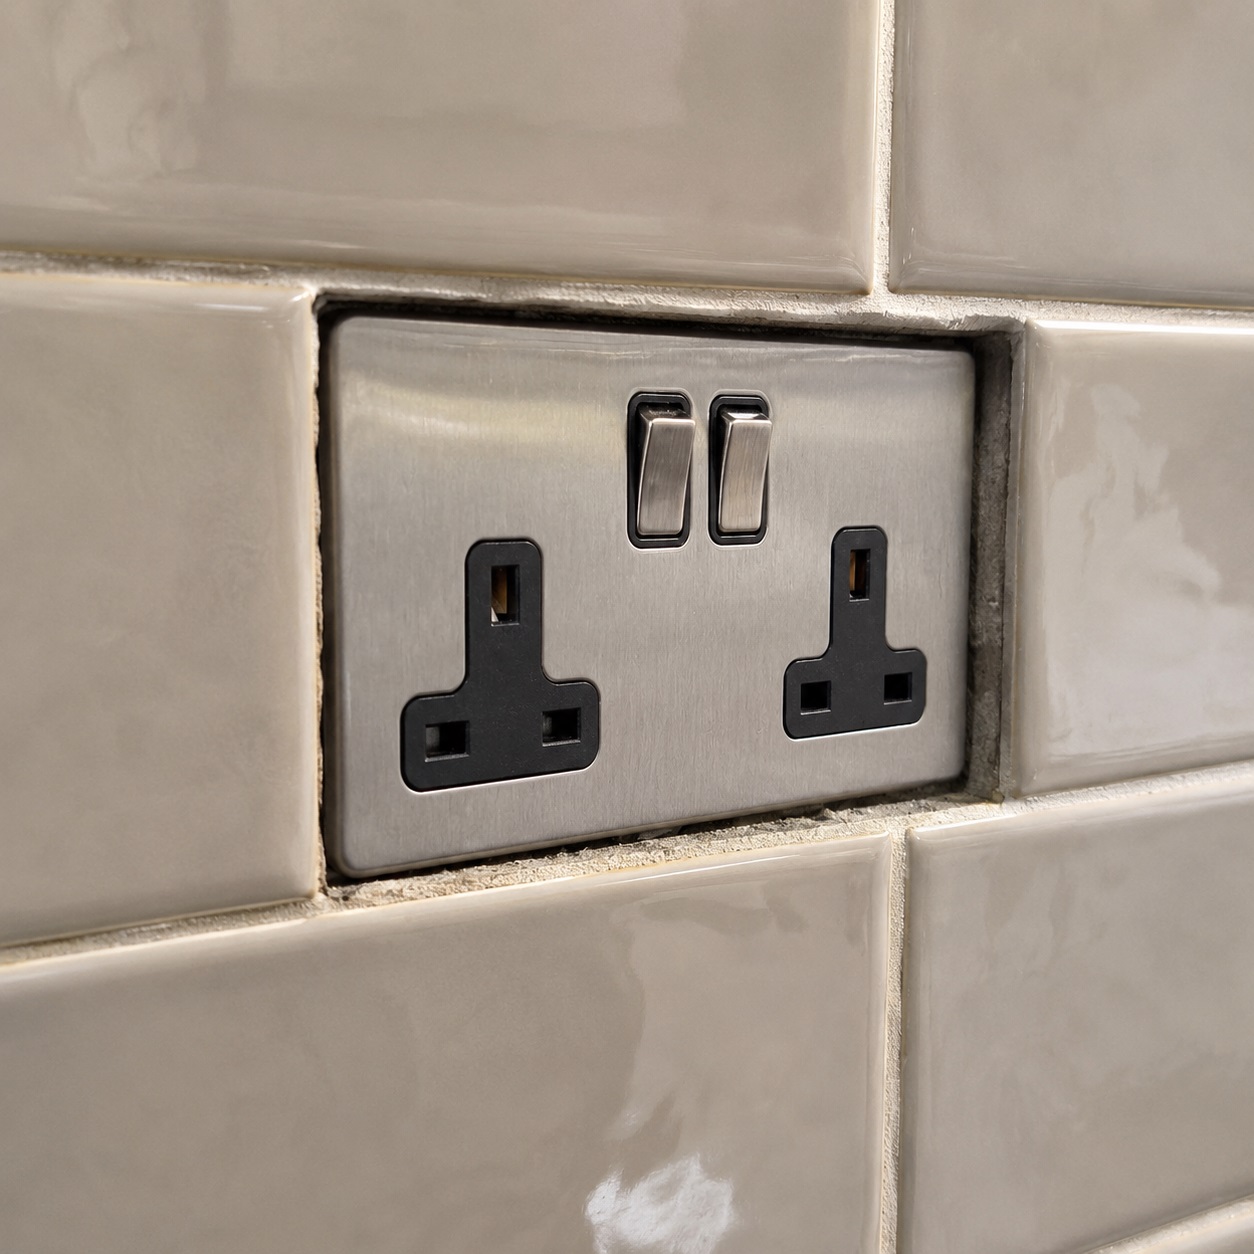
Most standard renovations change the profile of a wall significantly. For instance, kitchen and bathroom tiling typically adds between 8mm and 12mm of depth once the adhesive is factored in. Modern decorative panelling or acoustic slat-wood features can create even larger voids that standard screws cannot bridge safely. In older UK properties, walls are rarely perfectly flat. A bespoke light switch spacer plate ensures the switch has a level mounting surface, preventing the faceplate from distorting against an uneven backdrop.
The Aesthetic and Safety Benefits of a Flush Finish
Beyond the visual appeal of a professional finish, there are practical safety reasons to install a spacer. Gaps behind faceplates are magnets for dust and debris. Over time, this accumulation can interfere with electrical components. A solid spacer provides mechanical support across the entire perimeter of the switch. This prevents the faceplate from bowing inwards when pressed. It's a simple fix that stops plastic switches from snapping or metal ones from loosening their screw fixings.
Achieving a neat and workmanlike finish is a core tenet of UK electrical standards. While some retailers offer standard 32mm spacers or basic 10mm shims, these rarely match the actual gap created by your specific materials. A bespoke solution ensures there's no visible transition between the wall and the switch. This results in a secure, safe, and high-quality installation that looks intentional rather than like an afterthought.
Solving the Problem of Limited Light Switch Wiring Space
Modern electrical accessories are becoming increasingly complex. While traditional rocker switches require minimal depth, contemporary equivalents often feature bulky internal components. Many UK homes are equipped with standard 25mm backboxes, which were sufficient for decades but now struggle to accommodate modern hardware. A light switch spacer plate offers an efficient way to deepen the available internal volume without the disruption of structural wall modifications.
If you're working with solid brick walls, chasing out a deeper recess is a dusty, labour-intensive task that risks damaging the surrounding substrate. It's often physically impossible to deepen a hole without compromising the wall's integrity. By using a spacer, you essentially bring the front of the fitting forward, creating the necessary clearance behind the faceplate. For a more detailed look at this concept, you can read our guide on managing plug socket wiring space.
The Challenge of Fitting Smart Switches
Smart home technology has revolutionised domestic lighting, but the hardware itself is notoriously space-consuming. Smart switches contain Wi-Fi modules, relays, and dimming circuitry that often occupy the majority of a standard backbox. Attempting to force these units into a shallow space can lead to crushed conductors or strained terminals. A 5mm or 10mm light switch spacer plate provides that critical bit of "breathing room," allowing you to dress the cables properly. This ensures that the electronics aren't under physical stress, which is vital for the longevity of expensive smart home components.
Safety First: Avoiding Overcrowded Backboxes
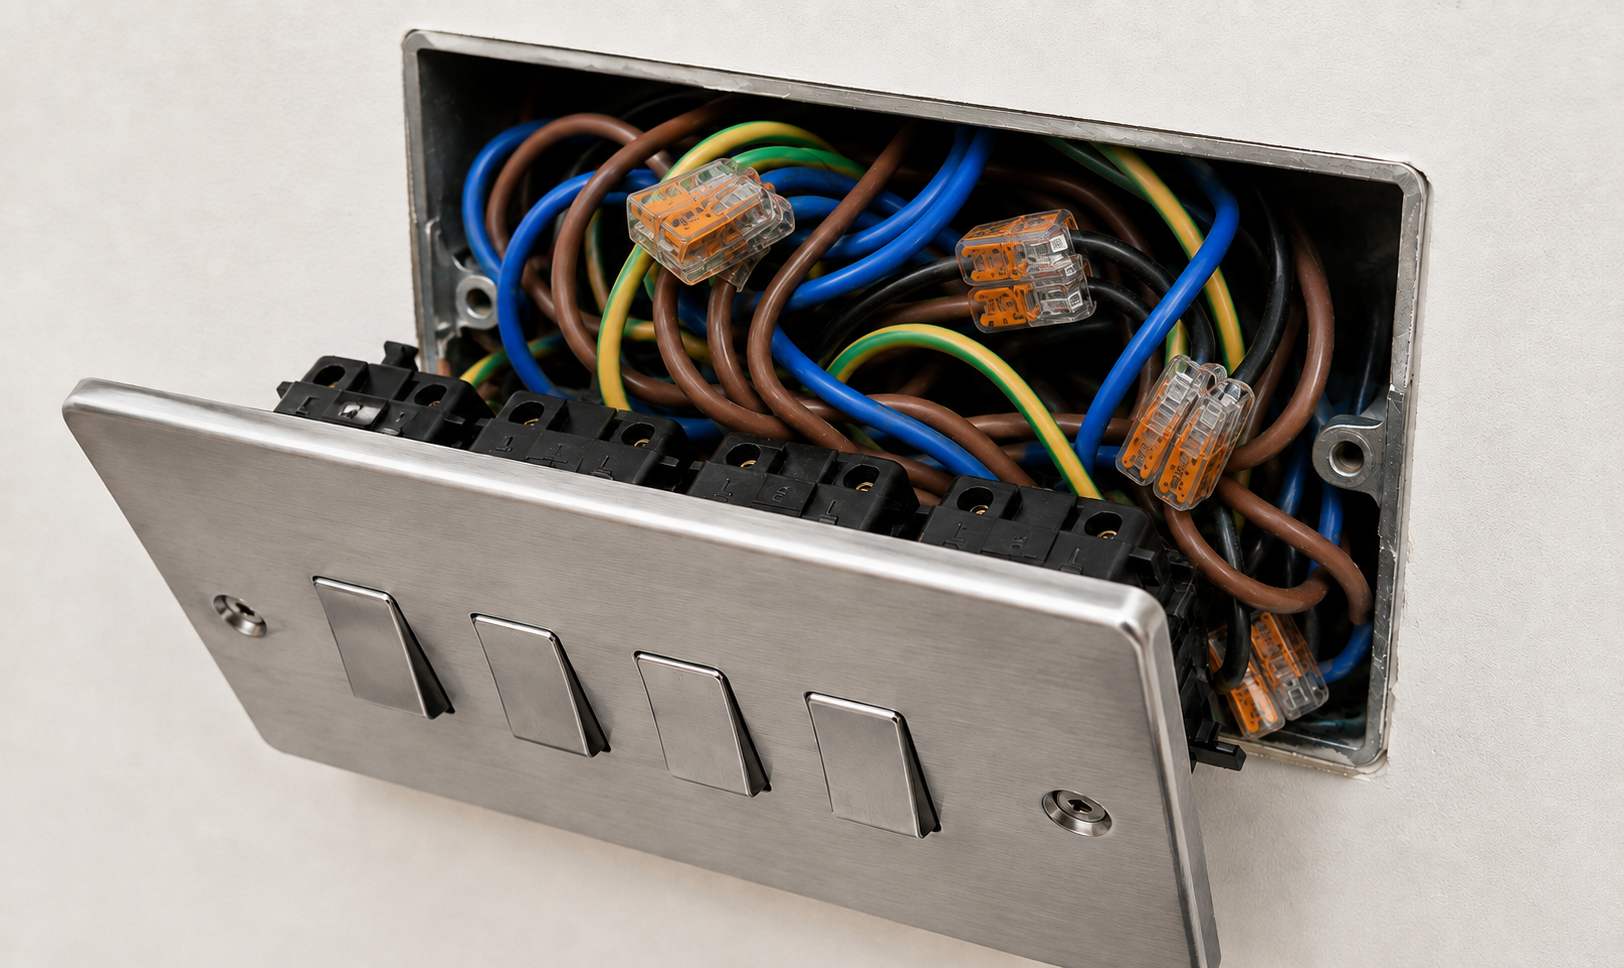
Safety is the most significant factor when considering internal volume. According to UK wiring regulations, electrical installations must allow enough space for cables to be safely routed and terminated without being subjected to mechanical force. Overcrowded boxes are a fire hazard; restricted airflow leads to heat build-up amongst the copper cores, especially when multiple cables are present. You can identify an overcrowded box by a few simple signs:
- The faceplate requires significant pressure to sit flat against the wall surface.
- Mounting screws feel exceptionally tight or "springy" as you turn them.
- Wires must be bent at acute, sharp angles to make the fitting close.
Using a spacer ensures that cables have a natural path, reducing the risk of overheating or loose connections. If you find yourself struggling with a tight fit, consider a bespoke extension frame to provide the necessary depth safely and securely.
Bespoke vs Standard: Why Millimetre Precision Matters
Most high-street retailers and trade counters provide a very limited selection of electrical accessories. When searching for a light switch spacer plate, you'll typically find only two options: a shallow 10mm version or a bulky 32mm surface box. These fixed depths rarely align with the physical reality of a UK renovation project. If your wall finish has increased by 7mm or 13mm, a standard off-the-shelf product will fail to provide a flush result.
Precision is not just about aesthetics; it's a matter of structural integrity. Adhering to the Building Regulations for electrical safety means ensuring that all fittings are securely mounted and enclosures are fit for purpose. When a spacer doesn't match the gap exactly, the switch faceplate remains unsupported at the edges. This leads to the plate flexing every time it's used, which eventually loosens the internal screw threads or causes the plastic to fatigue and crack.
The Problem with Fixed-Depth Spacers
Fixed-depth spacers often force you into a compromise. If the spacer is too thin, the switch remains recessed, leaving a gap where the raw edges of your tiles or panelling are visible. If it's too thick, the switch protrudes from the wall, creating a bulky plastic collar that catches the eye for the wrong reasons. Bespoke manufacturing allows you to specify the exact thickness needed. Whether you require 3mm to account for a thin splashback or 18mm for heavy decorative stone, using the Build My Spacer configurator tool ensures the faceplate sits perfectly level with the finished surface.
Custom Sizes for Multi-Gang and Large Plates
The challenge of finding a correct fit intensifies when dealing with multi-gang switches. Standard retailers rarely stock spacers for triple or quadruple gang configurations, often leaving homeowners to "double stack" smaller spacers side-by-side. This is an unstable and unprofessional approach that leaves visible seams and reduces the security of the fitting. Bespoke light switch spacer plates can be manufactured to match the exact footprint of your specific faceplates, regardless of how many switches they contain. This ensures a consistent, high-quality look across an entire room, even if you have a mix of single and multi-gang fittings on different walls.
By choosing a made-to-order solution, you avoid the frustration of trying to make standard parts fit a non-standard problem. Precision engineering between 2mm and 20mm provides a level of detail that mass-market products simply cannot replicate, resulting in a finish that looks like part of the original architectural design rather than a late-stage correction.
How to Measure and Install Your Light Switch Spacer
Achieving a professional result depends entirely on the accuracy of your initial measurements. A light switch spacer plate is only as effective as the data used to manufacture it. Before you begin, ensure the power is isolated at the consumer unit. Safety is paramount. This is a critical step that should never be overlooked, regardless of how simple the task appears. Once the circuit is dead, verify it with a suitable voltage tester to ensure the terminals are safe to handle.
Step-by-Step Measurement Guide
To determine the exact depth required, you must first create a physical representation of the finished installation. Loosen the existing faceplate screws and gently pull the switch forward until the back of the plate sits flush with the new wall surface. If you have tiled or added decorative panelling, the plate should rest perfectly on that new outer layer without any visible gaps.
Use a digital calliper or a fine-scale ruler to measure the distance between the original wall surface and the back of the faceplate. It is a mistake to measure only one side. Walls are rarely perfectly level, so you should take measurements at all four corners of the fitting. If the readings vary by a millimetre or two, calculate the average thickness required. This ensures the light switch spacer plate provides a balanced mounting surface that won't cause the faceplate to tilt or bow. Once you have these figures, you can use the Build My Spacer configurator tool to order a part that matches your requirements exactly.
Installation for a Professional Result
Installation is a straightforward process that usually requires only a screwdriver. One of the primary advantages of our bespoke designs is that they are often manufactured to slide over the back of the switch without the need to disconnect any wiring. This significantly reduces the complexity of the job whilst minimising the risk of wiring errors or loose connections.
If the original M3.5 electrical screws are too short to reach the backbox lugs through the new spacer, you will need to replace them with longer versions. These are standard in the UK and available in various lengths. Slide the spacer into position, ensuring it is centred correctly behind the faceplate. Thread the screws through the faceplate and spacer, then into the backbox lugs. Tighten the screws until the faceplate sits firmly against both the spacer and the wall surface. Be careful not to over-tighten, as this can crack plastic fittings or distort metal plates.
The SocketSpacers Advantage: Ordering Your Bespoke Solution
Standard retailers often focus on high-volume, standard stock. Whilst a trade counter like Screwfix is useful for general components, their inventory rarely includes a light switch spacer plate tailored to a specific millimetre depth. SocketSpacers.com specialises in these made-to-order solutions, manufactured in the UK by 2d6 Ltd. We prioritise technical precision and a high-quality finish, ensuring that your electrical fittings look like a deliberate part of the architecture rather than a DIY correction.
Our manufacturing process allows for a level of customisation that general retailers cannot match. Whether you are dealing with a single gang switch or require bespoke large extension frames for complex multi-gang configurations, our solutions are engineered to fit standard UK dimensions perfectly. For further inspiration on how these parts integrate into high-end interiors, consult our essential guide to custom depth light switch spacer plates.
Why Bespoke Beats DIY Shims
In many renovation projects, it is tempting to use plastic washers, shims, or even folded cardboard to bridge the gap behind a faceplate. These methods are inherently unstable. DIY shims are fiddly to install and often lead to a "spongy" feel when the switch is operated. Because the support is only provided at the screw points, the faceplate is prone to flexing or cracking under pressure.
A solid, custom-fit plate provides a continuous support surface for the entire perimeter of the switch. This structural integrity ensures the fitting is secure and safe. Beyond stability, aesthetics play a significant role. Our spacers are available in a range of colours, allowing you to match the spacer to your faceplate or the surrounding decor. This results in a seamless transition that hides the raw edges of tiles or plaster, providing a truly professional UK finish.
Using the Build My Spacer Tool
The Build My Spacer configurator tool is designed to simplify the specification process for both homeowners and tradespeople. There is no need for complex technical drawings or manual quoting. You simply select your required gang size, choose the desired thickness between 2mm and 20mm, and pick the colour that best suits your installation. This automated process provides an instant bespoke solution for your specific project.
Once your order is placed, the part is manufactured to your exact specifications. This means there is no further adjustment or "making do" required once you are on-site. The spacer arrives ready to install, fitting perfectly between the wall and the faceplate. By choosing a precision-engineered light switch spacer plate, you save time on installation and achieve a result that standard retail parts simply cannot provide.
Achieve a Millimetre-Perfect Finish for Your Home
A professional electrical installation relies on the technical details that often go unnoticed. By choosing a bespoke light switch spacer plate, you eliminate the safety risks of floating fittings and the aesthetic flaws of visible gaps behind your faceplates. We've explored how millimetre precision between 2mm and 20mm provides the structural support needed for a secure, flush finish that mass-market parts simply cannot replicate.
Our made-to-order solutions are manufactured in the UK by 2d6 Ltd, focusing on the quality and durability that has earned us 5-star reviews from professionals and DIY enthusiasts alike. You don't have to settle for a compromised result when a tailored solution is specifically engineered for your wall depth.
Create your perfect fit with the Build My Spacer configurator tool
Take the final step in your renovation with quiet confidence. Ensuring your switches are safe, stable, and perfectly aligned is the most efficient way to provide your project with the high-end finish it deserves.
Frequently Asked Questions
What is a light switch spacer plate used for?
A light switch spacer plate is primarily used to bring an electrical faceplate flush with a wall surface that has been thickened. This situation is common after tiling, timber panelling, or additional plastering. The spacer provides a solid, continuous support frame behind the switch. This prevents unsightly gaps and ensures the fitting is secure and professional rather than floating on its screws.
Can I install a spacer without disconnecting the wires?
You can often install our bespoke spacers without the need to disconnect any electrical wires. Many of our designs are engineered to be "open" or feature a large enough internal aperture to slide directly over the switch unit. Whilst this makes the process faster for DIY users, it's essential that the power remains isolated at the consumer unit throughout the installation.
Do I need longer screws when using a spacer plate?
You will usually require longer screws to complete the installation. If you add a 10mm spacer, the original screws will likely be too short to reach the threaded lugs inside the backbox. In most cases, you'll need standard M3.5 electrical screws that are 10mm to 20mm longer than your existing ones. This ensures a deep and secure fix into the wall box.
What thickness of light switch spacer do I need?
The required thickness is determined by measuring the gap between the existing wall surface and the back of your faceplate once it's held in its desired flush position. Because every renovation is unique, we offer bespoke manufacturing for any depth between 2mm and 20mm. Using the Build My Spacer configurator tool allows you to specify the exact millimetre needed for a perfect fit.
Are spacer plates compatible with smart switches?
Spacer plates are fully compatible with smart switches and are often used specifically to accommodate them. Modern smart hardware features deeper internal electronics that can struggle to fit in standard 25mm UK backboxes. Adding a light switch spacer plate provides the necessary internal volume to house these components and their associated wiring safely without the need to chase out deeper holes in the masonry.
Can I get a spacer for a double gang or multi-gang switch?
We manufacture bespoke spacers for single gang, double gang, and even larger multi-gang configurations. Since our products are made-to-order in the UK, we can provide precision-fit solutions for almost any UK standard or non-standard electrical plate. This includes large extension frames for triple or quadruple switches, ensuring a consistent and professional look across your entire project.
Electrical Safety
Always isolate the circuit and confirm it is dead before removing a socket or switch faceplate. Only carry out the work if you are competent to do so. If you find damaged wiring, signs of overheating or anything unsafe, stop and contact a qualified electrician.