
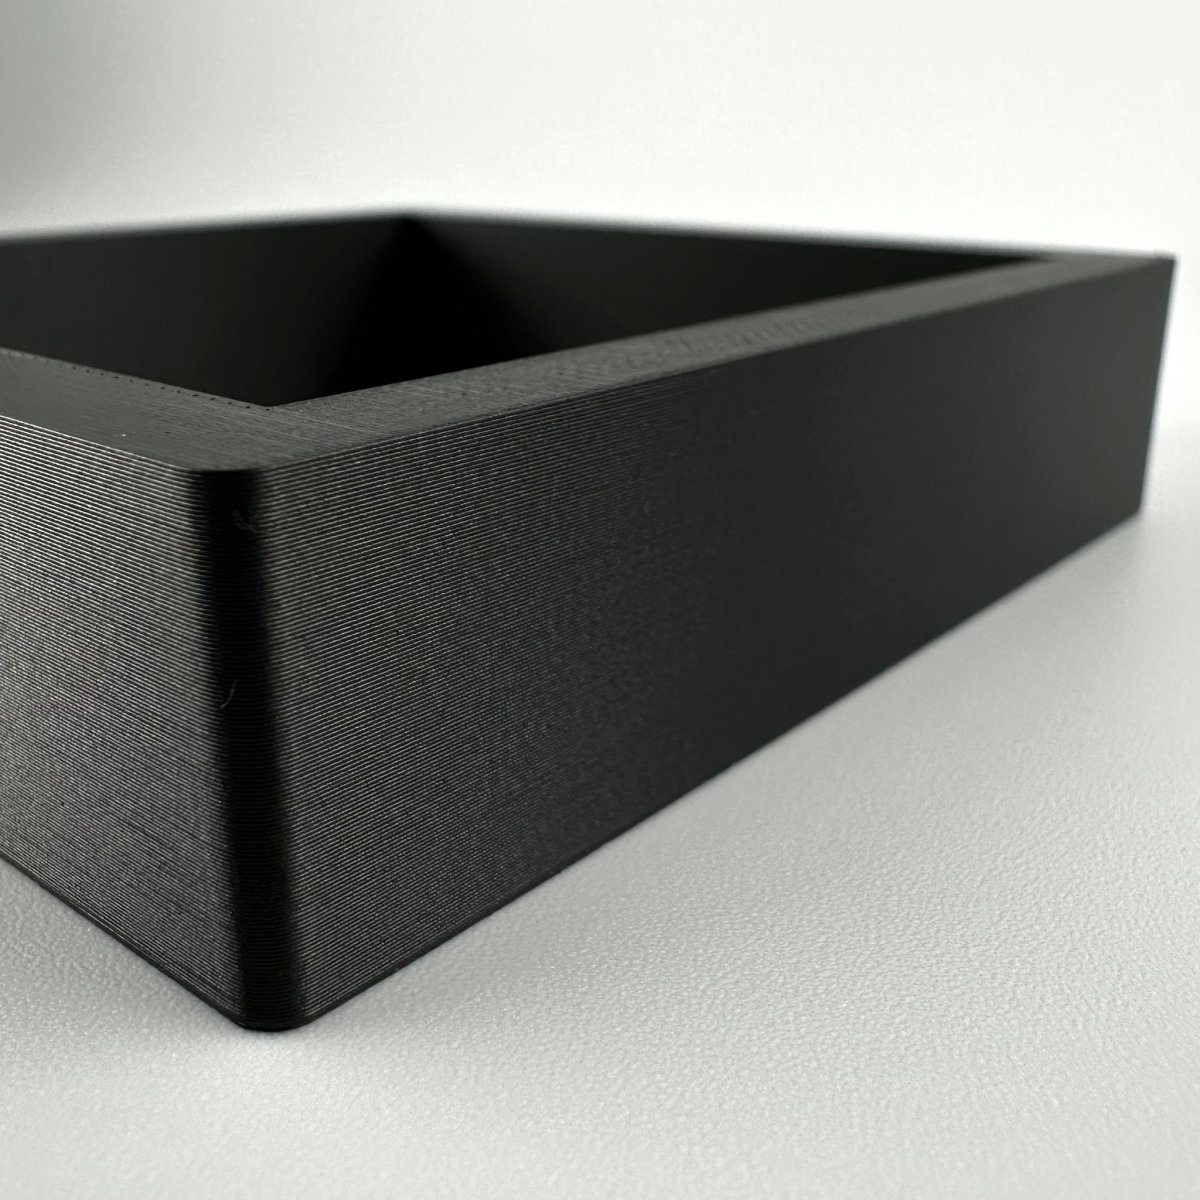
It is a common and frustrating problem for UK homeowners and tradespeople. After the time and expense of having a room plastered or skimmed, you discover the electrical sockets no longer fit. The new layer of plaster has made the wall thicker, causing the backbox to become recessed. As a result, the socket faceplate either sits deep within the wall, creating an ugly recess, or it wobbles loosely on screws that are too short to secure it properly. This is not just an aesthetic issue; it is a structural and safety concern.
Many people resort to common fixes like buying longer screws, but this fails to solve the underlying problem: the lack of physical support behind the faceplate. A loosely attached or "floating" socket is unstable, unsafe, and undermines the professional finish of your newly decorated room. The definitive solution is a bespoke spacer, custom-made to the exact thickness of your new plaster. This guide explains why this problem occurs and provides a step-by-step process for measuring and fitting a custom spacer to achieve a perfectly flush, secure, and professional result.
Already know the best option for fixing your sunken sockets? Create your customised solution now with the Build My Spacer tool.
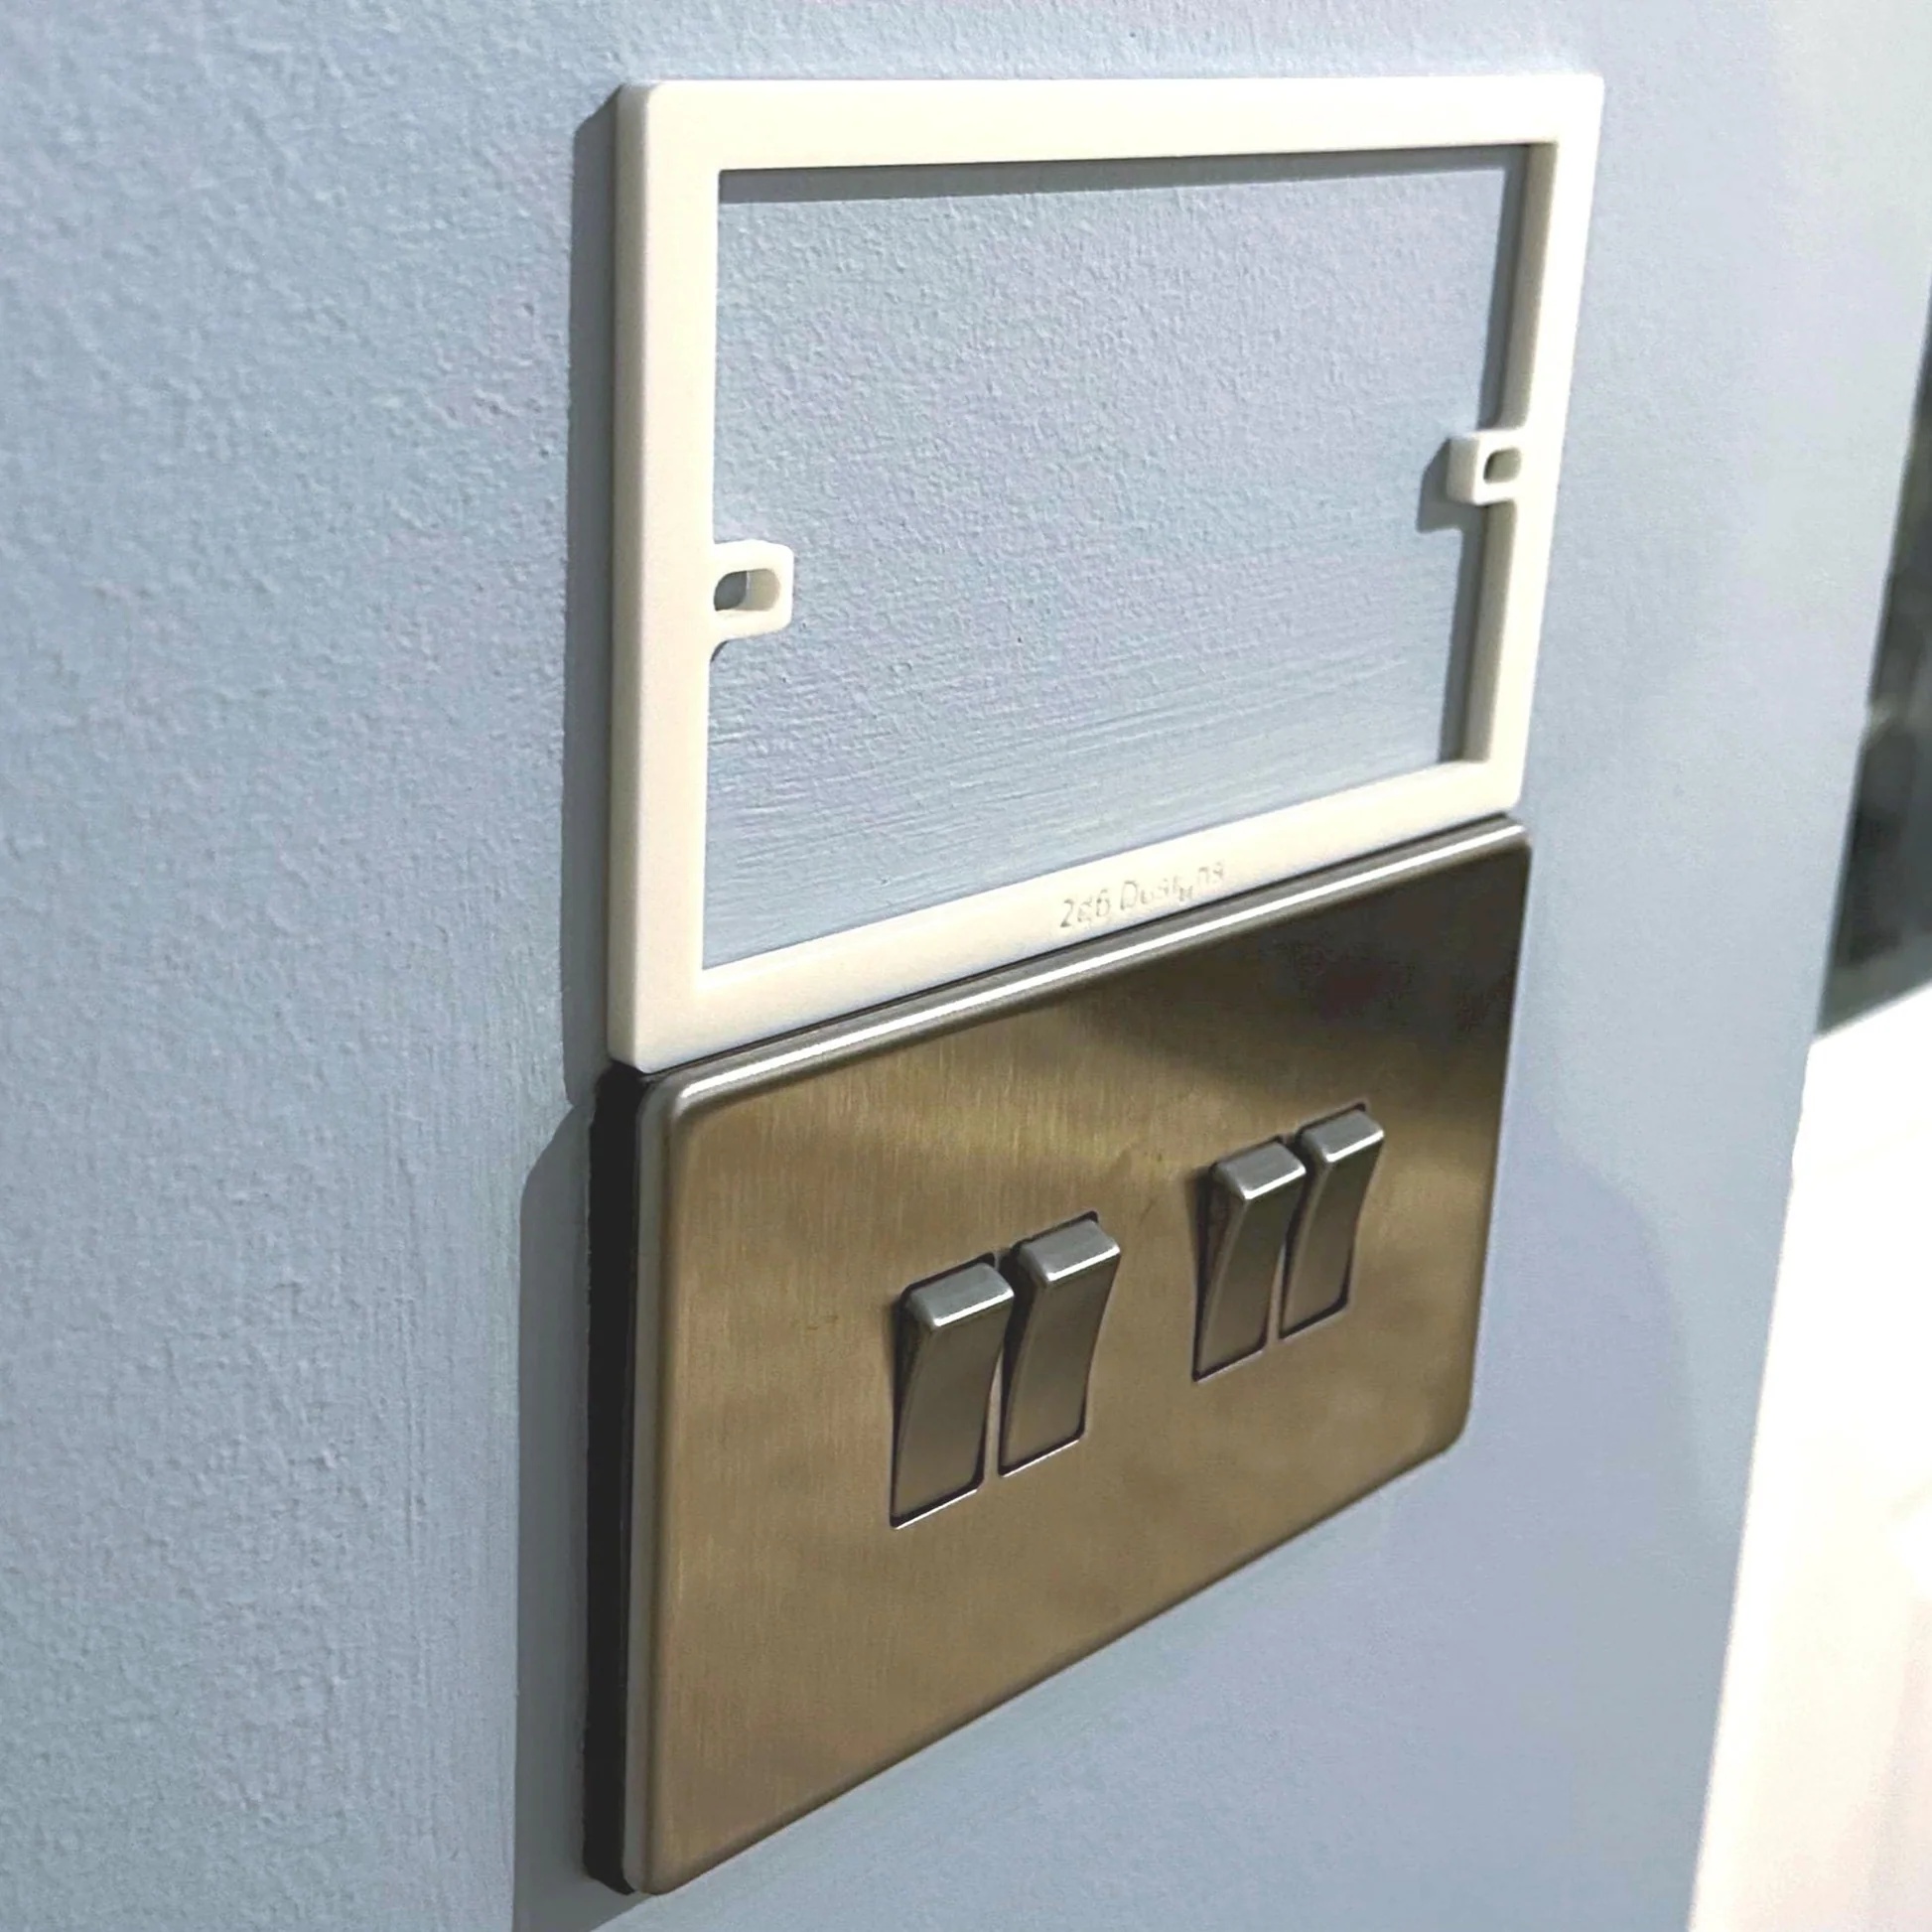
Table of Contents
-
Understanding Why Your Socket Does Not Reach After Plastering
-
Achieving a Professional Finish with Custom Extension Frames
Understanding Why Your Socket Does Not Reach After Plastering
The core of the issue is a change in wall depth. Electrical backboxes are installed during the "first fix" stage, before plastering. An electrician sets them at a depth that anticipates the final wall surface. However, the actual thickness of plaster applied can vary, especially in older UK properties with uneven walls. This discrepancy is what leads to the problem.
-
Plastering adds depth: A typical skim coat of multi-finish plaster adds around 3mm to a wall. A full plastering job with a bonding coat can add 10mm or more. This extra depth is often enough to make standard socket screws too short.
-
The "sunken backbox" phenomenon: When the final wall surface is further out than expected, the front edge of the metal or plastic backbox ends up recessed behind it. The socket faceplate, which is designed to sit flush against the wall, can no longer do so.
-
Floating vs. Recessed: You are left with two poor outcomes. Either you tighten the screws until the faceplate bends into the recess, creating a sunken look, or the screws barely catch, leaving the faceplate "floating" insecurely on top of the wall with a visible gap.
The Impact of Multi-Finish and Skimming
Even a minimal skim coat can cause problems. Standard M3.5 screws supplied with sockets have a limited thread length. If a 3mm skim coat means the screw has to bridge that extra gap, it may only catch on the backbox lug by one or two threads. This is a very weak connection, prone to stripping if overtightened or working loose over time.
In older UK homes, walls are rarely perfectly flat. A plasterer might need to apply a thicker bonding coat in some areas to level the surface, leading to significant variations in plaster depth. This cumulative effect makes it almost certain that existing backboxes will become too deep, resulting in an uneven and unprofessional finish for all your electrical fittings.
Common Signs of a Recessed Backbox
If you have recently had work done, look for these tell-tale signs that your socket doesn't reach correctly after plastering:
-
Wobbling or tilting faceplates: The socket moves or rocks when you plug in or unplug an appliance. This indicates it is not securely fastened to the backbox.
-
Visible gaps: You can see a gap between the wall and the back of the socket faceplate. This is a clear sign the plate is floating and not supported by the wall surface.
-
Stripped screw threads: The screws turn endlessly without tightening. This happens when only the very end of the screw was holding it in place, and the thread in the backbox lug has been damaged.
The Hidden Risks of Recessed or Floating Sockets
A socket that is not flush with the wall is more than just a cosmetic flaw. It introduces mechanical and electrical risks that violate the principles of a safe installation as outlined in British standards. Simply ignoring the gap or using overly long screws creates instability that can lead to more serious problems.
-
Mechanical Instability: Constant plugging and unplugging puts stress on a floating faceplate and its weak screw connections, which can lead to cracked plastic over time.
-
Debris Ingress: The gap behind a floating socket allows dust, debris, and even plaster dust from the initial installation to enter the backbox, which can interfere with the electrical connections.
-
Risk of Arcing: If an unstable plate moves, it can put strain on the internal wiring connections. Stressed or pinched wires can, in a worst-case scenario, lead to loose connections and the potential for dangerous electrical arcing.
-
Compliance with Standards: British electrical standards like BS 7671 are built on the principle of sound mechanical installation. A flush finish ensures the fitting is secure and protected as intended.
Structural Integrity of the Faceplate
A socket faceplate is designed to be supported by the firm, flat surface of the wall around it. This support prevents it from flexing or being pushed into the wall cavity when a plug is inserted with force. When you try to bridge a gap by overtightening long screws, you are putting all that force onto two small screw points and the plastic faceplate itself. This can easily lead to the faceplate cracking or the backbox lugs being damaged.
Aesthetic and Professional Standards
Beyond the safety concerns, a recessed or floating socket simply looks unprofessional. It creates shadow lines and gaps that ruin the clean, flat finish of a newly plastered wall. This becomes even more obvious when decorating. Attempting to paint or wallpaper around a socket with a gap is difficult and often results in a messy finish. A correctly fitted socket with a custom spacer provides a clean, sharp border that is easy to decorate around, maintaining the high quality finish of your room.
Comparing Fixes for Sunken Electrical Backboxes
When faced with a socket that doesn't reach after plastering, many people turn to quick fixes. However, these common methods fail to address the fundamental issue of structural support and can compromise both safety and appearance. Let's compare the options.
-
Longer M3.5 Screws: This is the most common DIY fix but is often the least effective. While longer screws can bridge the gap, they do not fill the physical void, leaving the socket to float.
-
DIY Shims and Washers: Stacking washers or using makeshift shims behind the screw lugs is another popular hack. This is unstable and fails to provide the full perimeter support the faceplate needs.
-
Standard Extension Collars: Off-the-shelf extension boxes are available in fixed depths (e.g., 10mm). These are rarely the perfect size and can create a bulky, unattractive finish if they stand proud of the wall.
-
Bespoke Socket Spacers: This is the only professional solution. A bespoke spacer is a custom-made frame that fits perfectly between the backbox and the faceplate. Its purpose is to bring the faceplate forward so it sits perfectly level with the new wall surface, providing solid, continuous support from behind.
The Problem with Extra-Long Screws
Using longer screws alone is a recipe for failure. Firstly, they do not fill the void. The socket faceplate is left suspended, held only by the tension of the screws. This lack of support means the plate can easily flex, crack, or be pushed into the wall. Secondly, the extra length of the screw acts as a lever, increasing the risk of it bending or snapping under pressure. Finally, without a solid spacer acting as a "stop," it is very easy to overtighten the screws and crush the new, soft plaster around the backbox, creating an even bigger problem.
Why Bespoke Spacers Outperform DIY Methods
A made-to-measure spacer provides a definitive, engineered solution that DIY hacks cannot match. Instead of guessing with stacked washers or off-the-shelf products that do not quite fit, you can get a guaranteed perfect result. This is where a custom manufacturing service becomes invaluable.
-
Custom Thickness: You can specify the exact thickness you need, down to the millimetre, ensuring a perfectly flush finish with no gaps. For a deeper dive into precision finishes, explore our expert guide to bespoke plastic socket spacers.
-
Full Perimeter Support: A bespoke spacer supports the entire perimeter of the faceplate, preventing it from bowing, flexing, or cracking under pressure. This restores the mechanical integrity of the installation.
-
Professional Materials: Unlike 3D-printed or makeshift solutions, professionally manufactured spacers are made from materials with appropriate durability and fire-retardant properties, ensuring a safe and long-lasting installation.
The most efficient way to get a spacer of the exact depth required is to use an online configurator. A specialised tool allows you to input your precise measurements to have a spacer manufactured for your specific needs.
How to Measure Your Plaster Depth for a Bespoke Spacer
Accurate measurement is the key to a perfect fit. Once you have measured the gap caused by the new plaster, you can order a custom spacer that will solve the problem permanently. Follow these steps for a precise measurement.
-
Isolate the Power: Your safety is paramount. Before you touch or remove any electrical faceplate, turn off the power to that circuit at your consumer unit (fuse box). Use a voltage tester to confirm there is no live current.
-
Remove the Faceplate: Carefully unscrew the faceplate and gently pull it away from the wall. The wiring should be long enough to allow you to do this. Let it hang safely out of the way.
-
Measure the Gap: You need to measure the distance from the front edge of the backbox lug (the part the screw goes into) to the face of the finished wall. A simple, effective method is to place a straight edge (like a ruler) across the opening, resting on the wall. Then, use another ruler or a depth gauge to measure from the back of the straight edge down to the backbox lug.
-
Check for Unevenness: Plaster is rarely perfectly even. Take measurements at different points, such as the top and bottom screw holes. You may find one side has a 10mm gap while the other has an 8mm gap.
-
Determine Spacer Thickness: Your required spacer thickness should be based on the largest measurement. This ensures the spacer will bridge the widest part of the gap, allowing the faceplate to sit flat on the wall surface without rocking.
Tools Required for Accurate Measurement
While a tape measure can work, using more precise tools will guarantee a better result. A digital caliper is ideal for getting an exact reading. Alternatively, the straight edge method described above is very reliable. When measuring, be sure to note down the dimensions for each socket, as they may differ slightly. This is particularly important for double gang sockets, which are more susceptible to rocking if the gap is uneven. For more information on this common fitting, see our ultimate guide to custom double gang socket spacers.
Accounting for Uneven Walls
If you find the plaster depth is thicker on one side of the backbox than the other, do not worry. This is a very common scenario. The solution is to order a spacer that matches the deepest part of the gap. The spacer will fill this void, and when the faceplate is screwed on, it will pull flat against the high point of the wall, creating a secure and flush finish. The spacer's solid frame prevents the faceplate from distorting or bending to accommodate the unevenness.
Achieving a Professional Finish with Custom Extension Frames
Once you have your precise measurements, the final step is to order and install your custom-made solution. Instead of trying to modify an off-the-shelf product or hiring an electrician to move the backbox, which is a destructive and costly process, you can get a perfect fit delivered directly to you. This is the modern, efficient way to solve the problem of a socket that doesn't reach after plastering.
Using the Build My Spacer Configurator
Online tools have streamlined the process of ordering bespoke components. A dedicated configurator removes all the guesswork and ensures you get exactly what you need for a professional finish.
-
Input Your Dimensions: Navigate to an online builder tool and enter the precise thickness you measured. You can also specify the dimensions for single, double, or even larger multi-gang configurations.
-
Select Your Options: Choose the colour that best matches your socket faceplates to ensure a seamless and discreet finish.
-
Verify and Order: Double check your measurements before placing the order. A custom-made spacer is manufactured to your exact specifications for a perfect first-time fit.
The installation process is simple. Once your custom spacer arrives, switch off the power again. Place the spacer over the backbox, aligning the screw holes. Place the socket faceplate on top of the spacer and use the new, longer M3.5 screws (often supplied with the spacer) to fix everything securely in place. The final result is a rock-solid, perfectly flush socket that looks and feels professional.
Ready to fix your sunken sockets? Create your custom-fit solution with our Build My Spacer tool.
Why Tradespeople Prefer Bespoke Spacers
For professional electricians and decorators, time is money and quality is reputation. Bespoke spacers have become the preferred solution for dealing with recessed backboxes on site.
-
Saves Time and Labour: Ordering a custom spacer is significantly faster and less disruptive than cutting out a backbox and repositioning it. There is no need for chasing, filling, or repainting.
-
Guarantees a High-Quality Finish: A perfectly flush socket is a mark of quality workmanship. Using a bespoke spacer allows tradespeople to deliver a superior finish that discerning clients expect.
-
Solves Complex Problems: For non-standard installations, such as those on panelled walls or with unusual multi-gang configurations, a bespoke solution is often the only viable option.
To see more professional solutions and guides, visit the SocketSpacers.com blog.
Frequently Asked Questions
Is it safe to use extra-long screws if my socket doesn’t reach?
While longer screws can help the socket reach the backbox, it is not a safe or complete solution on its own. Using them without a spacer leaves the faceplate unsupported, creating a "floating" socket that can wobble, flex, and put stress on the wiring. A spacer is required to provide the necessary mechanical support for a safe installation.
What is the standard thickness of a socket spacer for new plaster?
There is no "standard" thickness, as plaster depth can vary significantly. A typical skim coat might require a 3-5mm spacer, whereas a full bonding and finish coat could need 10-15mm. This is why measuring your specific gap and ordering a bespoke spacer is the only way to guarantee a perfect fit.
Can I use a spacer for a light switch as well as a plug socket?
Yes. The problem of recessed backboxes affects all electrical fittings, including light switches, dimmer switches, and fused spurs. Custom spacers can be made for any standard single or double gang fitting.
Do I need an electrician to fit a socket spacer?
If you are confident and competent in carrying out basic electrical work safely, fitting a spacer is a straightforward task. However, the most important step is to always isolate the power at the consumer unit first. If you have any doubts, you must hire a qualified electrician.
Are these spacers compatible with all UK plug socket brands?
Yes, bespoke spacers are manufactured to standard UK dimensions for single and double gang backboxes. They are designed to be compatible with faceplates from all major brands like MK, Crabtree, BG, and Schneider.
What material are the bespoke spacers made from?
Professionally manufactured spacers are typically made from a durable and fire-retardant plastic material like PETG, which provides a rigid, stable, and safe extension for the electrical fitting.
How do I fix a socket if the plaster is unevenly applied?
If the plaster is uneven, measure the gap at several points and order a spacer based on the largest measurement. The spacer will fill the deepest part of the void, and the faceplate will tighten securely against the highest point of the wall, preventing any rocking or instability.
Can I get a spacer for a triple or quadruple gang socket?
Yes. Because the spacers are custom-made, they can be manufactured for multi-gang configurations beyond the standard single or double socket. You can specify the exact dimensions you need using a bespoke ordering tool.
Electrical Safety
Always isolate the circuit and confirm it is dead before removing a socket or switch faceplate. Only carry out the work if you are competent to do so. If you find damaged wiring, signs of overheating or anything unsafe, stop and contact a qualified electrician.