
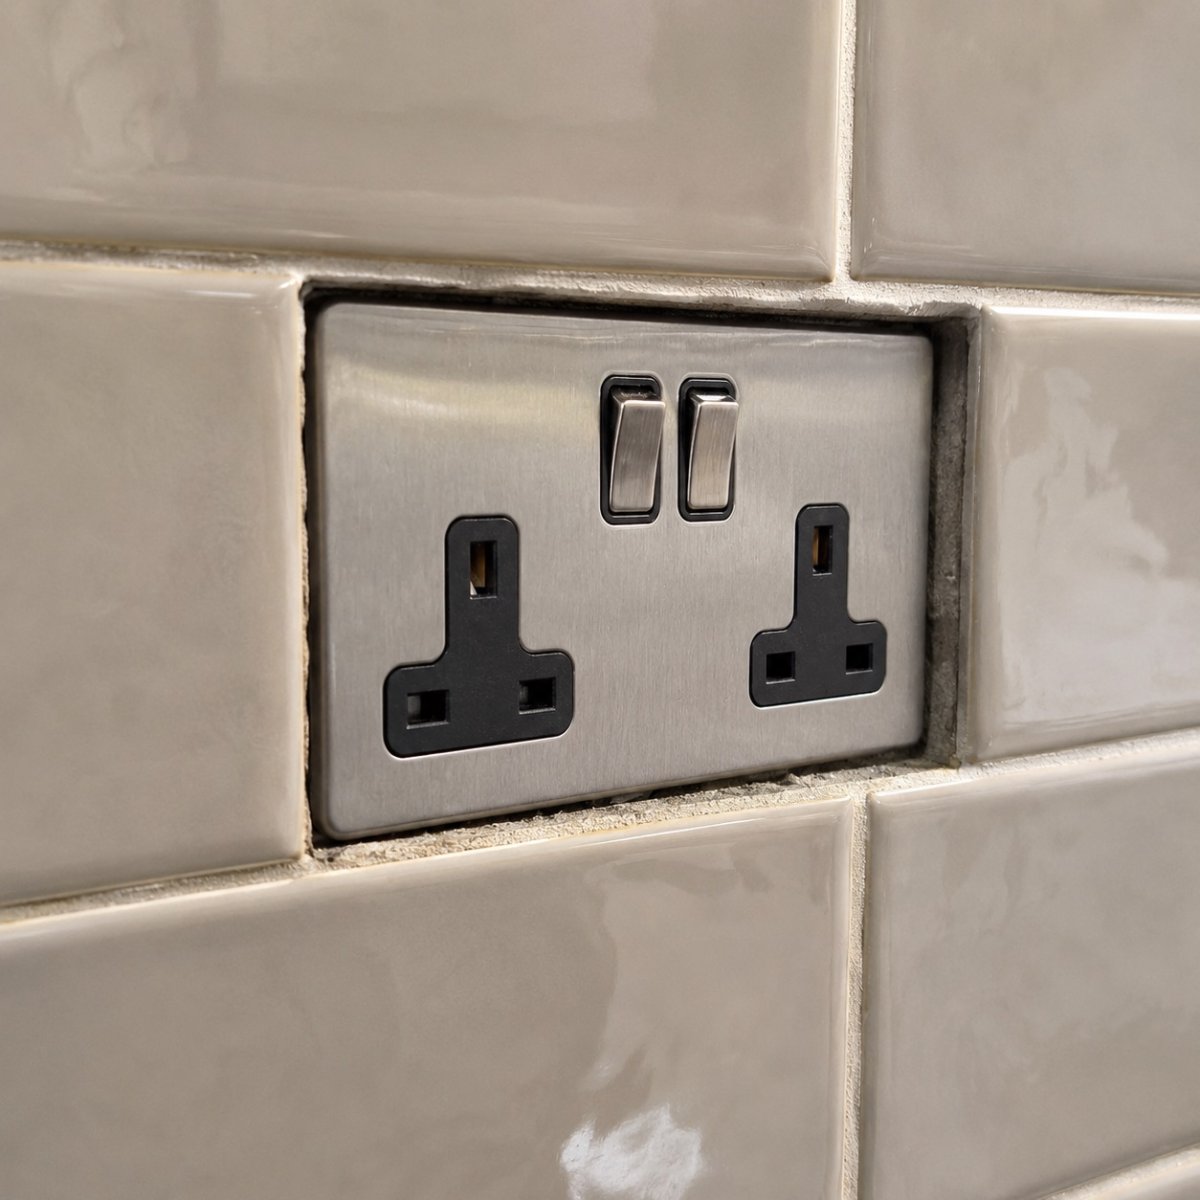
A flush socket finish is a structural necessity rather than a simple aesthetic choice, as a recessed faceplate often leads to mechanical instability and potential electrical hazards. You have likely spent significant time selecting the perfect tiles and ensuring the layout is precise, only to find that your electrical points now sit deep within the wall. It is a common frustration to discover that standard screws no longer reach the backbox, which leaves many homeowners and tradespeople wondering how to bring a socket forward after tiling without leaving ugly gaps or a floating faceplate.
We understand that a secure, professional result is essential for both safety and visual appeal. This guide outlines the most effective methods to rectify sunken sockets while ensuring your work remains compliant with the latest BS 7671:2018+A4:2026 wiring regulations. You will learn why individual plastic shims often provide an unstable fix and how a solid extension frame creates a more reliable foundation. For those dealing with unique tile thicknesses or non-standard depths, our Build My Spacer configurator tool provides a bespoke solution that ensures a millimetre-perfect fit for any installation scenario.
Key Takeaways
- Identify why recessed sockets are a safety risk and how mechanical stress from daily use can compromise your electrical installation.
- Discover exactly how to bring a socket forward after tiling using methods that prioritise structural stability over temporary fixes.
- Evaluate the differences between standard M3.5 screws and bespoke extension frames to achieve a professional, gap-free aesthetic.
- Learn the step-by-step process for a safe installation, including the critical requirement to isolate power at the consumer unit.
- Use the Build My Spacer tool to specify a custom-depth solution that integrates seamlessly with your specific tile and adhesive thickness.
Table of Contents
- Understanding the Sunken Socket Problem After Tiling
- The Safety Risks of Floating Sockets
- Comparing Methods: How to Bring a Socket Forward
- Step-by-Step Guide to Fitting a Socket Spacer
- Achieving a Professional Result with Bespoke Solutions
Understanding the Sunken Socket Problem After Tiling
When you install new tiles in a kitchen or bathroom, you increase the thickness of the wall surface. This creates a physical offset between the original electrical backbox and the new faceplate. A recessed socket is not just a minor annoyance; it represents a gap in the structural integrity of the electrical point. Understanding how to bring a socket forward after tiling is essential because standard backboxes, typically 25mm or 35mm deep, are designed to sit flush with the original plaster. Once you add a layer of ceramic or porcelain, the backbox is effectively buried too deep for the faceplate to sit securely.
You can identify a sunken socket by several clear symptoms. The most common is a "floating" faceplate that moves or rattles when you insert a plug. You might also see visible gaps around the edges where the tile cut-out is exposed. These issues affect the performance of AC power plugs and sockets by removing the solid foundation required for safe operation. A professional finish ensures the faceplate is supported across its entire surface, preventing mechanical stress on the internal wiring. This is especially important for meeting the standards set by the latest BS 7671 wiring regulations.
Why Tiles and Adhesive Change Everything
The mathematics of a renovation often catch people out. A standard wall tile is roughly 8mm thick, whilst a combed layer of adhesive typically adds another 3mm. This creates an 11mm extension that the original installation was never designed to handle. On a plasterboard wall, this gap leaves the socket hanging by its screws alone. In solid masonry, the backbox remains fixed, but the screws must travel much further to reach the lugs. If you find yourself with a non-standard depth that standard hardware cannot fix, our Build My Spacer configurator tool allows you to specify the exact dimensions needed for a secure fit.
The Aesthetic and Structural Consequences
Ignoring a recessed socket ruins the visual appeal of a high-end renovation. Gaps create dark shadows that highlight uneven tile cuts and make the room look unfinished. Beyond aesthetics, there is a significant structural risk. If you over-tighten the screws to close the gap without proper support behind the faceplate, you risk cracking your new tiles or snapping the plastic lugs on the socket. A flush fit is a requirement for a professional handover, ensuring the installation is both visually perfect and mechanically sound. It eliminates the movement that eventually leads to loose connections and electrical instability.
The Safety Risks of Floating Sockets
A floating socket occurs when the faceplate is not physically supported by the wall surface or the backbox. Instead of sitting firmly against a solid base, the plastic plate is held in place solely by the tension of the M3.5 screws. This creates a significant safety hazard that goes beyond mere aesthetics. When you are researching how to bring a socket forward after tiling, it is vital to recognise that the faceplate must be backed by a rigid material to prevent flex. Without this support, the socket remains unstable, leading to a cascade of mechanical and electrical failures.
Every time a plug is inserted or removed, the faceplate is subjected to physical force. In a standard installation, the wall or tiles absorb this pressure. In a floating setup, that force is transferred directly to the screws and the internal wiring. Over time, this repetitive movement causes the screws to loosen or the plastic lugs in the backbox to fail. If the faceplate moves even a few millimetres, it can strain the copper conductors, leading to wire fatigue and compromised connections.
Mechanical Stress and Wire Integrity
Movement is the enemy of electrical safety. When a socket rattles, the wires behind it are constantly pulled and pushed at the terminal points. This mechanical stress can eventually lead to a loose connection, which is a primary cause of electrical fires. Loose terminals create resistance, which generates heat and can lead to arcing within the hidden void behind your tiles. Whilst some DIY forums suggest using a stack of plastic washers or nuts as a makeshift solution, these individual shims do not provide lateral stability. They allow the socket to pivot or tilt, which does not solve the underlying structural issue. A solid extension frame provides a continuous, firm foundation that prevents this dangerous movement.
Meeting Building Regulations and Standards
The IET Wiring Regulations (BS 7671) require electrical enclosures to be effectively continuous to contain any potential faults. A large gap between the backbox and the faceplate breaks this enclosure, allowing dust, debris, or even moisture to enter the wiring space. By using a bespoke extension frame, you maintain the integrity of the enclosure and ensure that all live parts remain safely contained. For projects with non-standard depths, you can use the Build My Spacer tool to create a solution that perfectly bridges the gap. This approach ensures your installation remains compliant and secure for years to come. If you want to achieve a professional finish, using a UK socket spacer is the most reliable method for any renovation.
Comparing Methods: How to Bring a Socket Forward
When deciding how to bring a socket forward after tiling, you'll encounter several common suggestions. These range from simple hardware swaps to temporary DIY workarounds. Whilst some methods are faster or cheaper, they often sacrifice the structural integrity of the installation. A professional finish requires a solution that addresses both the reach of the screws and the physical gap behind the faceplate. It's vital to choose a method that prevents the faceplate from flexing or cracking under daily use.
The Limitations of Longer Screws
Substituting standard 25mm or 35mm M3.5 screws for 50mm or 75mm versions is the most frequent advice found online. This allows the screw to reach the backbox lugs, but it does nothing to support the socket itself. Without a solid backing, the faceplate will flex every time you push a plug in. This creates a high risk of over-tightening. If you try to pull the socket flush against the tile without support, you can easily crack the ceramic or snap the plastic faceplate. Longer screws are only appropriate for very shallow gaps where the faceplate still has significant contact with the wall surface.
Another common DIY tactic involves using plastic shims or a stack of metal washers on the screws. These are difficult to align correctly during installation and frequently slip out of place whilst you're trying to catch the thread. Because these shims only provide support at the screw points, the rest of the faceplate remains unsupported. This results in an uneven finish and a socket that can still pivot or tilt under pressure. It's a frustrating process that rarely produces the solid, secure result required for a high-end renovation.
The Case for Bespoke Spacer Plates
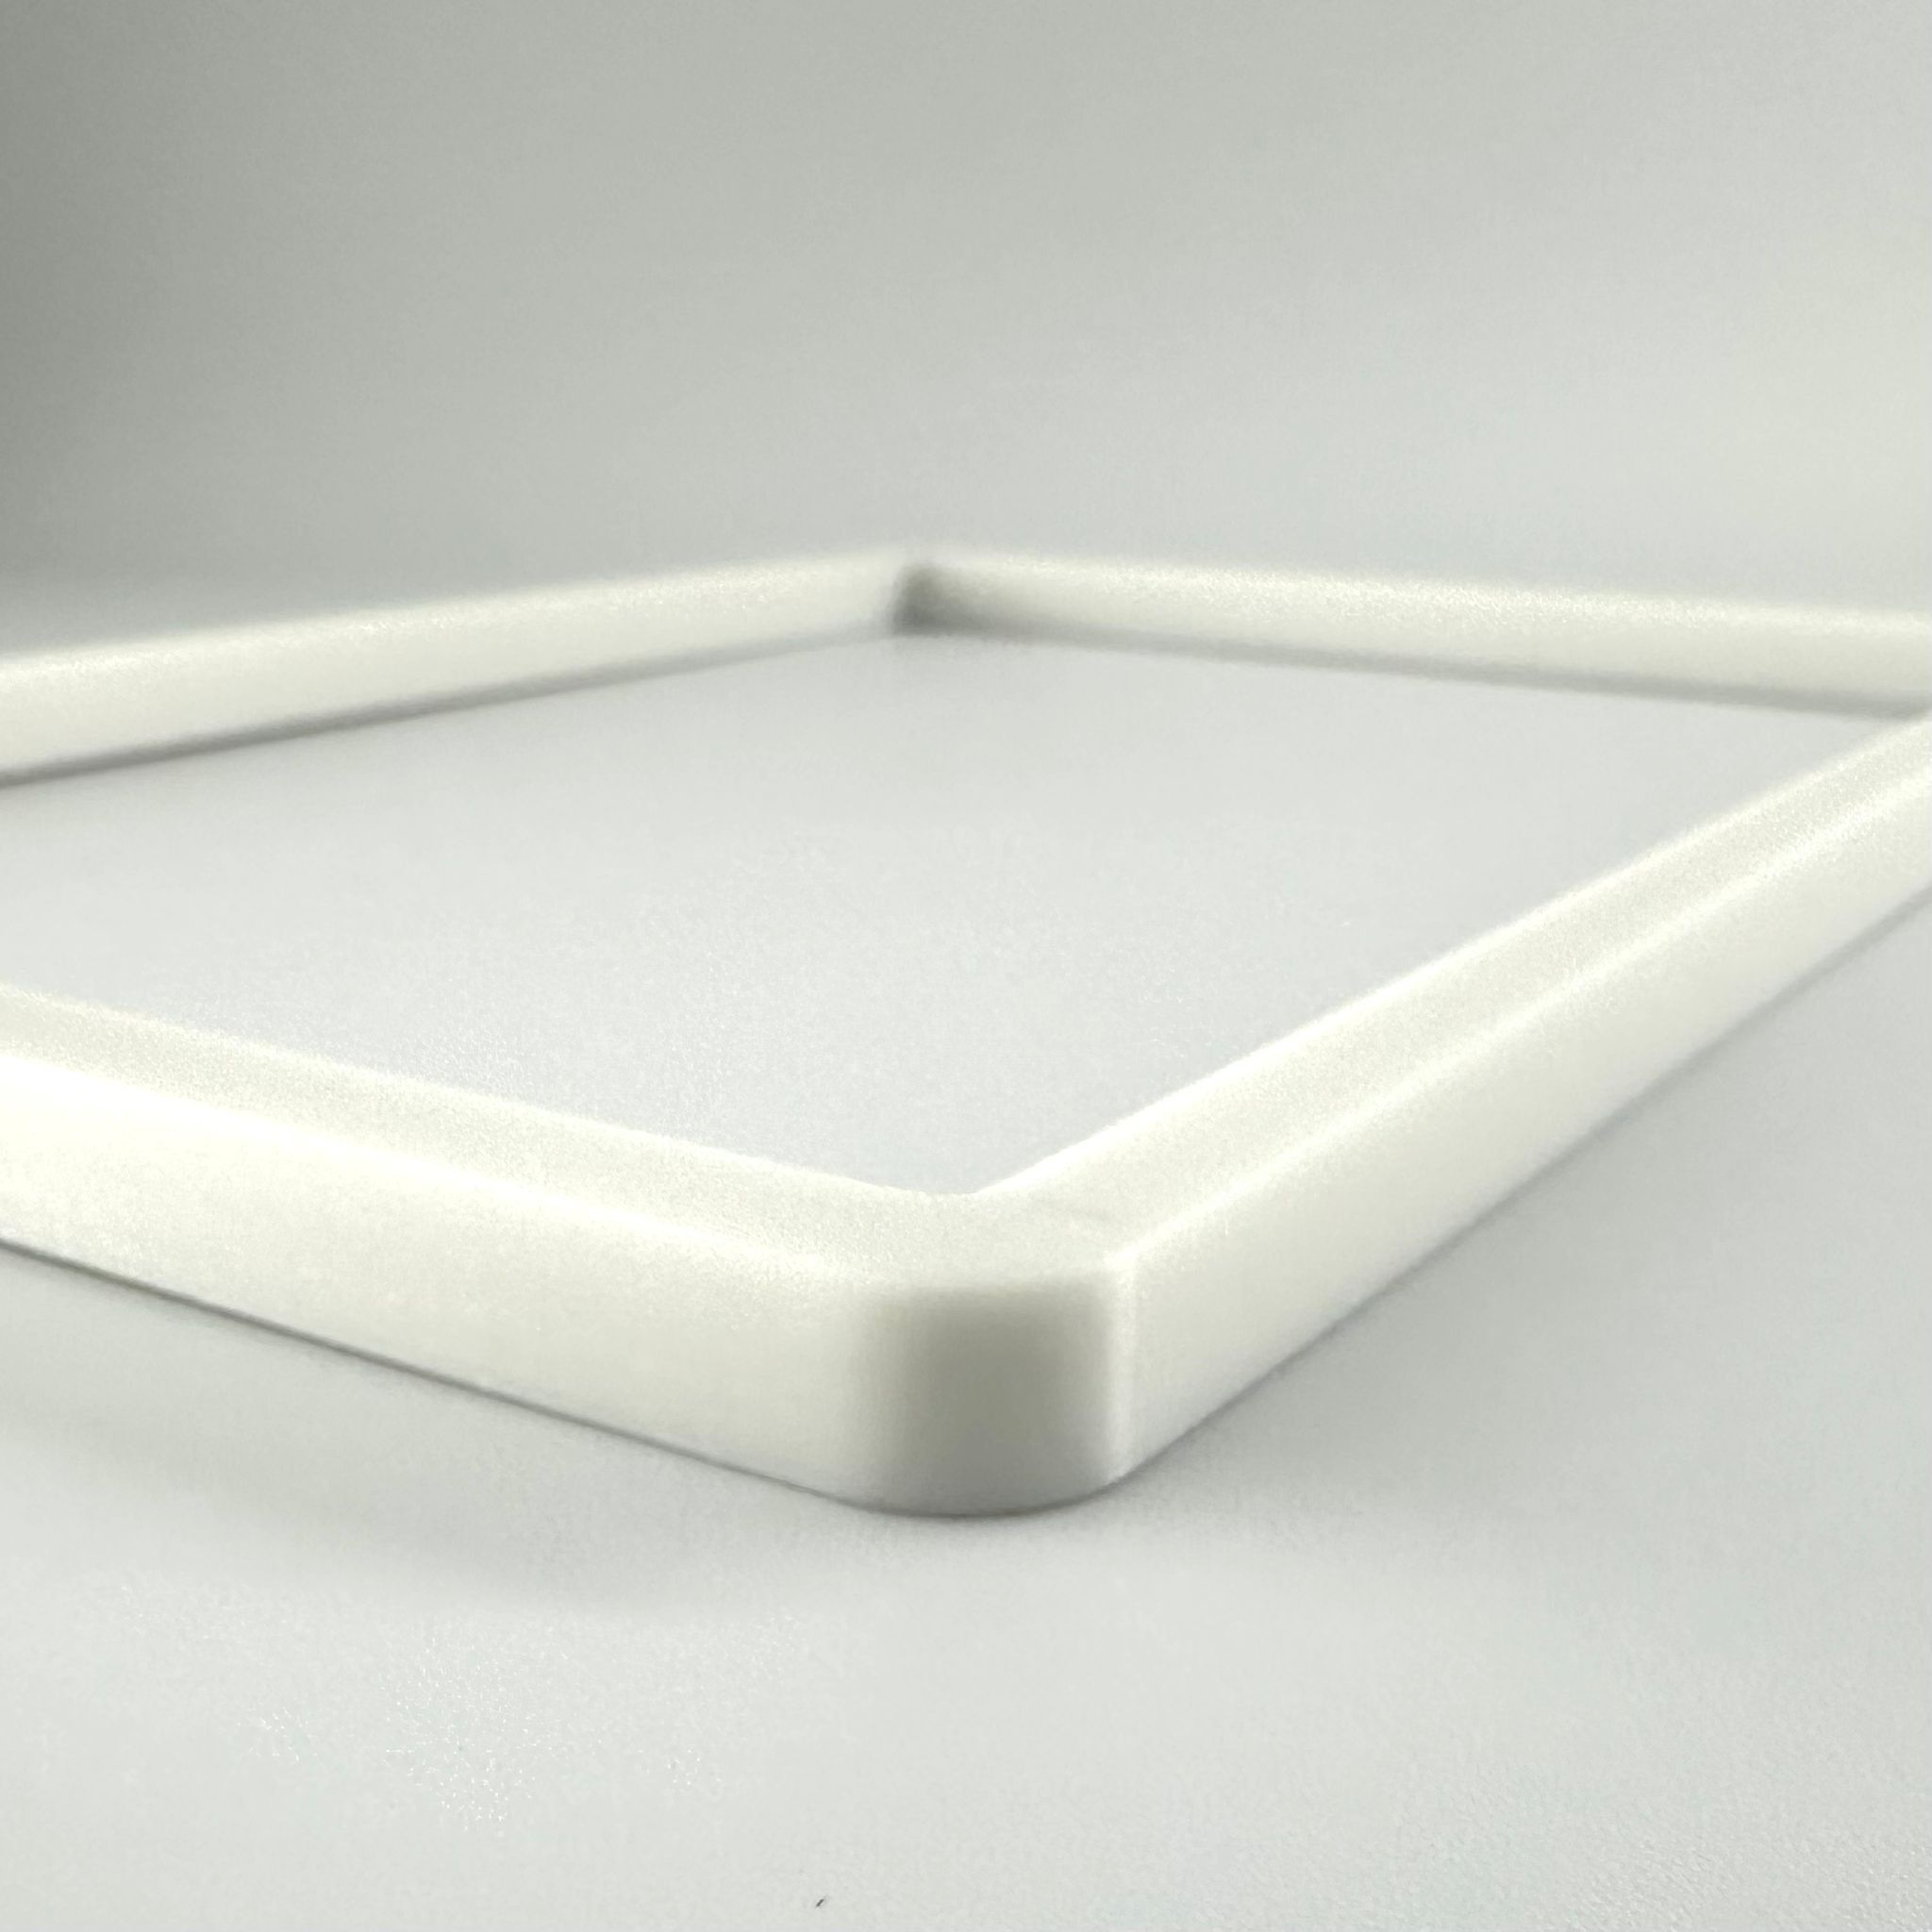
A bespoke spacer plate is the most reliable professional-grade solution. Unlike individual shims, a single-piece spacer distributes pressure evenly across the entire perimeter of the wall surface. This provides a solid foundation that prevents all movement, ensuring a flush finish that looks like it was part of the original build. If you're dealing with deep adhesive beds or thick natural stone, a made-to-order frame is often the only way to achieve a safe result. It creates a continuous enclosure that meets safety standards and protects the internal components.
Using a dedicated extension frame also helps with managing plug socket wiring space, as it ensures the cables are not crushed against the back of the box. For those working with non-standard depths or multi-gang configurations, our Build My Spacer tool allows you to customise the exact depth required. This eliminates the guesswork and provides a millimetre-perfect fit for any tiling project, regardless of the materials used. A solid spacer ensures the socket doesn't move when a plug is inserted, providing the quiet confidence of a job well done.

Step-by-Step Guide to Fitting a Socket Spacer
Safety is the primary concern when learning how to bring a socket forward after tiling. Before you begin any work, you must isolate the power at the consumer unit. Use a voltage tester to verify that the circuit is dead before removing the faceplate screws. Once the faceplate is loose, you can assess the depth of the gap between the backbox and the new tile surface. This gap is the distance that needs to be bridged to ensure a secure, flush finish that complies with BS 7671:2018+A4:2026 safety standards.
To determine the required spacer depth, measure the distance from the metal lugs on the backbox to the front face of the tile. A small ruler or a depth gauge is ideal for this task. It is common for adhesive to be thicker in some areas, so check the measurement at both screw points to ensure the spacer will sit flat. If you find a non-standard measurement, such as 12mm or 18mm, you can use the Build My Spacer tool to order a custom-depth extension frame that matches your specific project requirements. This eliminates the need for stacking unstable washers or shims.
Preparation and Accurate Measurement
Accurate measurement is the foundation of a flush finish. When measuring, account for any slight tilt in the tiles or unevenness in the adhesive bed. You should also identify the configuration of your electrical point. Whether you are dealing with a single gang, double gang, or a more complex multi-gang setup, the spacer must match the footprint of the faceplate exactly. This ensures the enclosure remains continuous and provides the necessary support for the entire plate. A well-measured spacer prevents the faceplate from bowing or cracking when you tighten the final screws.
Installation and Finishing Touches
Once you have the correct spacer, carefully pull the faceplate forward and slide the spacer behind it. Feed the wires through the central opening of the spacer whilst ensuring they are not pinched or twisted. Arrange the cables neatly to maintain maximum wiring space within the backbox. Align the screw holes and secure the faceplate using M3.5 screws that are long enough to reach the backbox lugs through the spacer. Tighten the screws until the faceplate is firm against the spacer and tile surface. Finally, restore the power and test the socket for physical stability. It should feel solid and show no movement when a plug is inserted. To ensure a professional result for your next project, you can order a bespoke UK socket spacer to suit your exact requirements.
Achieving a Professional Result with Bespoke Solutions
A professional finish is defined by attention to detail that generic products simply cannot provide. When you are determining how to bring a socket forward after tiling, the final result should look as though the electrical points were always intended for that specific wall depth. SocketSpacers.com provides made-to-order solutions that eliminate the need for makeshift shims or visible gaps. Our extension frames are available in various colours, including white, grey, and black, which ensures the spacer blends perfectly with the faceplate for a seamless appearance. This level of customisation is particularly beneficial for multi-gang configurations where alignment is critical for a clean aesthetic.
Using a solid, single-piece frame instead of multiple shims or washers provides a superior level of stability. It creates a continuous support structure that prevents the faceplate from bowing inwards when screws are tightened. For tradespeople, this means a faster installation and a more reliable handover to the client. For homeowners, it provides the quiet confidence that their kitchen or bathroom renovation is finished to a high standard, both visually and mechanically. Bespoke solutions represent the difference between a DIY workaround and a trade-quality installation.
Custom Sizes for Unique Projects
Off-the-shelf spacers usually come in fixed increments like 10mm or 20mm. However, a high-end renovation often involves unique depths, such as a 12.5mm marble slab or a thick porcelain tile with a heavy adhesive bed. In these scenarios, a standard product will either sit too shallow or protrude too far, leaving you back at square one. Bespoke manufacturing allows for millimetre-perfect precision. You can use our Build My Spacer configurator to input your exact depth and gang requirements. This tool is designed to handle everything from single gang switches to bespoke large extension frames, ensuring a perfect fit for any project.
The Final Inspection
Once the spacer is fitted, perform a thorough final inspection. There should be no visible shadows or gaps between the faceplate, the spacer, and the tile. The socket should feel completely rigid, with no movement when a plug is inserted or removed. Achieving this level of quality not only improves the safety of the dwelling but also increases the perceived value of the renovation. A flush finish indicates that the project has been completed with precision and care. For a deeper look into the advantages of this approach, read our guide on the Top 10 Benefits of Custom Fit Extension Frames.
Choosing a bespoke solution is the only way to guarantee a result that meets both regulatory standards and client expectations. If you require further technical advice or installation tips for your next project, you can browse the SocketSpacers blog for a wide range of professional guides. Investing in the correct components ensures that your electrical points remain secure, stylish, and fully compliant for years to come.
Secure Your Installation with a Precision Finish
Achieving a flush, professional result in your renovation requires more than just longer screws. You now understand that structural support is vital for preventing mechanical stress and ensuring long-term electrical safety. By choosing a solid foundation over temporary shims, you eliminate the risk of cracked tiles and unstable faceplates. Learning how to bring a socket forward after tiling correctly is the difference between a high-end finish and a compromised installation that fails to meet safety standards.
We specialise in bespoke manufacturing for any depth, providing extension frames that are made-to-order right here in the UK. Our highly rated UK customer reviews reflect our commitment to quality and technical precision. If you are dealing with a non-standard tile thickness or a complex multi-gang setup, our specialist technical support is available to guide you through the process. You can create your perfect fit with our Build My Spacer tool to ensure your project is completed with millimetre-perfect accuracy. Visit socketspacers.com today to browse our full range of solutions and give your renovation the secure, professional finish it deserves.
Frequently Asked Questions
Can I use longer screws to bring a socket forward without a spacer?
You can use longer M3.5 screws to reach a recessed backbox, but this approach does not provide the necessary structural support. Without a spacer, the faceplate is held in place only by the tension of the screws, which causes the plate to flex or rattle when a plug is inserted. A solid extension frame is the only way to ensure the socket remains rigid and prevents tiles from cracking under pressure.
Is it safe to have a gap between the socket backbox and the tile?
It is not safe to leave a large gap because electrical enclosures must be effectively continuous to contain potential faults. Gaps allow dust, grease, or moisture to enter the wiring space, which increases the risk of electrical failure or fire. Using a spacer maintains the integrity of the enclosure and ensures all live connections are safely contained within a rigid structure.
What is the standard depth of a kitchen tile and adhesive for measuring a spacer?
A typical kitchen installation usually involves an 8mm to 10mm tile combined with a 3mm bed of adhesive, resulting in a total depth increase of roughly 11mm to 13mm. However, natural stone or heavy-duty porcelain can be significantly thicker. If your project uses non-standard materials, you can use the Build My Spacer tool to specify the exact millimetre depth required for a flush finish.
Do I need a qualified electrician to fit a socket spacer?
You don't legally require an electrician to fit a spacer to an existing socket, provided you are competent to do so and the power is isolated at the consumer unit. However, all work must comply with the BS 7671 wiring regulations. If the socket is located in a "special location" like a bathroom, or if you are installing a new circuit, the work is notifiable and should be carried out by a registered professional.
How do I measure the depth of a recessed socket accurately?
Measure the distance from the metal lug on the backbox to the front face of the tile using a steel ruler or a depth gauge. It's best to check the measurement at both screw points, as adhesive thickness can vary across the wall. This precise measurement is the most important step in how to bring a socket forward after tiling while ensuring the faceplate sits perfectly level.
Are plastic socket spacers fire-rated and safe for UK homes?
High-quality socket spacers manufactured in the UK are made from flame-retardant materials designed to meet strict safety standards. These materials are engineered to provide a safe enclosure that can withstand heat in the event of a fault. Always ensure you purchase spacers from a reputable specialist manufacturer to guarantee that the products are compliant with current UK building regulations.
Can I get a bespoke spacer for a three-gang or four-gang socket?
Yes, bespoke spacers can be manufactured to fit three-gang, four-gang, or even larger multi-gang configurations. Standard retailers rarely stock these sizes, making custom manufacturing the only reliable option for complex setups. You can specify these larger dimensions and the required depth using the Build My Spacer configurator to ensure a perfect fit for your specific installation.
What should I do if my backbox is not level with the tiles?
If your backbox was installed at a slight angle, a solid spacer can help correct the alignment. The spacer provides a flat and rigid mounting surface that bridges the uneven gap between the backbox and the tile. This ensures the faceplate sits flush against the wall, hiding any underlying misalignment and providing a professional, trade-quality finish to the renovation.
Electrical Safety
Always isolate the circuit and confirm it is dead before removing a socket or switch faceplate. Only carry out the work if you are competent to do so. If you find damaged wiring, signs of overheating or anything unsafe, stop and contact a qualified electrician.