
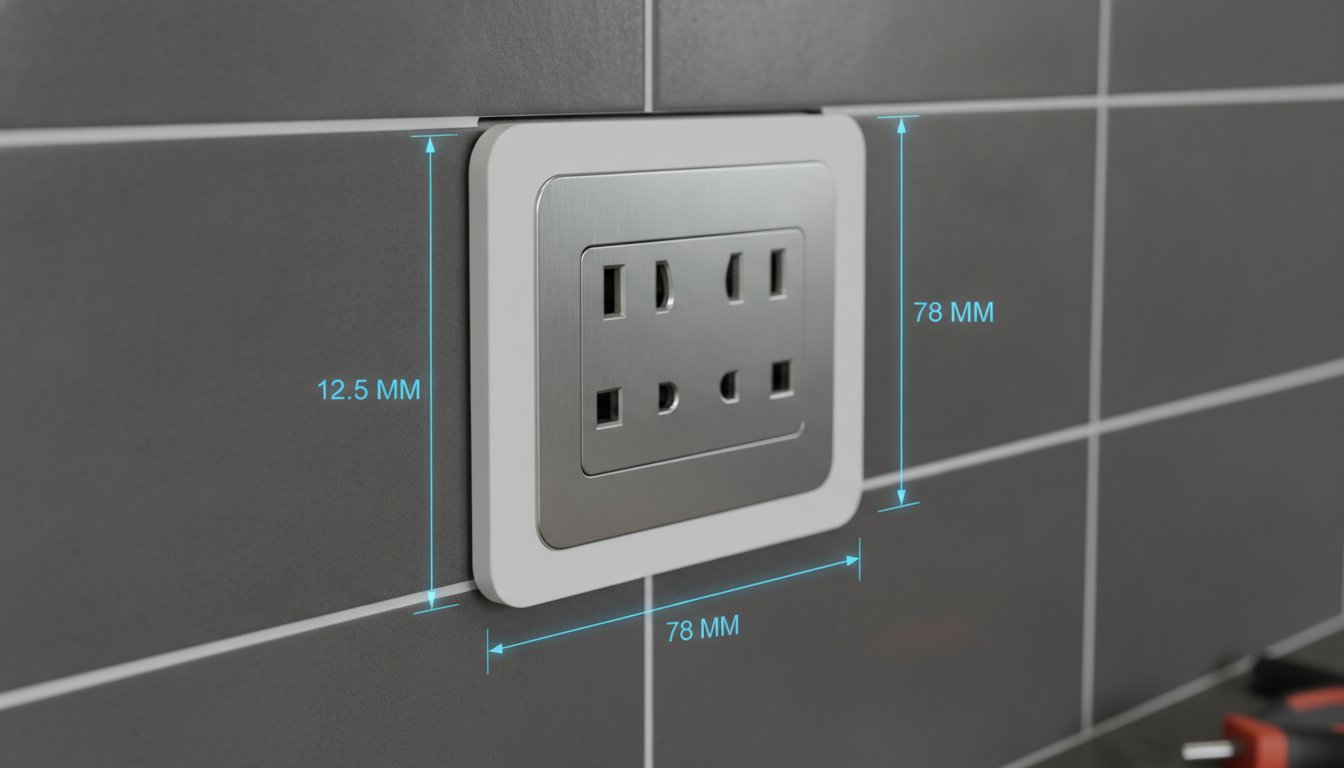
Why does a high-end kitchen renovation so often end with a socket that sits five millimetres too deep inside a tiled splashback? It's a common frustration for both tradespeople and homeowners when standard backboxes don't account for the added depth of new tiles or decorative plasterwork. You've likely spent far too long trying to shim a fitting or searching for longer screws, only to end up with a faceplate that feels flimsy or leaves an unsightly gap against the wall.
This guide explains how custom electrical faceplate spacers provide the precise mechanical solution needed to bridge these gaps and properly secure your fittings. We'll explore how bespoke extension frames resolve the problem of sunken sockets and provide the essential wiring space required for modern smart switches. If you're dealing with non-standard depths, the Build My Spacer tool allows you to specify dimensions to the millimetre for a perfect result. By the end of this article, you'll know how to achieve a professional, flush finish that meets both aesthetic and safety standards whilst ensuring your installation remains secure.
Key Takeaways
- Learn how custom electrical faceplate spacers bridge the gap between a sunken backbox and the wall surface to prevent cracked plates and loose fittings.
- Understand the mechanical importance of a solid fit for electrical safety, ensuring connections remain undisturbed during regular use.
- Discover why millimetre-perfect measurements are superior to generic hardware store parts when dealing with tiled or panelled walls.
- Use the "Build My Spacer" tool at build to specify the exact thickness, gang size, and colour required for your project.
- Master the step-by-step process for measuring your wall depth to achieve a professional, flush finish every time.
Table of Contents
- What are Custom Electrical Faceplate Spacers?
- The Benefits of Using Bespoke Spacers for Electrical Safety
- Bespoke Spacers vs Generic Hardware Store Options
- How to Measure for Your Custom Electrical Spacers
- Designing Your Solution with the Build My Spacer Tool
What are Custom Electrical Faceplate Spacers?
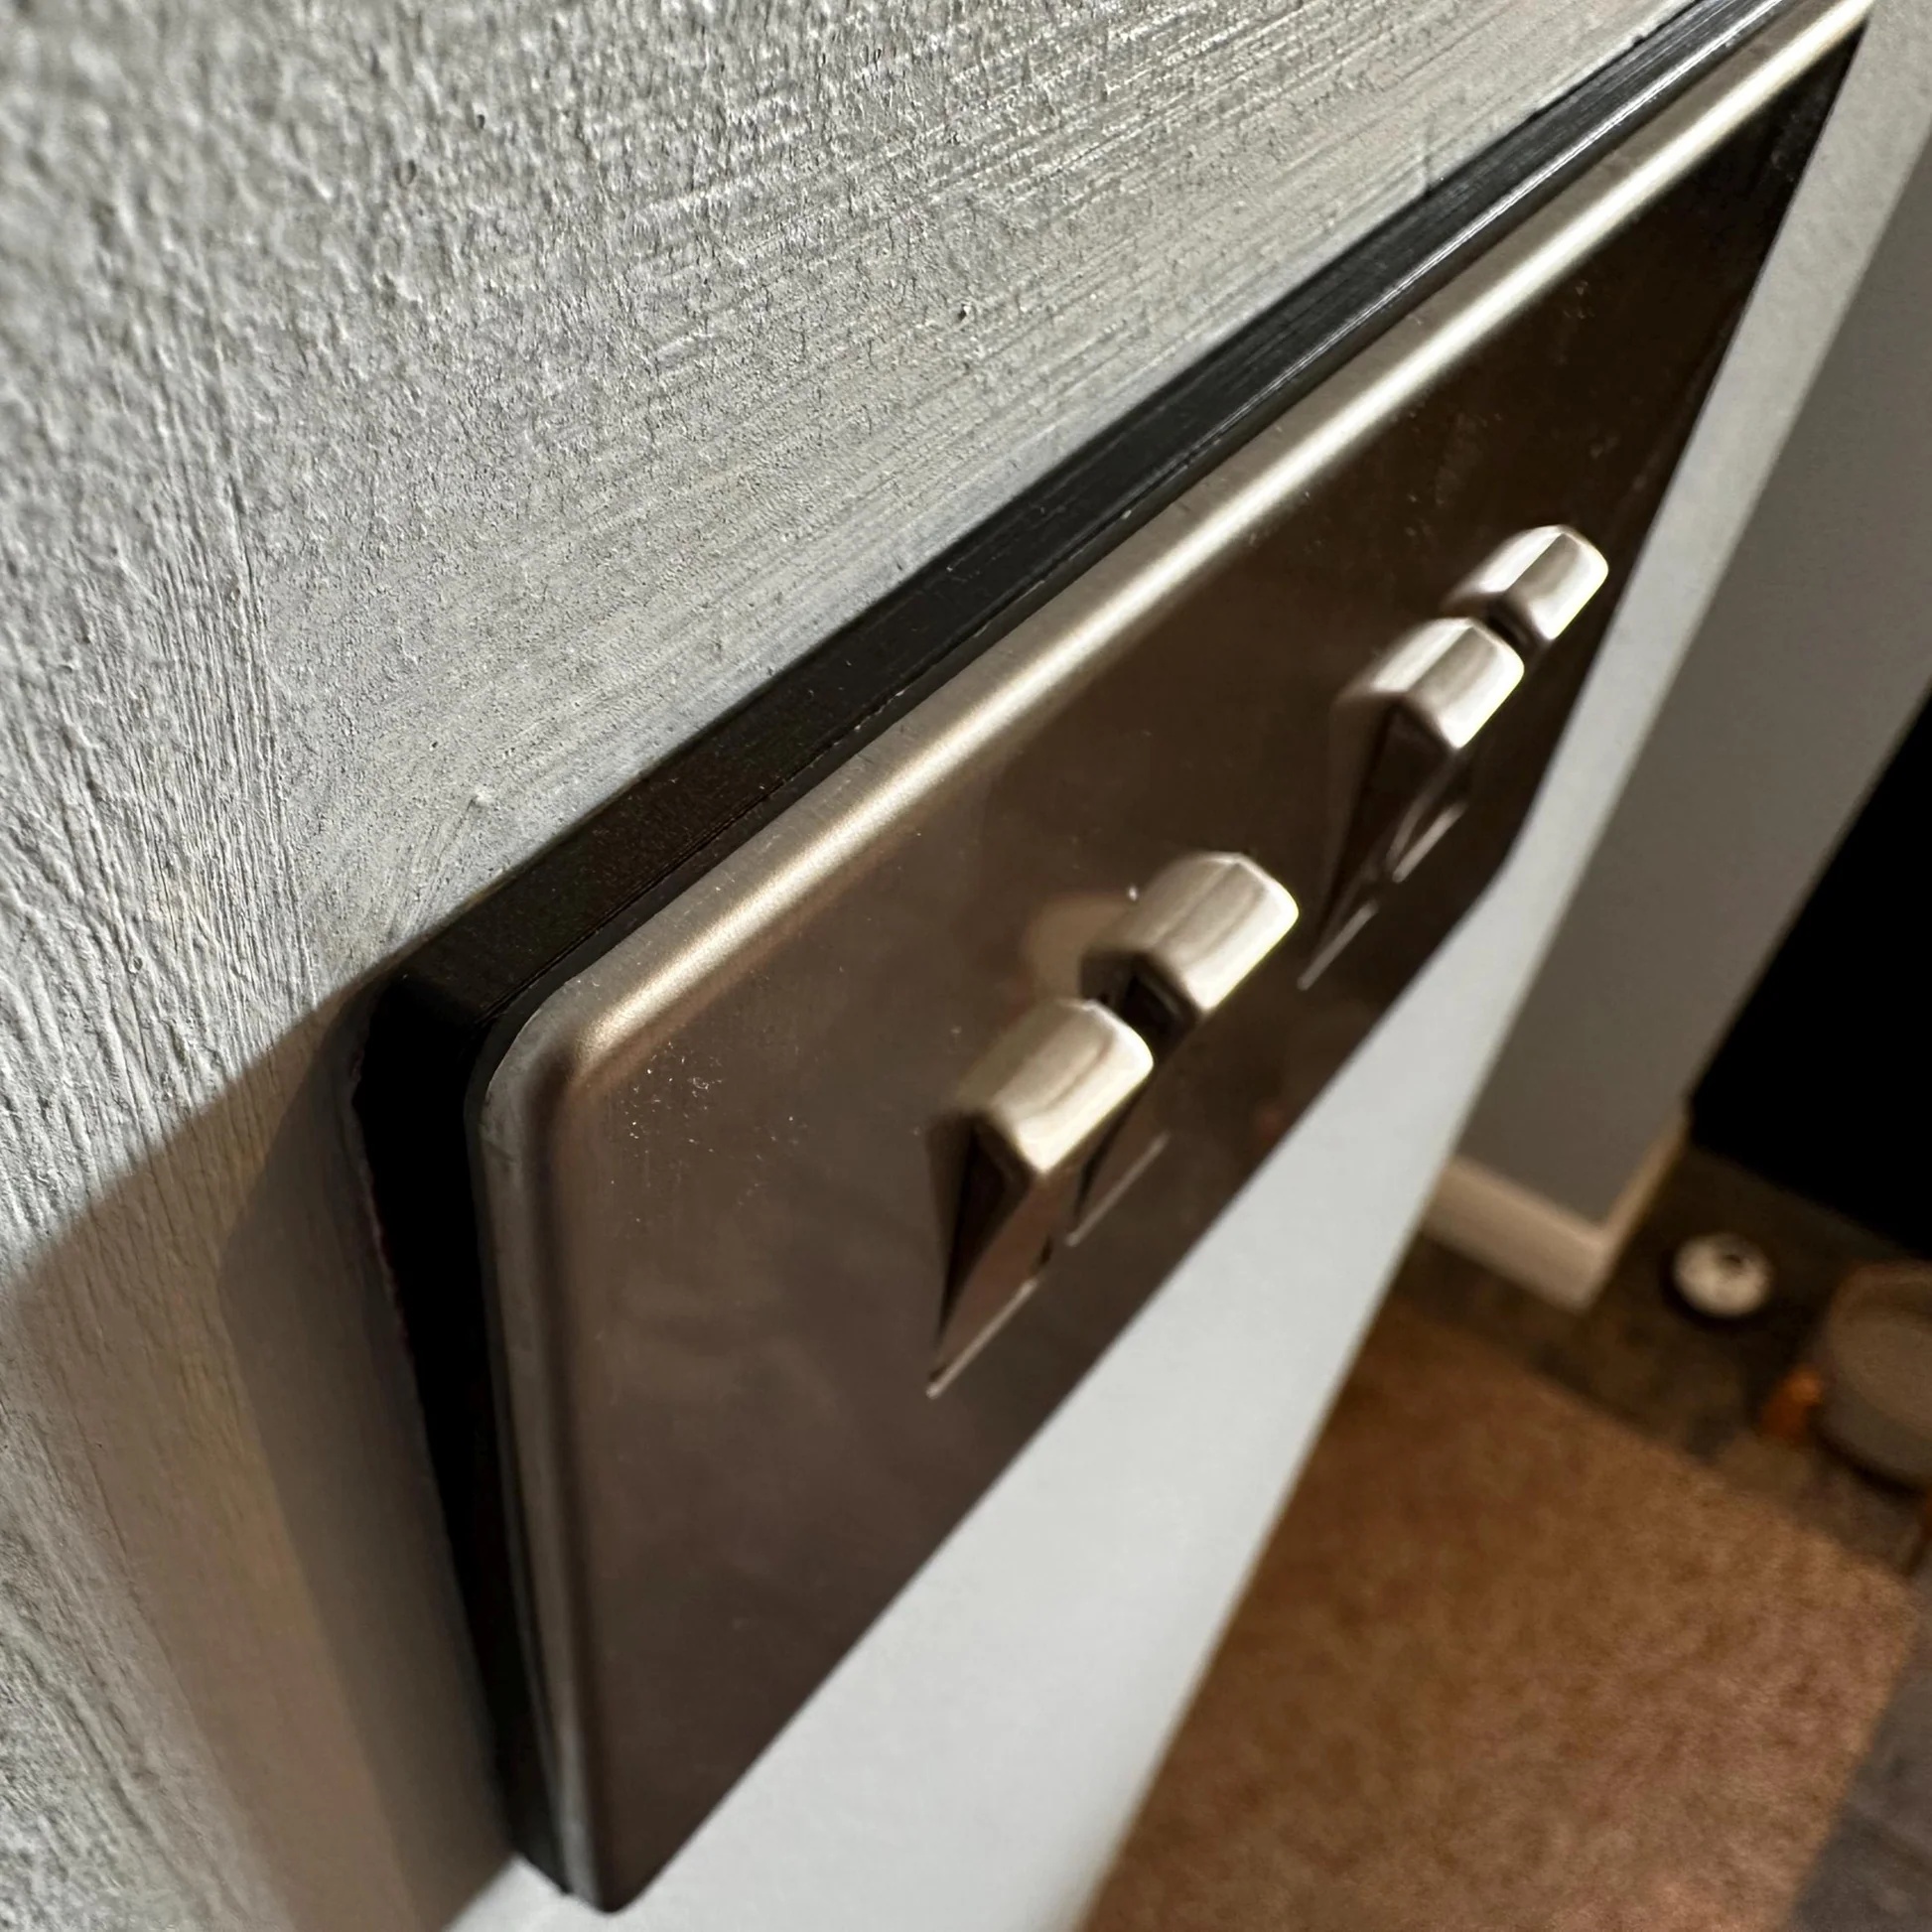
A custom electrical faceplate spacer is a precision-engineered frame designed to bridge the gap between a recessed electrical pattress box and the decorative faceplate. When a wall surface is altered through tiling or panelling, the backbox often remains at its original depth, leaving a void behind the fitting. Custom electrical faceplate spacers fill this void, providing a rigid and continuous mounting surface. This ensures that when you tighten the faceplate screws, the plate is supported by a solid structure rather than being pulled into a hollow space, which can lead to cracking or instability.
These components are manufactured to match standard UK gang sizes, including single, double, and multi-gang configurations. Because every renovation project varies, these spacers are available in bespoke thicknesses. This allows for a flush finish regardless of the specific wall depth. Without this structural support, the faceplate relies entirely on screw tension, which often results in a "bouncy" socket that moves when a plug is inserted or removed.
The difference between spacers and extension frames
It is important to distinguish between a slim spacer and a deep extension frame. A spacer is typically used for minor adjustments, often between 2mm and 10mm, to account for the thickness of tiles or plaster. If the backbox is buried significantly deeper, you may require a bespoke extension frame to bridge the distance safely. Selecting the right custom electrical faceplate spacers depends entirely on the depth of your finished wall surface. If you aren't sure of the exact depth required, the Build My Spacer tool helps you specify the precise dimensions needed for your installation.
Common scenarios requiring bespoke spacers
Several standard home improvement tasks frequently lead to sunken sockets that require a tailored solution. Kitchen splashbacks are a primary example; adding a layer of subway tiles or adhesive glass often adds 6mm to 10mm to the wall depth, leaving the original socket box too deep. Decorative MDF or wooden panelling in hallways also creates a significant offset that standard screws cannot safely bridge alone. Additionally, modern smart dimmers often have bulky internal components. If the backbox is shallow, a spacer can provide the necessary internal clearance whilst keeping the faceplate secure and flush against the new wall surface.
By using a bespoke solution, you avoid the safety risks associated with floating sockets. These spacers ensure that the internal wiring remains protected and the electrical connections are not under unnecessary mechanical stress. This methodical approach results in a finish that looks professional and functions reliably for years.
The Benefits of Using Bespoke Spacers for Electrical Safety
Safety is often overlooked in favour of aesthetics. However, a faceplate that isn't flush is mechanically unstable. When you use custom electrical faceplate spacers, you eliminate the "floating socket" effect. This occurs when the faceplate is held only by the tension of the screws, with a hollow gap behind it. Over-tightening in this scenario often leads to cracked plastic faceplates, whilst under-tightening leaves the socket loose. A bespoke spacer provides a solid, flat surface that ensures the fitting is clamped securely against the wall.
This stability is vital for maintaining the integrity of your electrical connections. Every time a plug is inserted or removed, a loose socket moves slightly. This repetitive mechanical stress can eventually loosen the wires within the terminals, leading to arcing or overheating. Adhering to general OSHA electrical equipment standards regarding the secure mounting of enclosures helps prevent this physical damage. A well-fitted spacer also acts as a fire-resistant barrier between the internal wiring and the wall finish. By sealing the gap, you prevent dust and debris from migrating into the backbox, which keeps the switch mechanism clean and reliable.
Solving the problem of overcrowded backboxes
If you are installing modern smart home technology, you've likely encountered the issue of insufficient depth. Smart switches and dimmers are significantly bulkier than traditional mechanical versions. Rather than risking pinched or damaged insulation by forcing wires into a cramped space, you can use a spacer to extend the depth of the fitting. This provides essential room for Managing Plug Socket Wiring Space, ensuring the cables aren't crushed or bent at dangerous angles. You can find bespoke solutions for these spatial challenges to ensure a safe installation.
Structural integrity for multi-gang installations
Achieving a professional finish with multi-gang switches is notoriously difficult. When multiple switches are mounted in a single row, even a slight variation in wall depth can cause them to sit at different angles. Using custom electrical faceplate spacers for multi-gang setups provides a unified support structure that spans the entire width of the installation. This keeps every component aligned on the same plane, preventing the staggered, uneven look common in DIY projects. It eliminates the need for individual shims or messy filler, which often fails over time. If you're managing a complex layout, using the Build My Spacer tool ensures each gang is supported at the exact depth required for a clean, secure result.
Bespoke Spacers vs Generic Hardware Store Options
Most hardware stores stock standard 10mm spacers as a "one-size-fits-all" solution. Whilst these might suffice for a basic utility room, they rarely provide the precision required for high-quality renovations. If your tiling has added 7mm to the wall depth, a 10mm generic spacer will leave a 3mm gap between the spacer and the wall. This results in an amateurish finish that collects dust and looks out of place. Custom electrical faceplate spacers are manufactured to your exact requirements, whether you need 3mm, 13mm, or any increment in between. This eliminates the guesswork and ensure the fitting sits perfectly flush.
The difference in durability is also significant. Mass-produced shims are often made from flimsy, thin plastic designed for high-volume, low-cost retail. In contrast, bespoke frames are manufactured as a solid, continuous piece. This provides far greater structural integrity when the faceplate screws are tightened. A solid frame won't compress or warp over time, which means your sockets won't become loose with regular use. Choosing a part designed specifically for your gang size ensures that every millimetre of the faceplate is supported, preventing the edges from flexing.
Aesthetic considerations for high end finishes
Generic spacers are almost exclusively available in a clinical white plastic. If you've invested in premium brushed brass, matt black, or polished chrome faceplates, a white plastic border creates a jarring visual clash. You can select colours that complement your hardware for a seamless look. Beyond colour, bespoke manufacturing allows for precise corner radii and edge detailing that matches the profile of modern UK fittings. For a deeper look at material choices and technical specifications, see our Bespoke Plastic Socket Spacers guide. You can specify these aesthetic details using the Build My Spacer tool to ensure the final result is as discreet as possible.
Why DIY shims and washers are a poor choice
It's tempting to use a stack of washers or scraps of plastic to bridge a gap, but this is a poor substitute for a professional component. These improvised solutions provide uneven support, which often causes the faceplate to sit at a slight angle. From a safety perspective, using non-approved materials behind an electrical fitting can be problematic. Loose washers can fall into the backbox during installation, potentially causing shorts if they come into contact with live terminals. Using a professional part saves significant time on site, as you aren't wasting hours trying to level a socket with unsuitable materials. A single, bespoke frame is far more efficient and provides a result that meets professional standards.
How to Measure for Your Custom Electrical Spacers
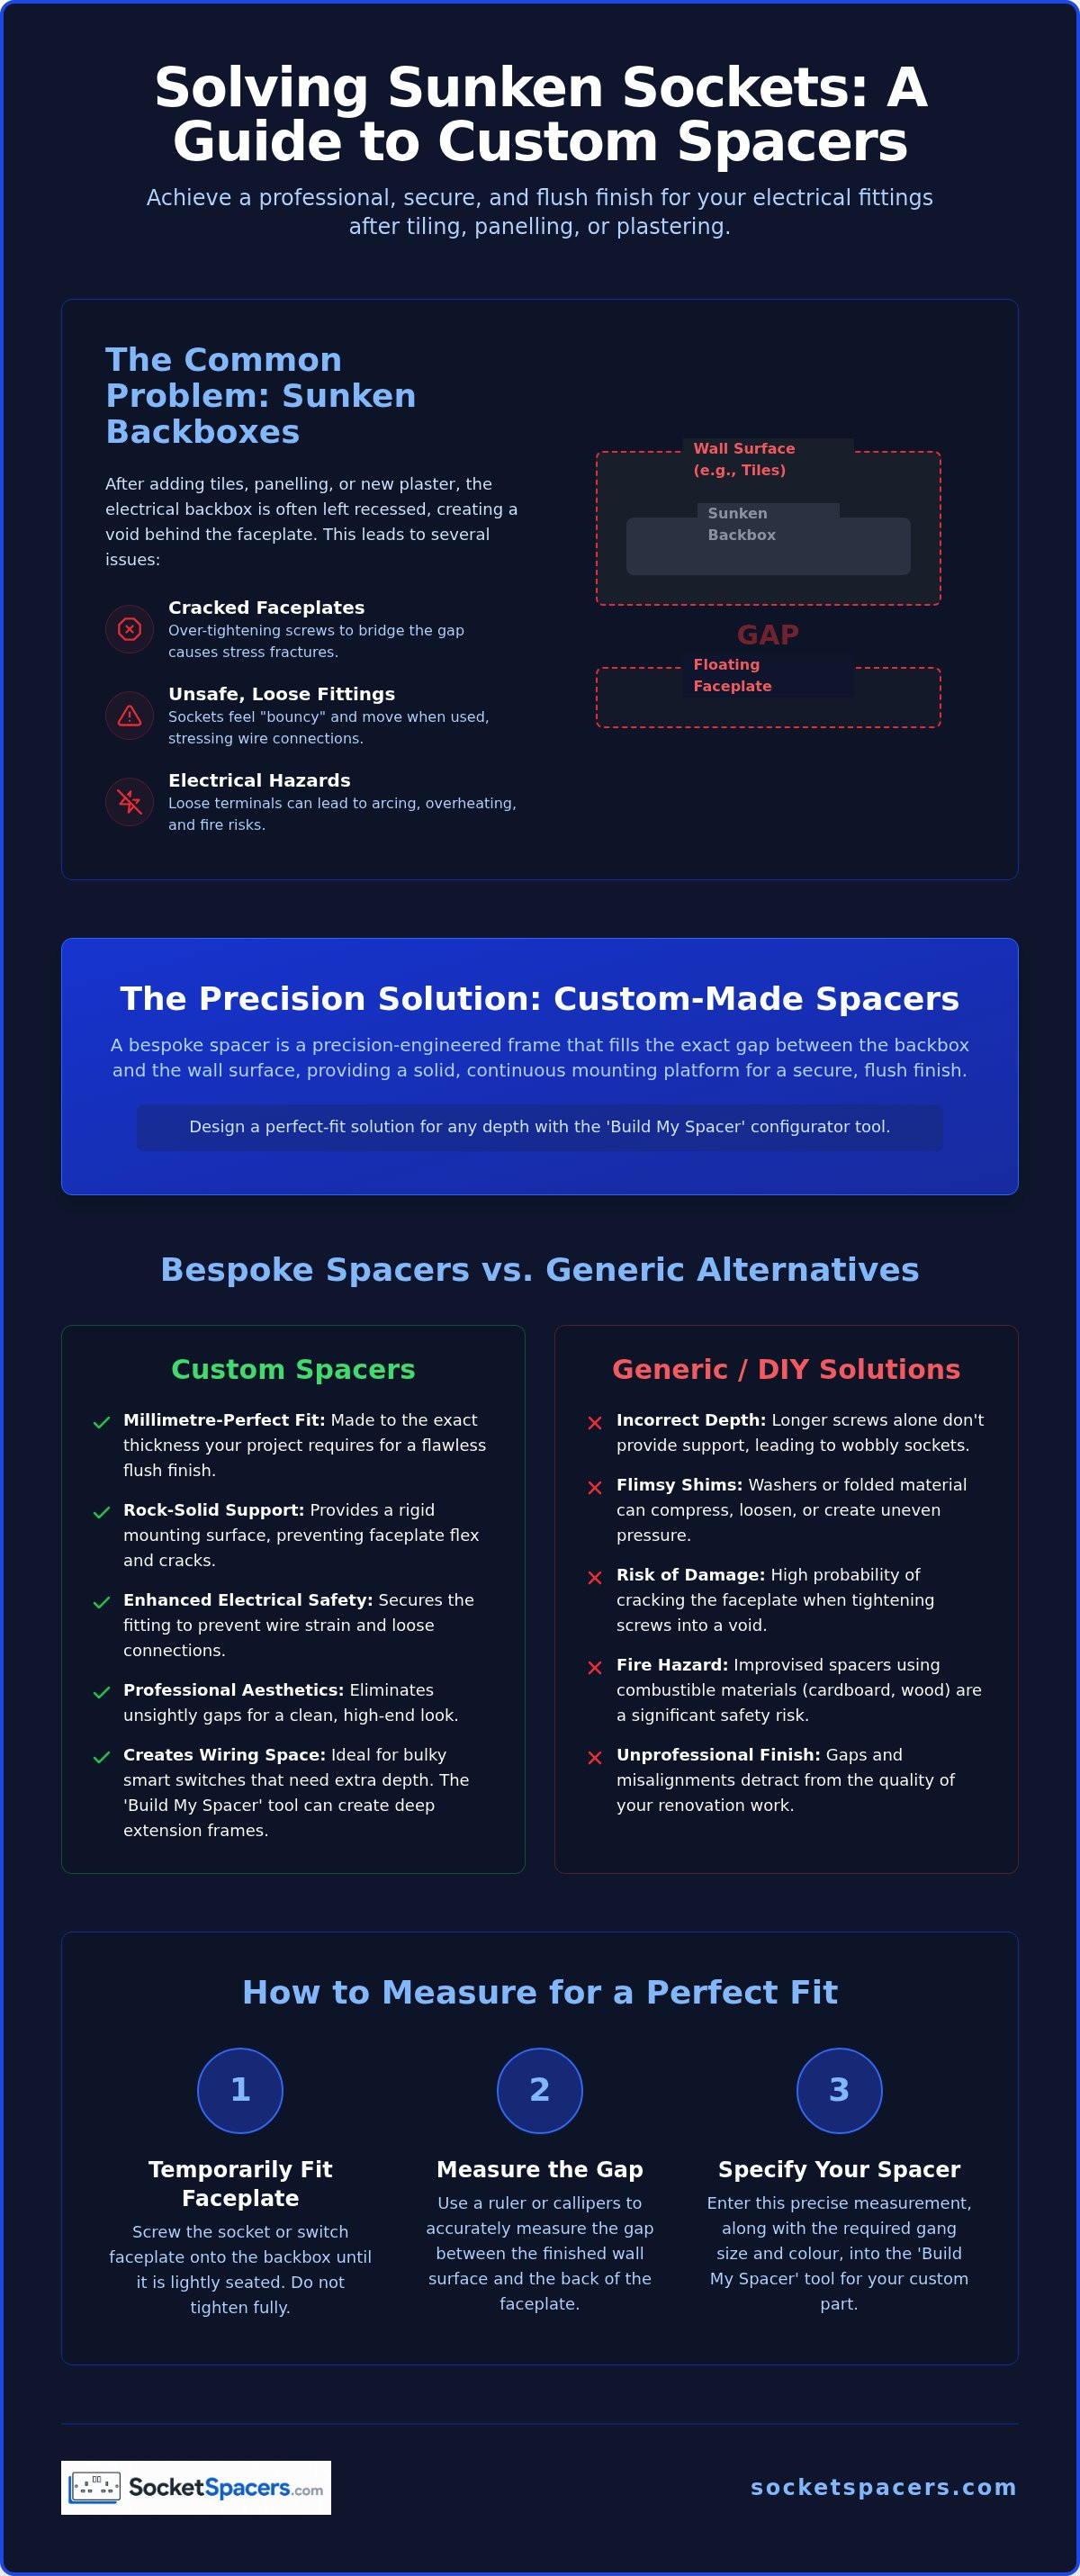
Precision is the foundation of a professional finish. When you order custom electrical faceplate spacers, the accuracy of your initial measurements determines whether the fitting sits flush or remains problematic. Don't rely on guesswork; a methodical approach ensures your bespoke part fits perfectly the first time. Follow these four steps to gather the data needed for your installation.
- Step 1: Measure the recess depth. Place a rigid straight edge, such as a spirit level, across the wall opening. Measure the distance from the front edge of the backbox to the underside of the straight edge. This represents the gap you need to bridge.
- Step 2: Confirm gang size. Identify if the fitting is a single, double, or multi-gang version. Whilst standard UK sizes are common, measuring the external dimensions of your specific faceplate ensures the spacer won't protrude or sit too far back.
- Step 3: Account for wall unevenness. Walls are rarely perfectly flat, especially after tiling. Take measurements at the top, bottom, and both sides of the backbox. If the depths vary, use the largest measurement to ensure the spacer provides full support.
- Step 4: Evaluate wiring requirements. If you are installing bulky smart switches, you might need more depth than the wall recess alone provides. You can specify a thicker spacer to create this extra internal volume.
Once you have recorded these dimensions, you can order your bespoke spacers to suit the exact requirements of your project.
Tools required for accurate measurement
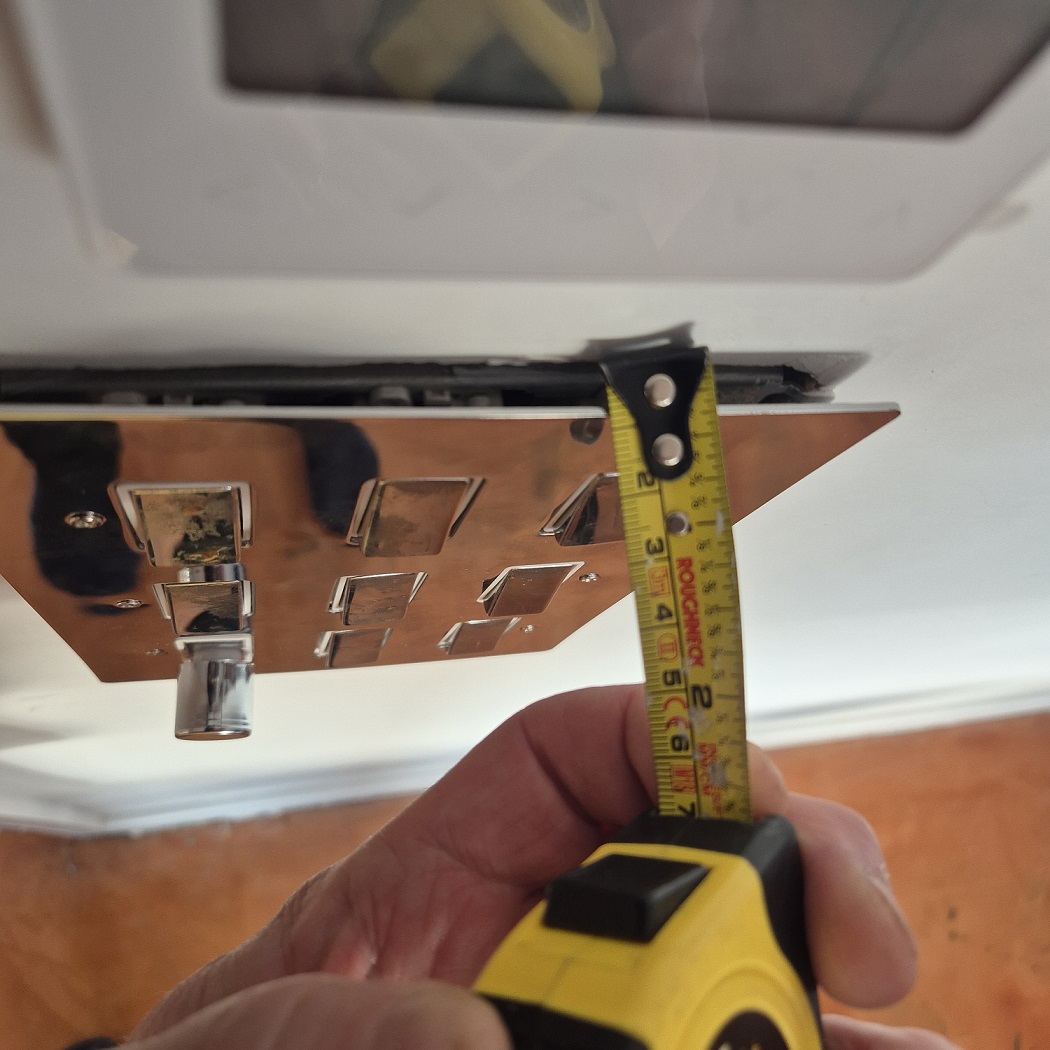
For the most precise result, use a digital depth gauge or callipers. These tools allow you to measure in increments of 0.1mm, which is ideal for achieving a seamless fit. If professional tools aren't available, a standard millimetre ruler and a flat straight edge will suffice. Avoid using a flexible tape measure for depth, as the "hook" at the end often introduces small but significant errors. Always work in millimetres to match the technical specifications in the Build My Spacer tool.
Accounting for screw length and fixing lugs
A common oversight is failing to check screw lengths. Your faceplate screws must be long enough to pass through the plate and the spacer before threading securely into the backbox lugs. If you are using a 10mm spacer, you will likely need 35mm or 40mm screws to ensure a safe fix. Additionally, check that the fixing lugs in the backbox are clear of plaster or debris. Measuring twice is a simple habit that prevents the frustration of ordering a bespoke part that doesn't fit due to a minor recording error.
Designing Your Solution with the Build My Spacer Tool
Once you have completed your measurements, the next step is to translate those figures into a physical component. The "Build My Spacer" configurator was developed to simplify this process, moving away from the limitations of off-the-shelf products. This tool allows you to specify the exact requirements for your custom electrical faceplate spacers, ensuring that the final part meets the unique spatial needs of your wall finish. By using a digital interface, you eliminate the risk of miscommunication that often occurs with manual orders.
The configurator provides a logical, step-by-step selection process. You can choose the precise thickness required, with options typically ranging from 2mm to 20mm in 1mm increments. This level of granularity is essential when a standard 10mm frame is too deep but a 5mm shim is insufficient. You also select the gang size to match your fitting, whether it is a single gang switch or a double gang socket. Finally, you can choose a colour that complements your faceplate, ensuring the spacer remains a discreet part of the installation rather than a visible distraction.
Ordering made-to-measure parts is particularly beneficial for projects adhering to UK electrical standards. Because these spacers are designed for standard UK backboxes and faceplates, the screw holes and internal apertures align perfectly. This precision reduces material waste, as you only order the exact components required for the job. You don't need to buy bulk packs of generic shims that will likely end up in a landfill. This methodical approach to ordering ensures efficiency on site and a superior final result.
Using the configurator for non standard projects
Standard retail options rarely cater to multi-gang configurations or large extension frames. If you are installing a row of three or four switches, the configurator allows you to design a single, unified spacer that supports the entire assembly. This is far more stable than using multiple individual shims. You can also tailor the spacer to match unique faceplate materials, such as heavy cast brass or slimline modern plastics. Visit the Build My Spacer tool to start your design and secure a precision finish for your project.
Why professionals choose bespoke manufacturing
Electricians and interior designers value consistency. When managing large-scale residential or commercial projects, having a reliable source for high-quality parts is essential. 2d6 Ltd, the UK-based manufacturer behind SocketSpacers.com, provides the technical accuracy that professionals require. Bespoke manufacturing ensures that every room in a property maintains the same high standard of finish, regardless of varying wall depths. For more information on why these parts are the preferred choice for modern installations, read about the Top 10 Benefits of Extension Frames. This commitment to quality and precision is what separates a standard DIY job from a professional-grade installation.
Achieve a Precision Finish for Your Next Project
Achieving a flush finish shouldn't be a matter of luck or messy DIY workarounds. By choosing custom electrical faceplate spacers, you ensure that every socket and switch in your home or commercial project is structurally sound and aesthetically perfect. We've explored how these bespoke components solve the safety risks of floating sockets and provide the essential depth needed for modern smart technology. Generic hardware store parts simply cannot match the precision of a frame manufactured specifically for your wall depth.
Our products are made to order in the UK and are trusted by professional electricians who refuse to compromise on the quality of their finish. Whether you are dealing with a single tiled splashback or a complex multi-gang installation, a tailored solution is the most efficient way to bridge the gap. Create your perfect fit with our Build My Spacer configurator and eliminate the frustration of sunken fittings today. With millimetre-perfect accuracy, you can move forward with your renovation knowing your electrical fittings are secure, safe, and look exactly as they should.
Frequently Asked Questions
What thickness of electrical spacer do I need for a tiled wall?
The thickness depends on the combined depth of your tile and the adhesive layer used. Typically, kitchen and bathroom tiles require a spacer between 8mm and 12mm to bring the fitting flush with the new surface. It is best to use a straight edge and a ruler to find the exact measurement in millimetres. You can then input this specific depth into the Build My Spacer tool to ensure a perfect fit.
Can I use a custom spacer for both light switches and plug sockets?
Yes, custom spacers are designed to work with both light switches and plug sockets. Since UK electrical fittings follow standard gang sizes, a single gang spacer will fit a standard light switch or a single socket, whilst a double gang version fits standard double sockets. This versatility makes them ideal for full room renovations where multiple types of fittings have been affected by new wall finishes.
Do I need longer screws when using a faceplate spacer?
You will almost certainly need longer screws to reach the backbox lugs through the added depth of the spacer. Standard faceplate screws are usually 25mm long, but when using custom electrical faceplate spacers, you may require 35mm, 40mm, or even 50mm M3.5 screws. Always ensure the screw has at least 5mm of thread engagement with the backbox lug to maintain a secure and safe connection.
Are bespoke spacers safe to use in UK homes?
Bespoke spacers are safe for use in UK homes when they are manufactured from high-quality, durable materials and installed according to standard electrical practices. They actually enhance safety by providing a rigid mounting surface, which prevents the faceplate from moving or cracking. This stability protects the internal wiring from mechanical stress and ensures that the electrical connections remain undisturbed during everyday use of the switch or socket.
What is the best material for a socket extension frame?
The best material for a socket extension frame is a durable, heat-resistant plastic that provides structural rigidity. Unlike flimsy DIY shims, a solid plastic frame won't compress when the faceplate screws are tightened. This ensures the fitting remains secure over time. These spacers are manufactured to provide this essential support whilst offering various colour options to match your specific interior design requirements and faceplate finishes.
How do I fix a socket that is too deep after plastering?
You can fix a sunken socket by installing a bespoke spacer to bridge the gap created by the new plaster. Measure the distance from the front of the backbox to the surface of the finished wall. Once you have this dimension, you can order a part that fits behind the faceplate to provide a solid mounting platform. This eliminates the unsightly gaps and wobbly fittings often seen after a wall has been skimmed.
Can I get a spacer for a triple or quadruple gang faceplate?
Yes, spacers can be manufactured for triple, quadruple, or even larger multi-gang faceplates. These larger configurations are often used in modern kitchens or media rooms where multiple switches are grouped together. A single, continuous multi-gang spacer is far more effective than trying to align individual single spacers. It provides a unified support structure that keeps all the switches perfectly aligned on the same plane for a professional look.
Why should I choose a bespoke spacer over a standard one from a hardware store?
Choosing a bespoke spacer ensures a precision fit that generic hardware store options cannot provide. Standard 10mm spacers often leave gaps if your wall depth is actually 7mm or 13mm. Using custom electrical faceplate spacers allows you to specify the exact millimetre depth, gang size, and colour you need. This results in a cleaner aesthetic and a much more secure installation that won't loosen or collect dust over time.
Electrical Safety
Always isolate the circuit and confirm it is dead before removing a socket or switch faceplate. Only carry out the work if you are competent to do so. If you find damaged wiring, signs of overheating or anything unsafe, stop and contact a qualified electrician.