
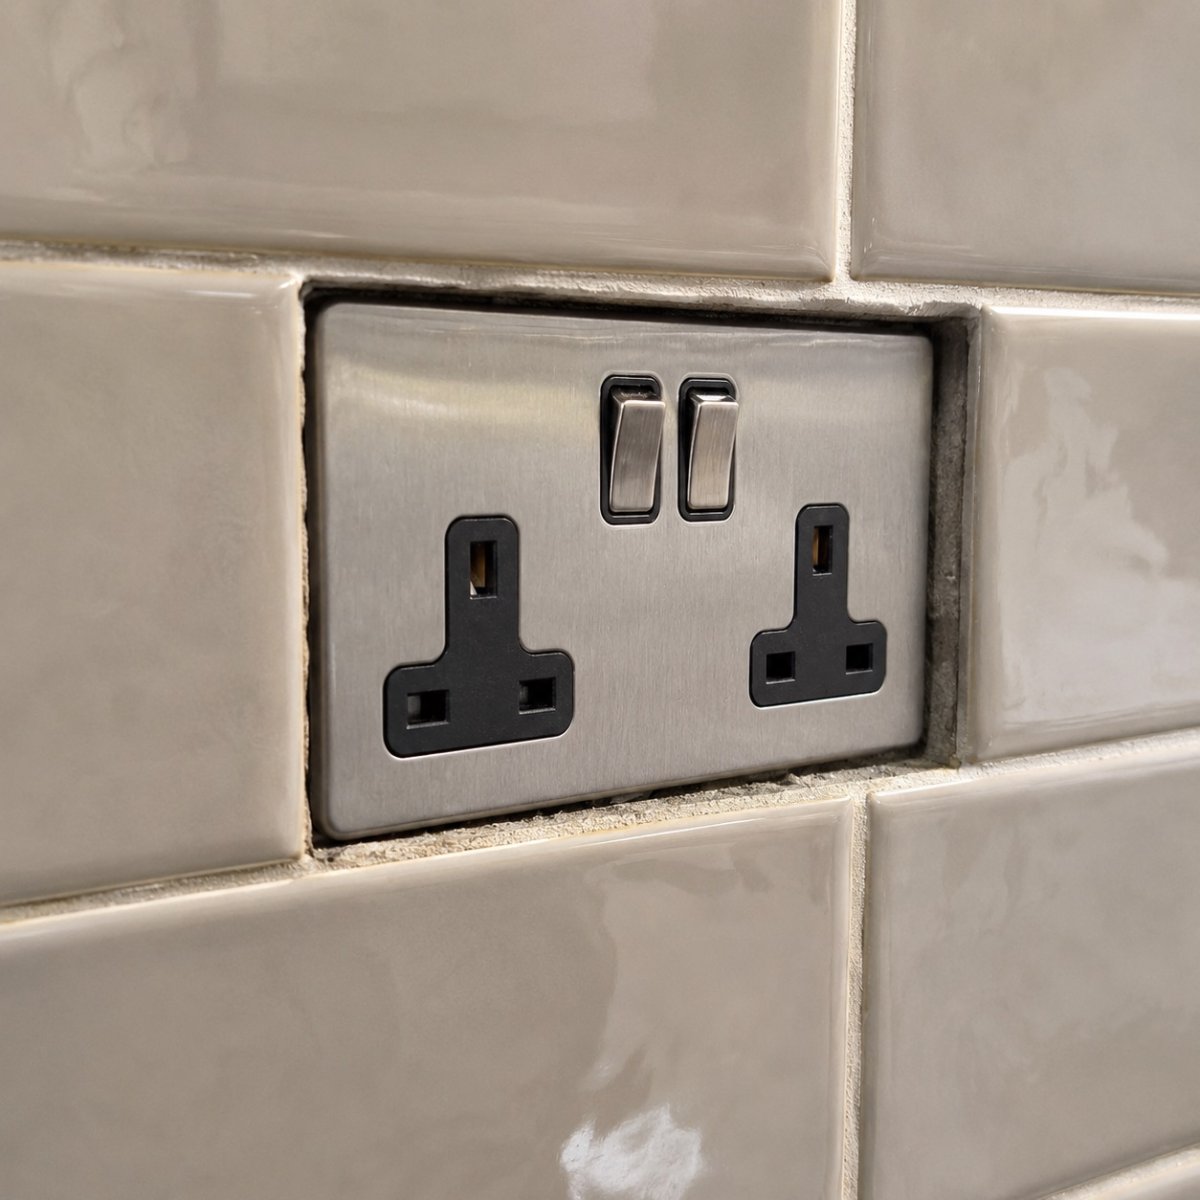
You have just completed a high-quality tiling project or installed new wall panelling, only to find that your electrical sockets are now set back too far from the surface. It is a common frustration when faceplate screws no longer reach the backbox, leaving you with a wobbly fitting that looks unprofessional. If you are looking for a reliable way how to fix recessed socket issues without the need for complex rewiring or messy plasterwork, there is a straightforward solution. A sunken socket is more than an eyesore; it can be a safety risk if the faceplate is not properly supported.
We believe that every renovation deserves a clean, flush finish. By using the Build My Spacer configurator tool, you can achieve a professional result with a component designed specifically for your wall's thickness. In this guide, we will walk you through the process of measuring your gap and installing bespoke spacers. You will learn how to transform a recessed fitting into a structurally sound, perfectly aligned feature of your room.
Key Takeaways
- Understand why new kitchen tiling or wall panelling causes sockets to become sunken and how to identify the specific depth required for a flush finish.
- Discover how to fix recessed socket issues by accurately measuring the gap from the face of the backbox to the new wall surface.
- Compare common DIY workarounds against professional alternatives, including the precision-engineered Build My Spacer configurator tool.
- Learn the essential safety steps for a secure installation, from isolating the power to correctly positioning your bespoke spacer plate.
- Realise the long-term benefits of using custom-fit spacers, such as improved structural integrity and increased wiring space behind the socket faceplate.
Table of Contents
- Why Your Electrical Sockets Are Recessed After Redecorating
- Comparing Fixes for Sunken Sockets and Light Switches
- Measuring Your Gap for a Precision Fit Spacer
- How to Install a Socket Spacer Plate: Step-by-Step
- The Benefits of Using Bespoke UK Socket Spacers
Why Your Electrical Sockets Are Recessed After Redecorating
Redecorating often involves adding layers to your walls that weren't there before. Whether it's a fresh coat of plaster or new kitchen tiles, these additions change the wall's thickness in ways that standard electrical fittings aren't always designed to handle. In many UK homes, the metal or plastic backbox is set flush with the original brickwork or plasterboard. When you add a new surface, that backbox stays where it is, creating a significant gap. Finding a professional way how to fix recessed socket problems often starts with the Build My Spacer tool, which removes the guesswork from your measurements.
A recessed socket is a precision problem. It happens because the faceplate is designed to sit tight against the wall, but the screw lugs are now too far back. This gap makes the installation feel unfinished and unprofessional. It's a common frustration during renovations, but it's one that requires a specific mechanical solution rather than a decorative cover-up.
The Impact of Tiling and Wall Panelling
A standard ceramic tile is usually between 6mm and 10mm thick. When you add a layer of adhesive, the total depth added to the wall can easily exceed 12mm. Modern decorative wall panelling can be even thicker, sometimes adding 15mm or more to the surface. This extra depth means the faceplate screws often can't reach the lugs in the backbox at all. Whilst the standards for AC power plugs and sockets provide a safe framework for electrical use, they assume a secure physical installation. If the wall behind the socket was plastered unevenly, the faceplate might sit at a slant, making the entire finish look untidy and poorly executed.
Safety and Structural Integrity Concerns
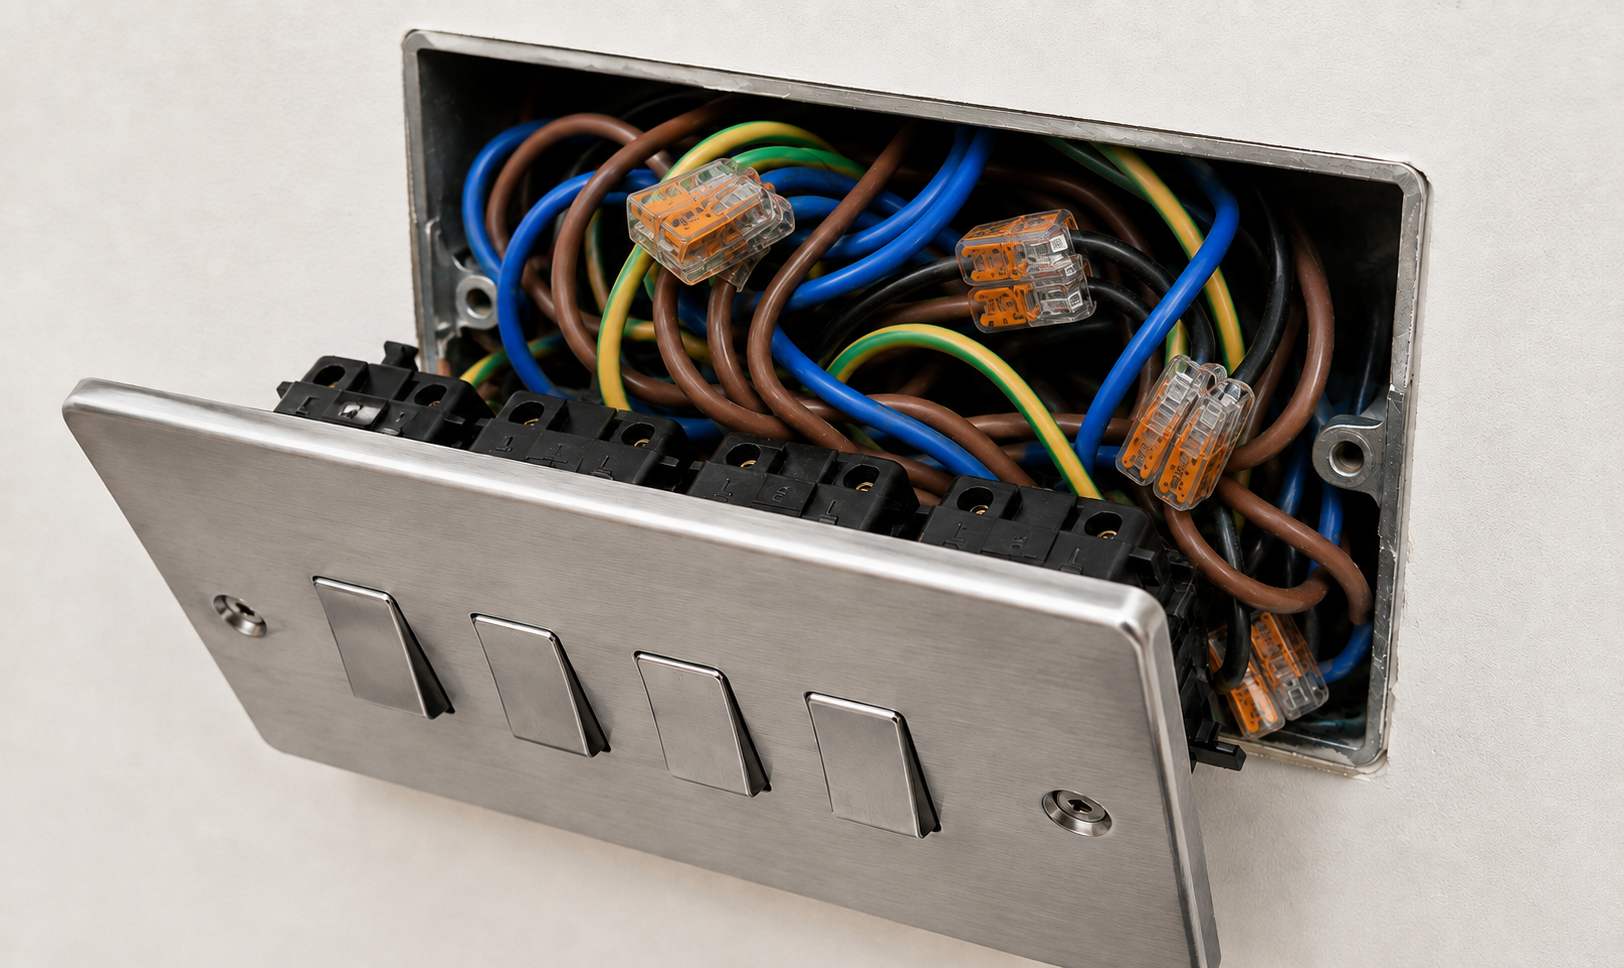
A sunken socket is more than a visual flaw. When a socket isn't sitting flush against the wall surface, it effectively becomes a "floating" installation. Every time you plug in a device or pull out a cable, the faceplate moves. This repeated motion puts significant strain on the copper wiring inside. Over time, these connections can loosen, which creates a genuine electrical risk. Understanding how to fix recessed socket issues correctly is vital for long-term safety.
There are several risks associated with leaving a socket unsupported:
- Mechanical strain: Tightening screws into a void can cause the plastic faceplate to bend or crack.
- Wobbly fittings: A socket that moves when touched feels unsafe and indicates a low-quality installation.
- Exposed gaps: Large recesses can allow dust, moisture, or debris to enter the electrical backbox, potentially causing shorts.
By addressing the depth of the backbox with a bespoke spacer, you provide the faceplate with the solid backing it needs. This ensures the socket is structurally sound and safe for everyday use.
Comparing Fixes for Sunken Sockets and Light Switches
When you discover a gap behind your faceplate, the instinct is often to find a quick remedy. Many people searching for how to fix recessed socket problems look for items already in their toolbox or junk drawer. However, there is a distinct difference between a temporary workaround and a permanent, professional solution. Whilst a makeshift fix might seem convenient in the moment, it rarely provides the long-term stability required for a high-traffic electrical point.
Professional electricians generally avoid generic plastic shims because they rely on guesswork. In contrast, a bespoke approach ensures that the faceplate is fully supported across its entire surface area. This is particularly vital in the UK, where the UK Plugs and Sockets Safety Regulations set high standards for how electrical accessories must be mounted and maintained. A secure, flush finish isn't just about appearance; it's about adhering to these safety principles by ensuring the socket cannot move or flex during use.
The Limitations of Washers and Plastic Shims
Small plastic washers or "L" shaped shims are common DIY suggestions found on internet forums. Whilst they might bridge the gap for a single screw, they are notoriously difficult to align during installation. If you are dealing with a double gang socket, these individual shims provide no structural support in the centre of the fitting. This lack of a solid frame means the faceplate can flex or even crack when you apply pressure to plug in a heavy appliance. Over time, the repeated mechanical stress of inserting and removing plugs causes these makeshift fixes to shift or compress. This leads to a wobbly fitting that feels unsafe and looks unprofessional.
The Precision of Bespoke Socket Spacers
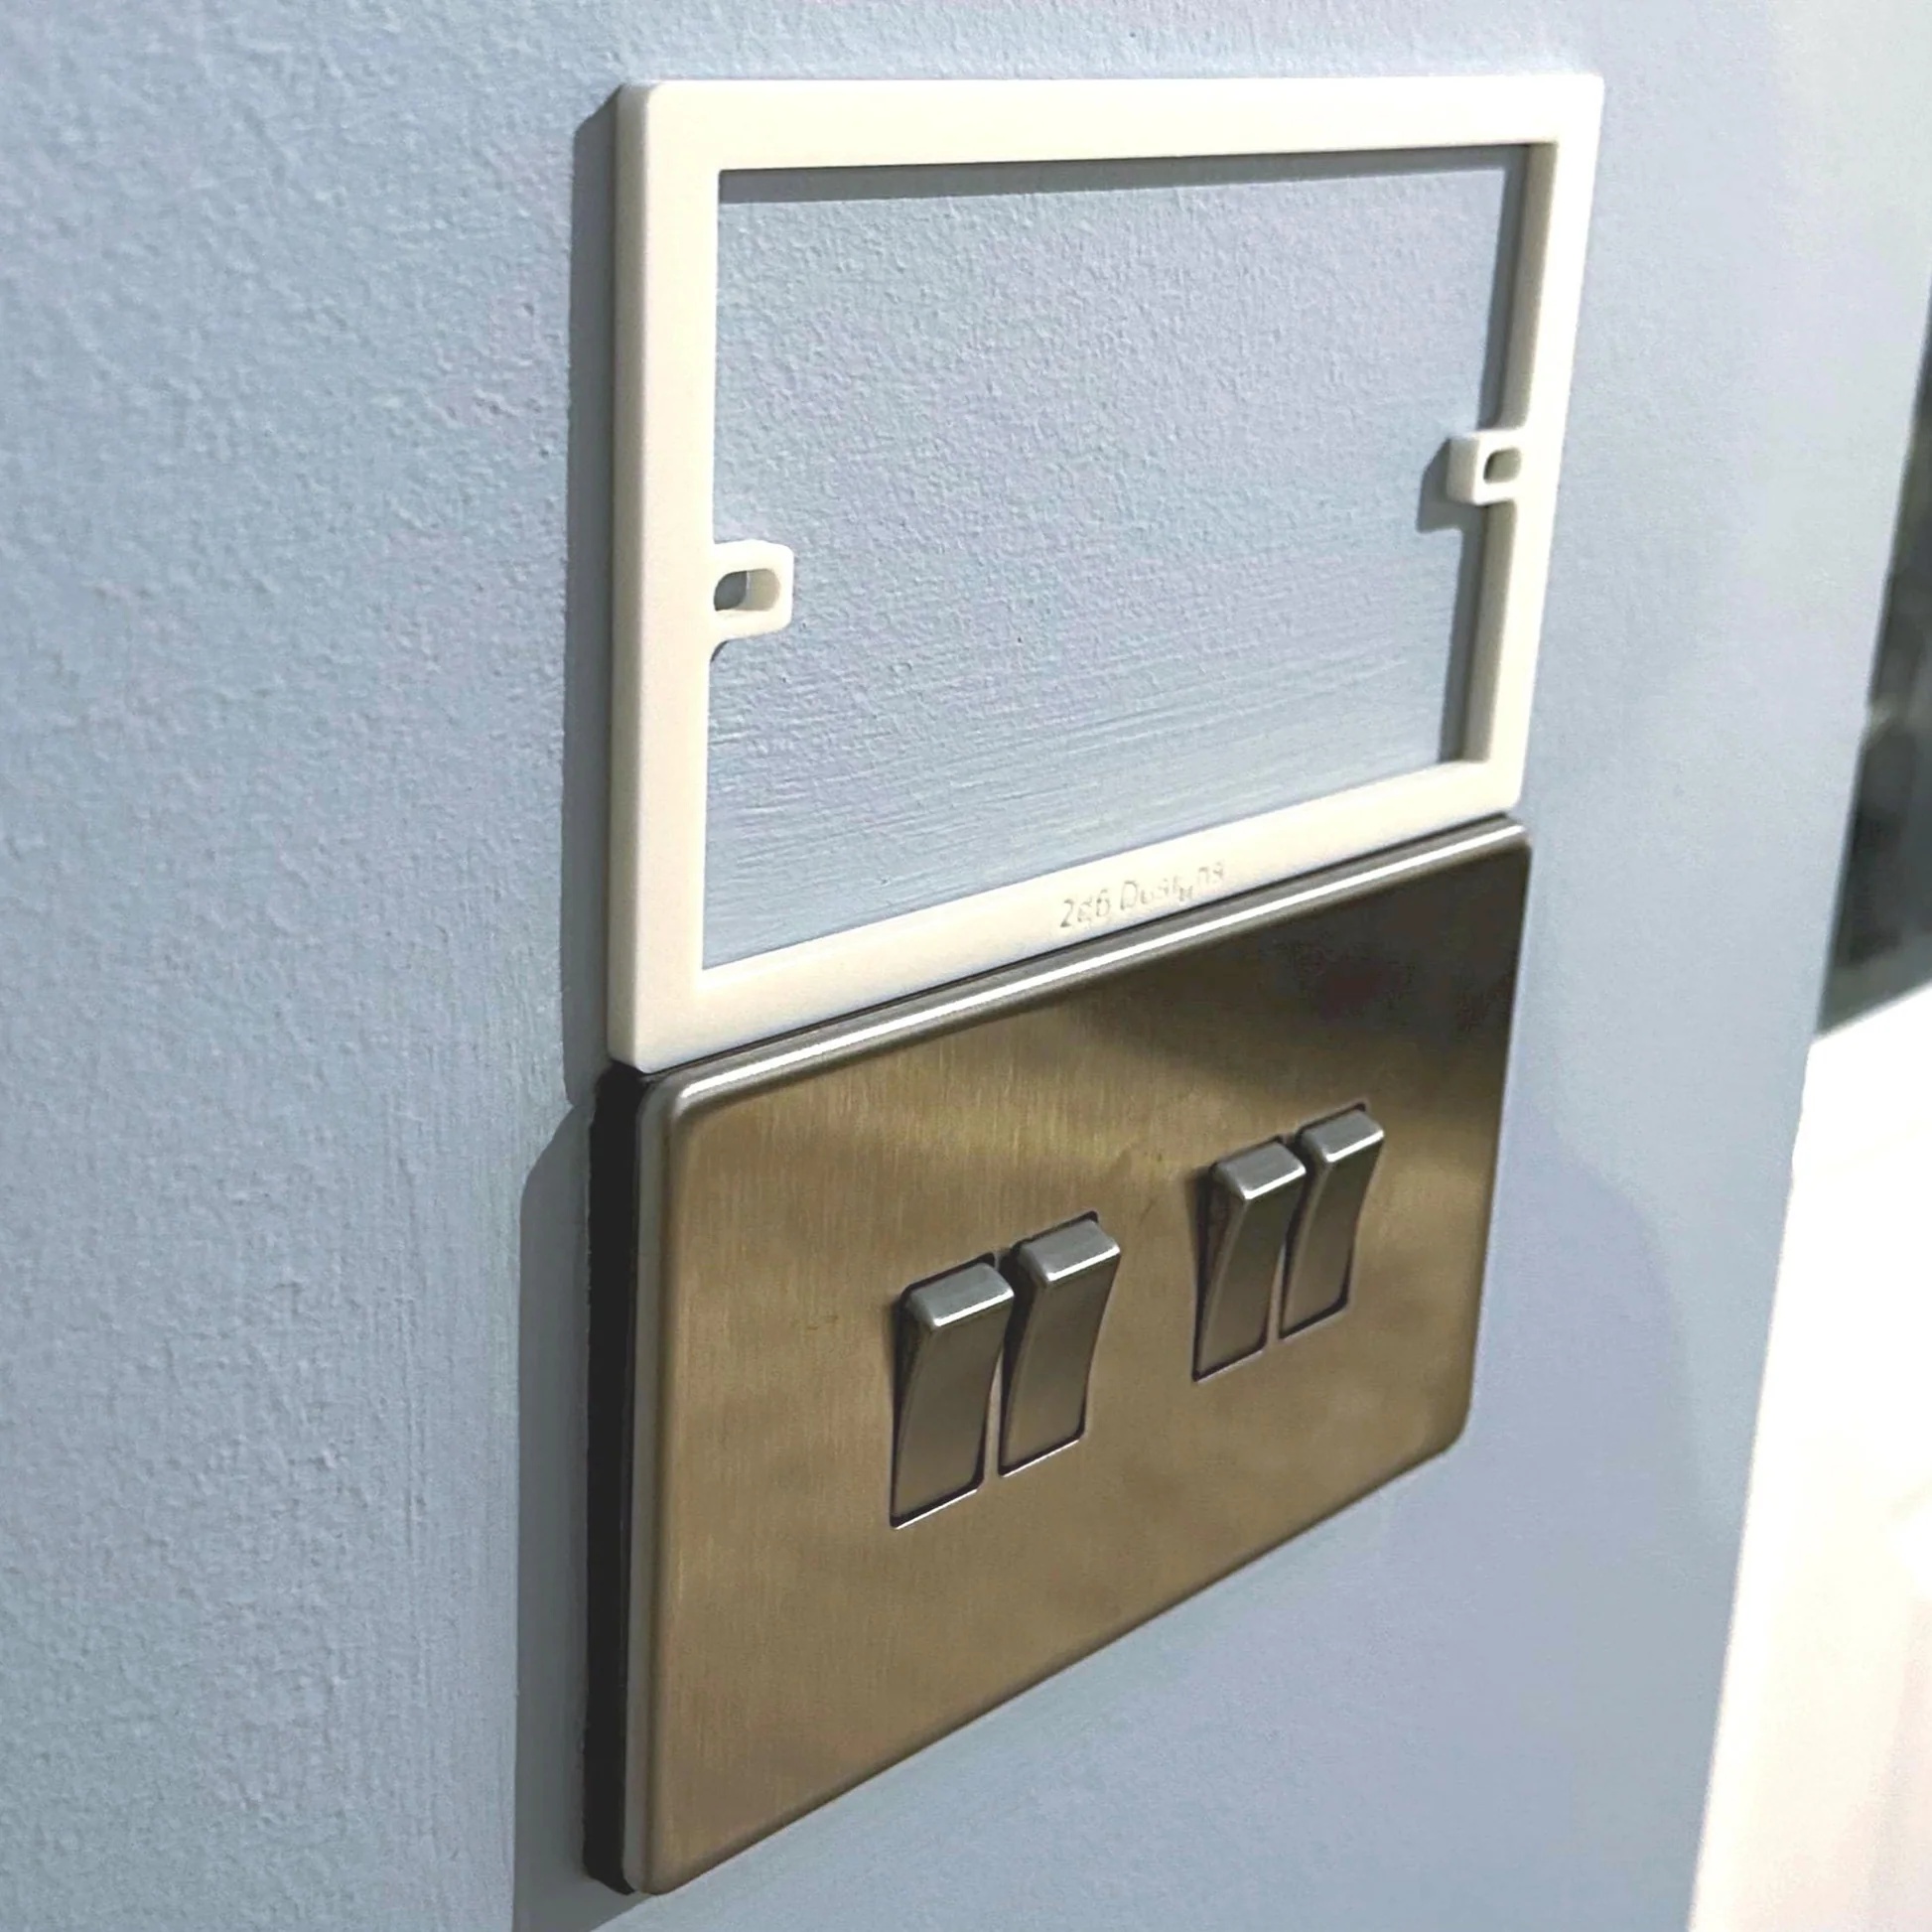
Bespoke spacers offer a continuous perimeter of support that generic shims simply cannot match. Instead of stacking multiple thin pieces of plastic and hoping they stay in place, you can use the Build My Spacer tool to specify a single frame at the exact millimetre depth required for your project. This level of precision ensures the faceplate sits perfectly flush against the new tiling or panelling without any visible gaps or slanted edges.
A custom-fit spacer matches the exact footprint of your faceplate. This provides a seamless transition from the wall to the socket, which is essential for achieving a high-end finish in a modern kitchen or bathroom. By using the Build My Spacer configurator, you remove the trial and error associated with off-the-shelf products. You receive a component designed specifically for your gap, ensuring the installation is structurally sound from the moment you tighten the screws. If you are looking for a reliable way how to fix recessed socket issues permanently, you can view our full range of custom spacers to find the ideal solution for your home.
Measuring Your Gap for a Precision Fit Spacer
Achieving a professional result depends entirely on the accuracy of your measurements. When you are researching how to fix recessed socket issues, the most common mistake is estimating the depth by eye. A gap that looks like 10mm might actually be 12mm once you account for adhesive. To get this right, you need a few basic tools: a steel ruler with clear millimetre markings or, for the highest level of precision, a digital vernier calliper.
Measurement should be taken from the face of the electrical backbox (specifically the metal lugs where the screws attach) to the outer surface of your new wall finish. If you have tiled a splashback, measure to the front face of the tile rather than the grout line. This ensures the spacer provides a solid bridge for the faceplate to sit against. Using the Build My Spacer tool allows you to input these specific dimensions to receive a bespoke frame that matches your requirements exactly.
Calculating the Required Thickness
The goal is to find a thickness that allows the socket to sit flush without being proud of the wall. If your measurement is between sizes, it is usually better to choose a spacer that is slightly thinner rather than thicker. A spacer that is 1mm too thin will still be pulled tight by the screws, whereas one that is too thick will leave a visible gap behind the faceplate. If your wall is uneven and the depth varies across the socket, take measurements at both screw points. For significant variations, you should choose a depth that provides the most stable contact for the faceplate whilst ensuring the installation remains safe.
Identifying Your Socket Type
UK electrical fittings are standardised, but you must ensure you select the correct gang type. A single socket is roughly 86mm square, whilst a double gang is 146mm wide. Measuring the recess depth is also the perfect time to check your screw requirements. Standard faceplate screws are often 35mm long; if your recess is deeper than 10mm, you will likely need to source 50mm or 75mm M3.5 screws to reach the backbox. Maintaining these physical standards is a core part of residential safety, as outlined in Approved Document P, which governs electrical installations in dwellings. Understanding how to fix recessed socket gaps correctly ensures your home remains compliant with these building regulations.

How to Install a Socket Spacer Plate: Step-by-Step
Installing a spacer is the final stage in achieving a professional finish for your electrical points. If you have followed the measuring steps correctly, you will have a component that matches your specific gap exactly. Knowing how to fix recessed socket issues safely is paramount; therefore, you should never skip the preparation phase. A methodical approach ensures the socket is not only flush with the wall but also electrically sound and secure for long-term use.
Safe Removal and Preparation
Before you touch any screws, you must isolate the power at the consumer unit. Turning off the individual circuit breaker is the standard procedure, but many professionals prefer to turn off the main switch for absolute certainty. Once isolated, use a socket tester or a known working lamp to confirm the circuit is dead. Do not rely on the wall switch alone. Loosen the faceplate screws slowly and, as the faceplate moves forward, check the condition of the wiring. In older UK properties, insulation can become brittle, so handle the cables with care. If the wires are short, do not pull the faceplate too far from the wall. This prevents internal damage that might otherwise require an expensive rewiring job.
Fitting the Spacer and Reattaching
Take your bespoke spacer and slide it over the back of the faceplate or directly onto the backbox. The spacer acts as a solid bridge between the hidden box and the visible wall surface. Because you used the Build My Spacer tool to get the right dimensions, the frame should align perfectly with the screw holes and the perimeter of the faceplate. As you push the faceplate back towards the wall, carefully tuck the wires into the backbox. Ensure no cables are trapped between the spacer and the faceplate or the spacer and the wall. If the wires feel crowded, organise them into the corners of the box to provide clearance for the screws.
Configure your bespoke socket spacer now
The Final Adjustment
Insert your M3.5 screws and tighten them by hand initially to avoid cross-threading the lugs. Use a spirit level to ensure the socket is perfectly horizontal before the final tightening. Once you are satisfied with the alignment, tighten the screws until the faceplate is firm against the spacer. You should not see any gaps, and the socket should not move when pressure is applied. Restoring the power is the final step. Test the socket again with your tester to ensure all connections remain secure. By following these steps, you have successfully resolved the problem of how to fix recessed socket gaps whilst maintaining the electrical integrity of your home.
The Benefits of Using Bespoke UK Socket Spacers
Choosing a bespoke solution is the final step in ensuring your home renovation meets a professional standard. Whilst the previous sections focused on the technical aspects of measuring and installation, the choice of material and fit determines the longevity of the result. When considering how to fix recessed socket installations, the quality of the components matters as much as the method. A custom-fit spacer provides a level of stability that generic, mass-produced alternatives simply cannot replicate.
Supporting UK manufacturing also means you receive a product designed specifically for British electrical standards. These spacers aren't just plastic fillers; they are precision-engineered frames that provide a continuous surface for the faceplate. This structural integrity is essential for a high-traffic area like a kitchen, where sockets are used daily. A flush, secure finish doesn't just look better; it increases the perceived value of your renovation by demonstrating attention to detail in every corner of the room.
Bespoke Quality vs Mass Market
Generic plastic shims and washers are often sold as a one-size-fits-all solution, but they rarely provide a perfect fit. They can be fiddly to align and often leave the centre of a double gang socket unsupported. SocketSpacers.com specialises in made-to-order frames that match the exact footprint of your electrical accessories. This prevents the frustration of using parts that don't quite fit or require stacking to reach the desired depth. By opting for a bespoke frame, you avoid the untidy appearance of visible gaps or crooked faceplates that often plague DIY projects.
Long-Term Reliability
One of the most significant advantages of a bespoke spacer is the increased wiring space it provides. When a socket is recessed, the internal wires are often compressed into a smaller area than intended. A precision frame allows the faceplate to sit forward whilst maintaining a clear, protected path for the cables. This reduces heat build-up and prevents the mechanical strain that leads to loose connections over time. High-quality plastic spacers are also resistant to the moisture and temperature changes common in kitchens and bathrooms, ensuring they won't warp or degrade.
If you've been struggling with wobbly fittings or screws that won't reach, it's time to choose a permanent fix. You can easily customise your installation with the Build My Spacer tool to get the exact depth you need for a perfectly flush finish. Solving the problem of how to fix recessed socket gaps once and for all gives you the peace of mind that your home's electrical points are safe, secure, and professionally finished.
Achieve a Seamless Finish for Your Electrical Points
You now have a clear understanding of how to fix recessed socket issues using precision-engineered components. By moving away from unstable DIY workarounds and focusing on accurate measurements, you ensure your electrical installation is both safe and visually perfect. A bespoke spacer provides the necessary structural support to prevent faceplate movement and protect your internal wiring from unnecessary strain.
Our specialist UK manufacturing ensures that every spacer is made to order for any electrical fitting. If you value a professional result, choosing a custom size is the most efficient way to resolve the challenges of sunken backboxes. Relying on a tailored solution from SocketSpacers.com ensures that your renovation remains high-quality and structurally sound without the need for complex rewiring.
Design your bespoke socket spacer now with our Build My Spacer tool
Taking the time to install the correct support today prevents loose connections and wobbly sockets in the future. It is the final detail that turns a standard renovation into a high-quality finish you can be proud of. With the right tools and a methodical approach, a perfectly flush socket is easily within reach.
Frequently Asked Questions
Do I need an electrician to fix a recessed socket?
You don't necessarily need an electrician to resolve this issue if you're comfortable with basic DIY and can safely isolate the power. Fixing a sunken socket is primarily a mechanical task that involves adding a support frame. However, if you discover charred wires, damaged insulation, or loose terminals when you remove the faceplate, you should consult a qualified professional immediately.
Can I use multiple spacers if the recess is very deep?
Whilst you can stack multiple shims, it's significantly better for the structural integrity of the fitting to use a single bespoke frame. Stacking creates multiple points of movement and can lead to a wobbly installation over time. Using the Build My Spacer tool allows you to order the exact millimetre depth required for a solid, one-piece solution.
Will a socket spacer work with any UK light switch?
Yes, our spacers are designed to fit standard UK single and double gang accessories. This includes light switches, dimmer switches, and plug sockets because UK mounting centres are standardised at 60.3mm for single and 120.6mm for double units. A bespoke spacer will align perfectly with any standard faceplate footprint to provide a flush finish.
What is the maximum depth a socket spacer can bridge?
We provide custom depths to suit your specific project requirements, typically bridging gaps from 3mm up to 40mm. Most kitchen tiling or wall panelling projects add between 10mm and 15mm to the wall thickness. If your recess is deeper than 40mm, you may need to check if your internal wiring has enough slack to reach the new position safely.
Are socket spacers safe for home use?
Our bespoke spacers are manufactured from durable, high-quality materials that are safe for domestic environments. They provide a much more secure and professional alternative to makeshift cardboard or wooden shims, which can be a fire hazard or degrade over time. These spacers are designed to withstand the mechanical stress of repeated plug use without shifting.
What should I do if my socket screws are too short after tiling?
You will need to purchase longer M3.5 electrical screws to ensure they reach the lugs in the backbox. Standard screws are usually 35mm long; for tiled walls or panelled surfaces, 50mm or 75mm versions are often required. Sourcing the correct screw length is a vital part of how to fix recessed socket gaps effectively and safely.
Can I paint a socket spacer to match my wall colour?
You can paint the edges of a spacer if they are visible, though our designs are intended to sit discreetly behind the faceplate. If you choose to paint them, use a plastic-compatible primer first followed by your chosen wall paint. This ensures the spacer blends seamlessly with your decor whilst maintaining its professional, flush appearance.
How do I fix a socket that is sunken on only one side?
Fixing a socket that is unevenly sunken requires a level mounting surface to pull the faceplate against. A bespoke spacer provides a flat, solid plane that corrects the slant caused by uneven plaster or tiling. Use the Build My Spacer tool to specify the depth needed for the deepest part of the gap to ensure the entire installation is level.
Electrical Safety
Always isolate the circuit and confirm it is dead before removing a socket or switch faceplate. Only carry out the work if you are competent to do so. If you find damaged wiring, signs of overheating or anything unsafe, stop and contact a qualified electrician.