
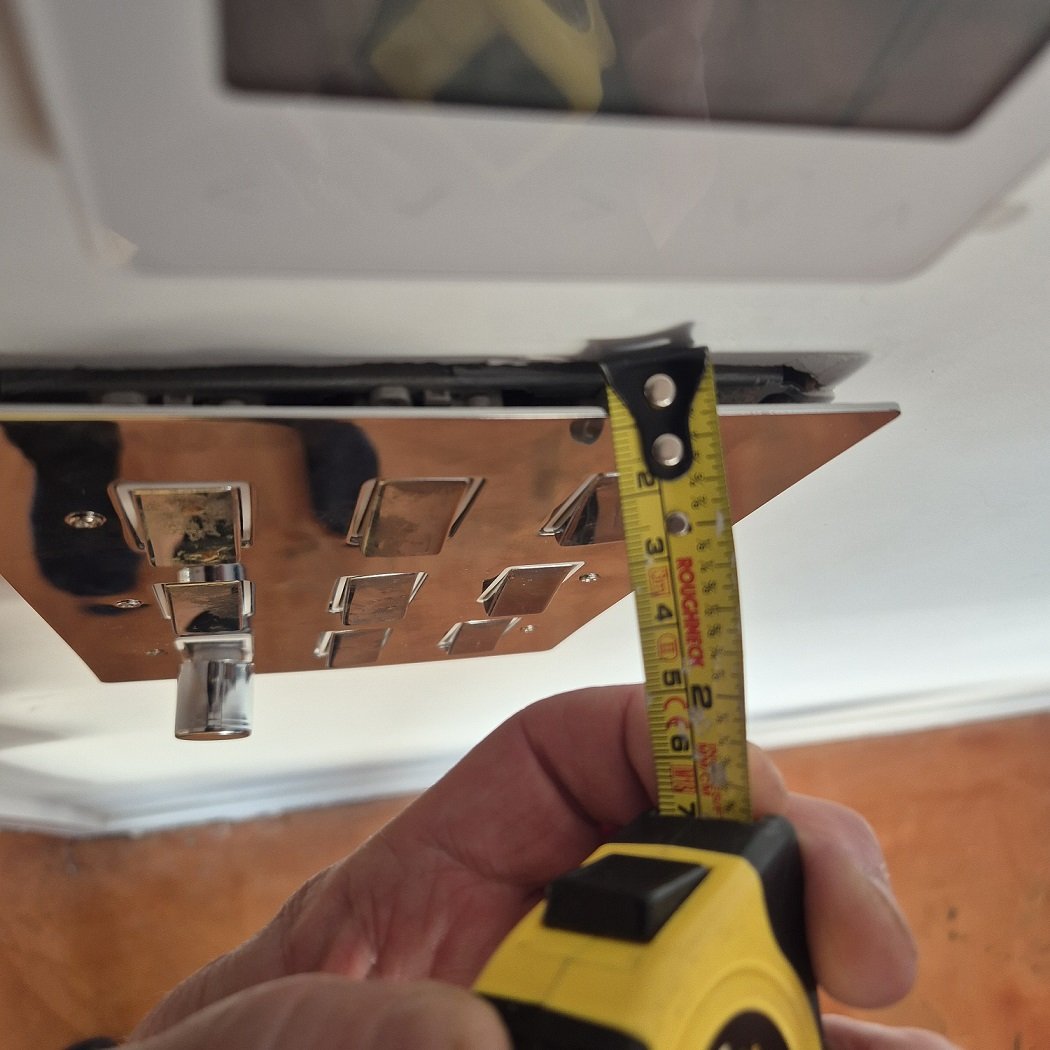
A "near enough" fit is never sufficient for a professional finish, particularly when a small gap can undermine the safety and aesthetics of an entire room. If you’ve recently tiled or plastered a wall, you might find your electrical faceplates no longer sit flush against the surface. Understanding how to fit a light switch extender is the most efficient way to bridge this gap without the cost or mess of moving the original backbox. By using the Build My Spacer configurator tool, you can move away from ill-fitting, standard components and secure a bespoke solution tailored to your specific wall depth.
We recognise the frustration of dealing with sunken electrical boxes that leave switches looking unfinished or feeling unstable. This guide promises to walk you through the technical requirements and practical steps needed to achieve a perfectly flush result that complies with current UK wiring regulations. We will cover the essential safety checks, precise measurement techniques, and the installation process for bespoke spacers. By the end of this article, you will have the knowledge to transform a problematic installation into a clean, professional finish that meets the highest standards of craftsmanship.
Key Takeaways
- Always isolate the electricity at the consumer unit and verify the power is off using a reliable voltage tester before starting any work.
- Discover the exact process of how to fit a light switch extender to safely bridge gaps caused by tiling, plastering, or decorative panelling.
- Measure the precise depth from the sunken backbox to the wall surface to ensure a flush finish without leaving unprofessional gaps or faceplate tension.
- Utilise the Build My Spacer configurator to order bespoke frames tailored to your specific measurements and multi-gang switch configurations.
- Ensure your installation complies with UK standards by using a solid, made-to-order spacer frame rather than unreliable, off-the-shelf plastic rings.
Table of Contents
- What is a Light Switch Extender and Why is it Necessary?
- Safety First: Preparing for Your Light Switch Installation
- Step-by-Step: How to Fit a Light Switch Extender Plate
- Measuring for Success: Why Depth Matters for a Flush Finish
- Bespoke Solutions for Non-Standard UK Backboxes
What is a Light Switch Extender and Why is it Necessary?
A light switch extender, frequently referred to as a spacer, is a purpose-built frame designed to sit between a recessed electrical backbox and the decorative faceplate. While the foundational mechanics of What is a Light Switch? remain consistent, the way they are mounted can change significantly during home renovations. If you have added a new layer of material to your walls, such as tiles, plasterboard, or timber panelling, your existing backbox will likely sit too deep. Learning how to fit a light switch extender allows you to bridge this gap securely. Before you begin any work, it's advisable to use the Build My Spacer configurator tool to determine the exact depth required for a flush finish.
The Problem of the Sunken Backbox
Backboxes often become recessed when walls are thickened during decorative upgrades. This is a common occurrence in high-end renovations where decorative timber panelling or thick acoustic boards are installed over existing plaster. When the backbox is too deep, the faceplate lacks the structural support it needs from the wall. This leads to a "floating" effect where the switch feels spongy or unstable when pressed. Beyond the physical instability, a sunken box creates an unsightly gap between the faceplate and the wall. These gaps are more than just an aesthetic issue; they allow dust and debris to accumulate behind the electrical components, which can pose a long-term maintenance risk.
Benefits of Using a Purpose-Built Spacer Plate
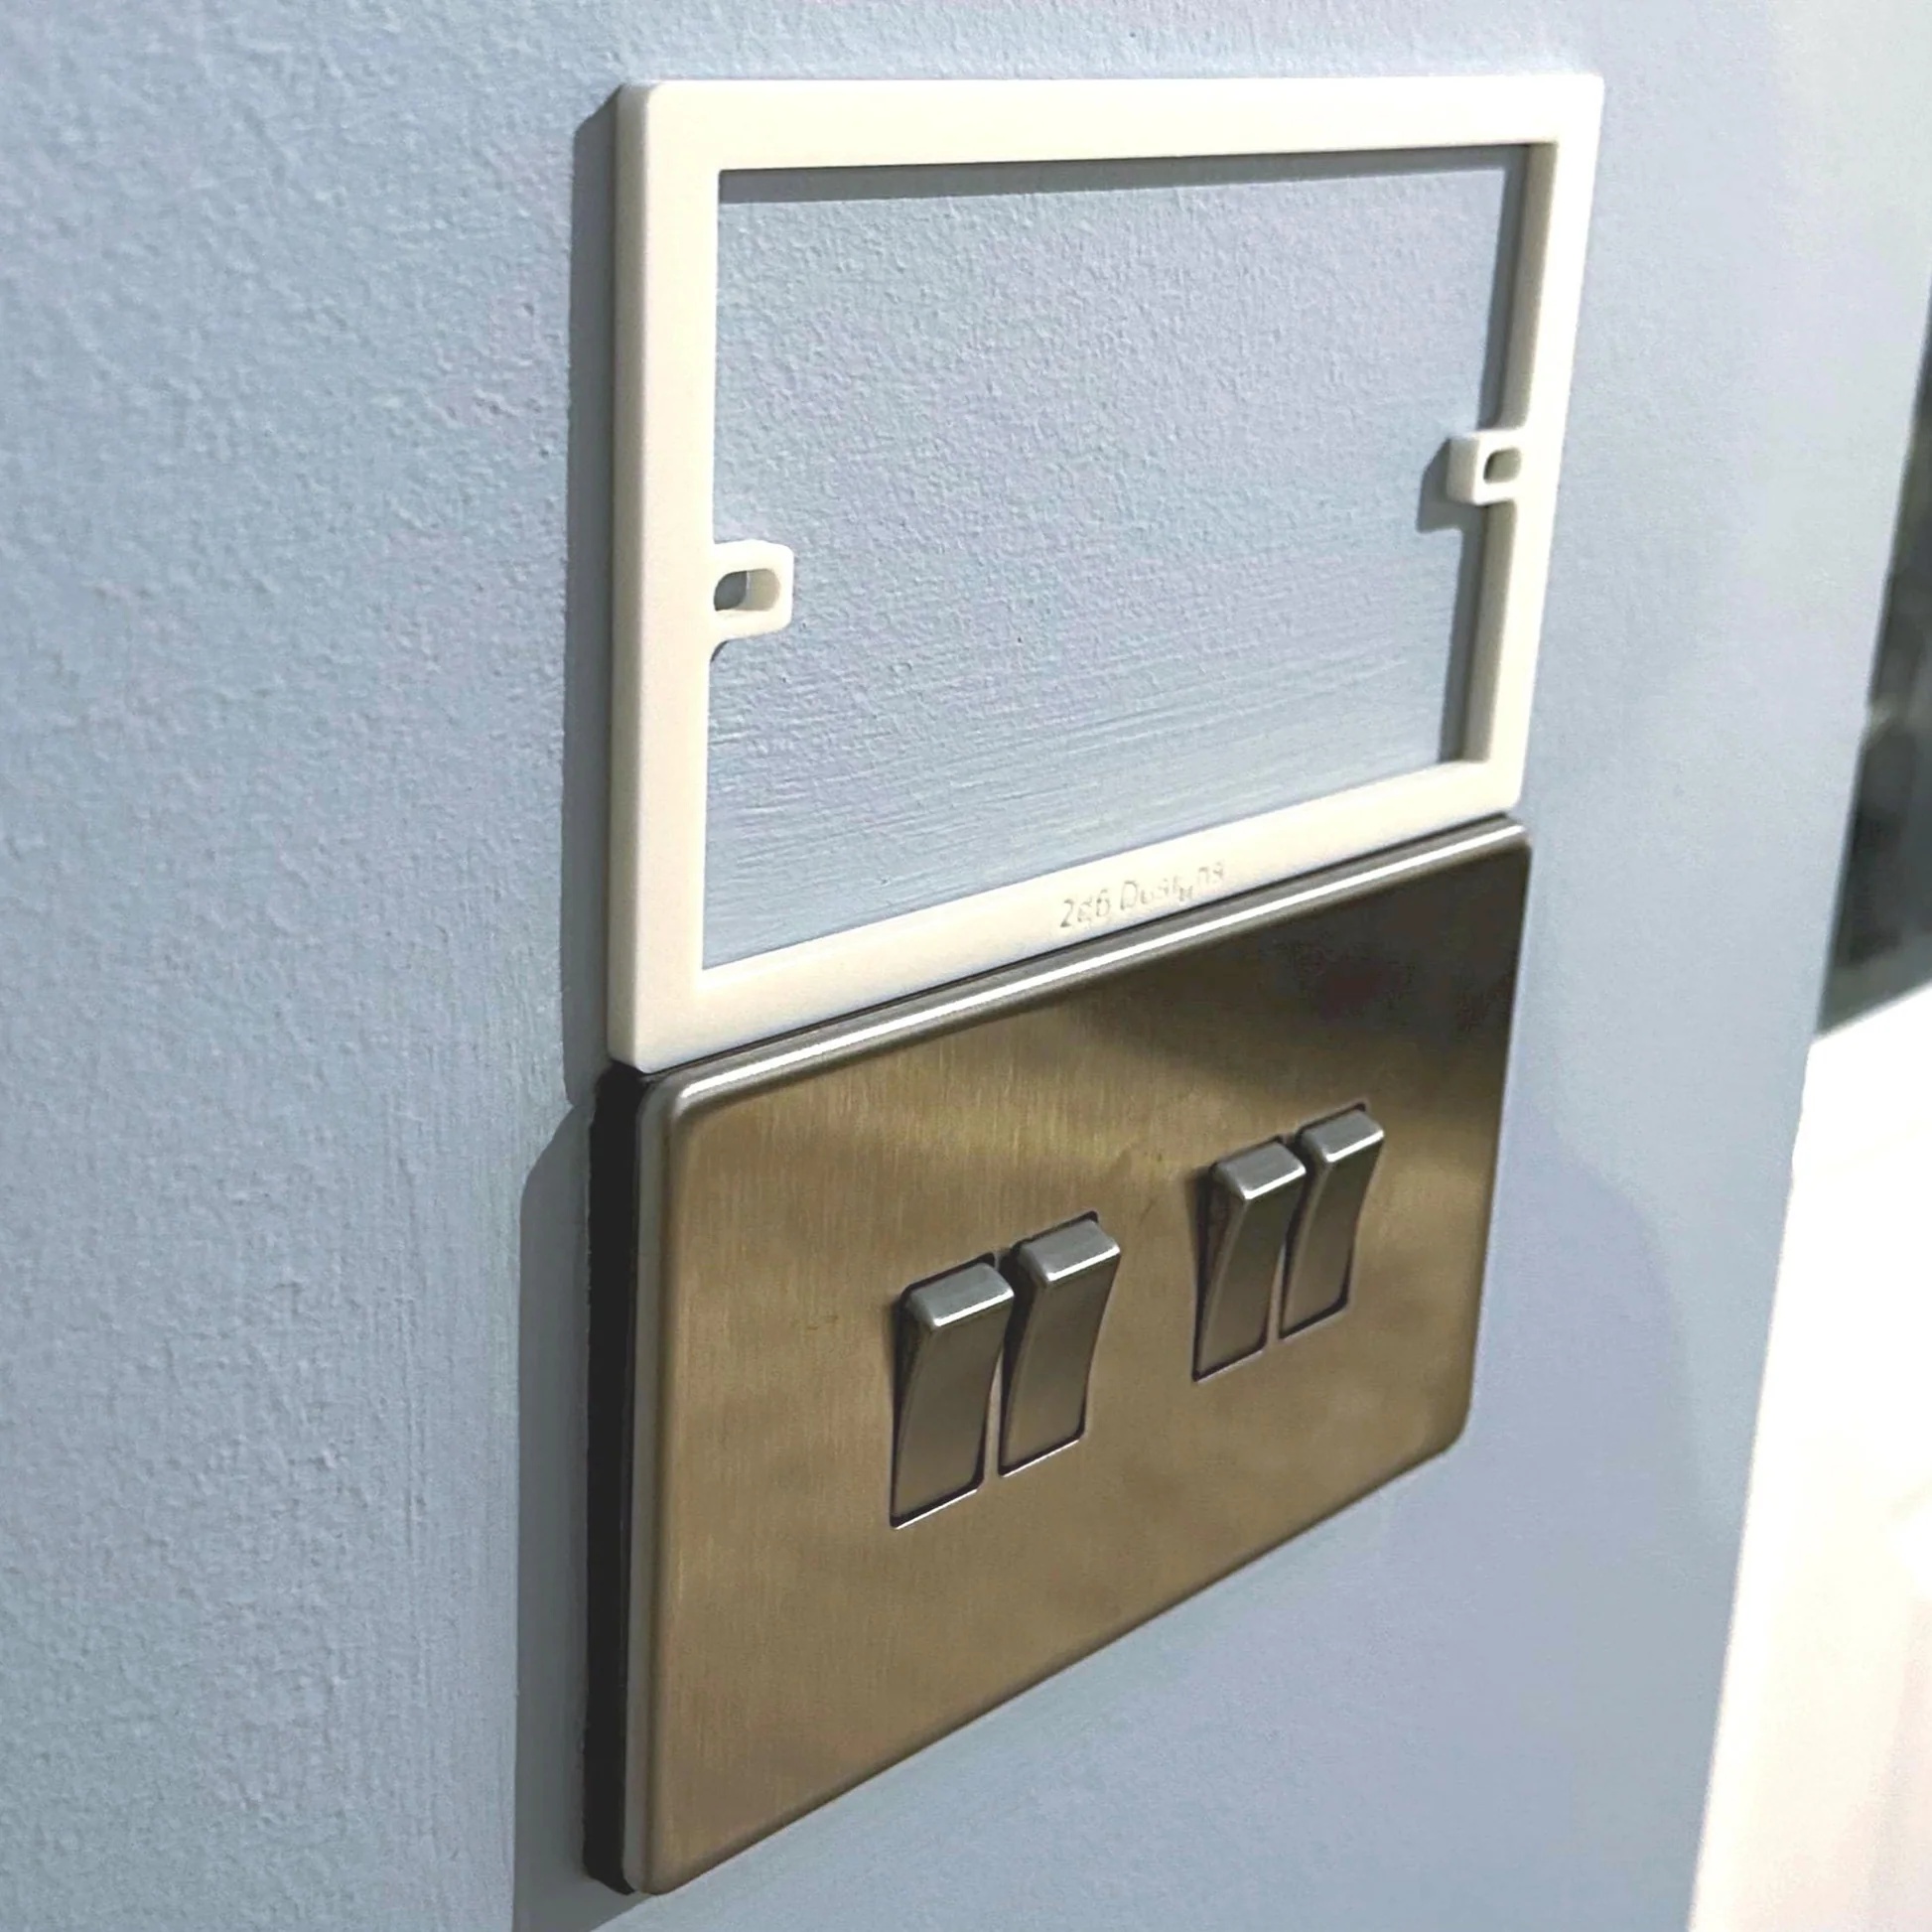
Using a dedicated spacer plate is the only way to ensure the structural integrity of your electrical fittings. Unlike generic plastic rings that often require stacking or trimming, bespoke plastic socket spacers provide a solid, continuous frame that matches the exact dimensions of your switch. This eliminates the need for unstable DIY workarounds like using washers, shims, or excessive amounts of filler. A correctly sized extender ensures the faceplate sits perfectly flush against the new wall surface, providing the same professional finish you would expect from a new-build installation. Understanding how to fit a light switch extender properly ensures that you don't over-tighten the retaining screws, which is a frequent cause of cracked or damaged faceplates in renovated rooms.
Safety First: Preparing for Your Light Switch Installation
Safety is the most critical aspect of any electrical task. Many generic guides suggest you can simply unscrew the faceplate and slide a spacer on, but this ignores the very real risks of working with live circuits. Before learning how to fit a light switch extender, you must ensure the working environment is fully isolated. Switch off the relevant circuit at your consumer unit. It's never enough to simply turn the light switch off at the wall. You must verify the power is dead using a non-contact voltage detector or a reliable voltage tester on the terminals once the faceplate is slightly loosened.
Whilst the faceplate is loose, take a moment to inspect the condition of the existing wiring. Look for any signs of heat damage or brittle insulation. Ensure the copper is clean and that the earth wire is correctly sleeved in green and yellow. If the wiring is too short to safely pull the faceplate forward, you might need to extend the cables using appropriate connectors. However, if you find scorched wires or crumbling insulation, stop immediately and consult a qualified professional.
Essential Tools for the Job
Most UK light switches use M3.5 screws to secure the faceplate to the backbox. If you are extending a switch because of thick tiling or timber panelling, your original screws will almost certainly be too short. You will typically need a set of longer M3.5 electrical screws, often in 50mm or 75mm lengths, to reach the recessed box. Alongside these, ensure you have a flat-head or Phillips screwdriver that matches your faceplate screws and a small spirit level. A spirit level is vital to ensure the extender and faceplate remain perfectly horizontal against your new wall surface. Bespoke spacers from SocketSpacers.com are designed to fit standard UK backbox footprints, ensuring they align perfectly with your existing hardware. You can determine your exact requirements by using the Build My Spacer tool before starting your project.
Understanding UK Electrical Regulations
Fitting a spacer is generally considered a minor electrical task and is not notifiable under Building Regulations. Even so, the finished installation must still comply with the principles of BS 7671 standards to remain safe. You can find more detail in Part P explained by Electrical Safety First to understand how these rules apply to homeowners. The primary requirement is that the spacer must create a continuous, non-combustible enclosure that prevents access to live parts. It should also stop dust or flammable materials from entering the backbox area. Choosing a Custom Fit Light Switch Spacer Plate ensures your installation looks professional without compromising these essential safety standards.
Step-by-Step: How to Fit a Light Switch Extender Plate
Once you've confirmed the power is isolated and your tools are ready, the actual process of how to fit a light switch extender is relatively straightforward. Begin by removing the two M3.5 retaining screws from the existing faceplate. Pull the switch gently away from the wall. You must avoid putting any tension on the internal copper cores; if the wires feel tight, stop and check for snags within the backbox. If the wiring is particularly old, the insulation can be brittle, so minimal movement is always the safest approach.
With the faceplate pulled forward, slide your bespoke spacer behind the unit. Unlike generic spacers that might require you to disconnect the wiring, a well-designed Build My Spacer frame is usually designed to slide over the existing setup without disturbing the connections. Align the screw holes on the spacer with the threaded lugs of the metal backbox and the holes on the switch faceplate. This alignment is crucial for ensuring the installation adheres to UK Building Regulations for electrical safety, which require a secure and fully enclosed fitting to prevent the risk of fire or electric shock.
Handling Crowded Backboxes
In many UK homes, especially older properties with shallow backboxes, the internal wiring can be quite congested. To ensure your spacer sits flat, you must carefully organise the cables. Tucking the wires into the corners of the box prevents them from being pinched between the spacer and the backbox lugs. If you find the space particularly tight, refer to our detailed Managing Plug Socket Wiring Space guide for advanced cable management techniques. Ensuring the spacer sits perfectly flat against the wall surface is essential for a professional result, especially whilst working with decorative finishes like timber panelling.
Securing the Faceplate
Insert your longer M3.5 screws through the faceplate and spacer, catching the threads of the backbox lugs. Tighten the screws gradually, alternating between the left and right sides to ensure even pressure. It's vital not to over-tighten; excessive force can distort the plastic spacer or even crack the decorative faceplate. Use your spirit level to check the horizontal alignment before the final turn of the screwdriver. Perform a final safety check to verify that no insulation is trapped under the screw heads and that the spacer is flush with the wall amongst all edges. Once secure, restore the power at the consumer unit and test the switch operation.
Measuring for Success: Why Depth Matters for a Flush Finish
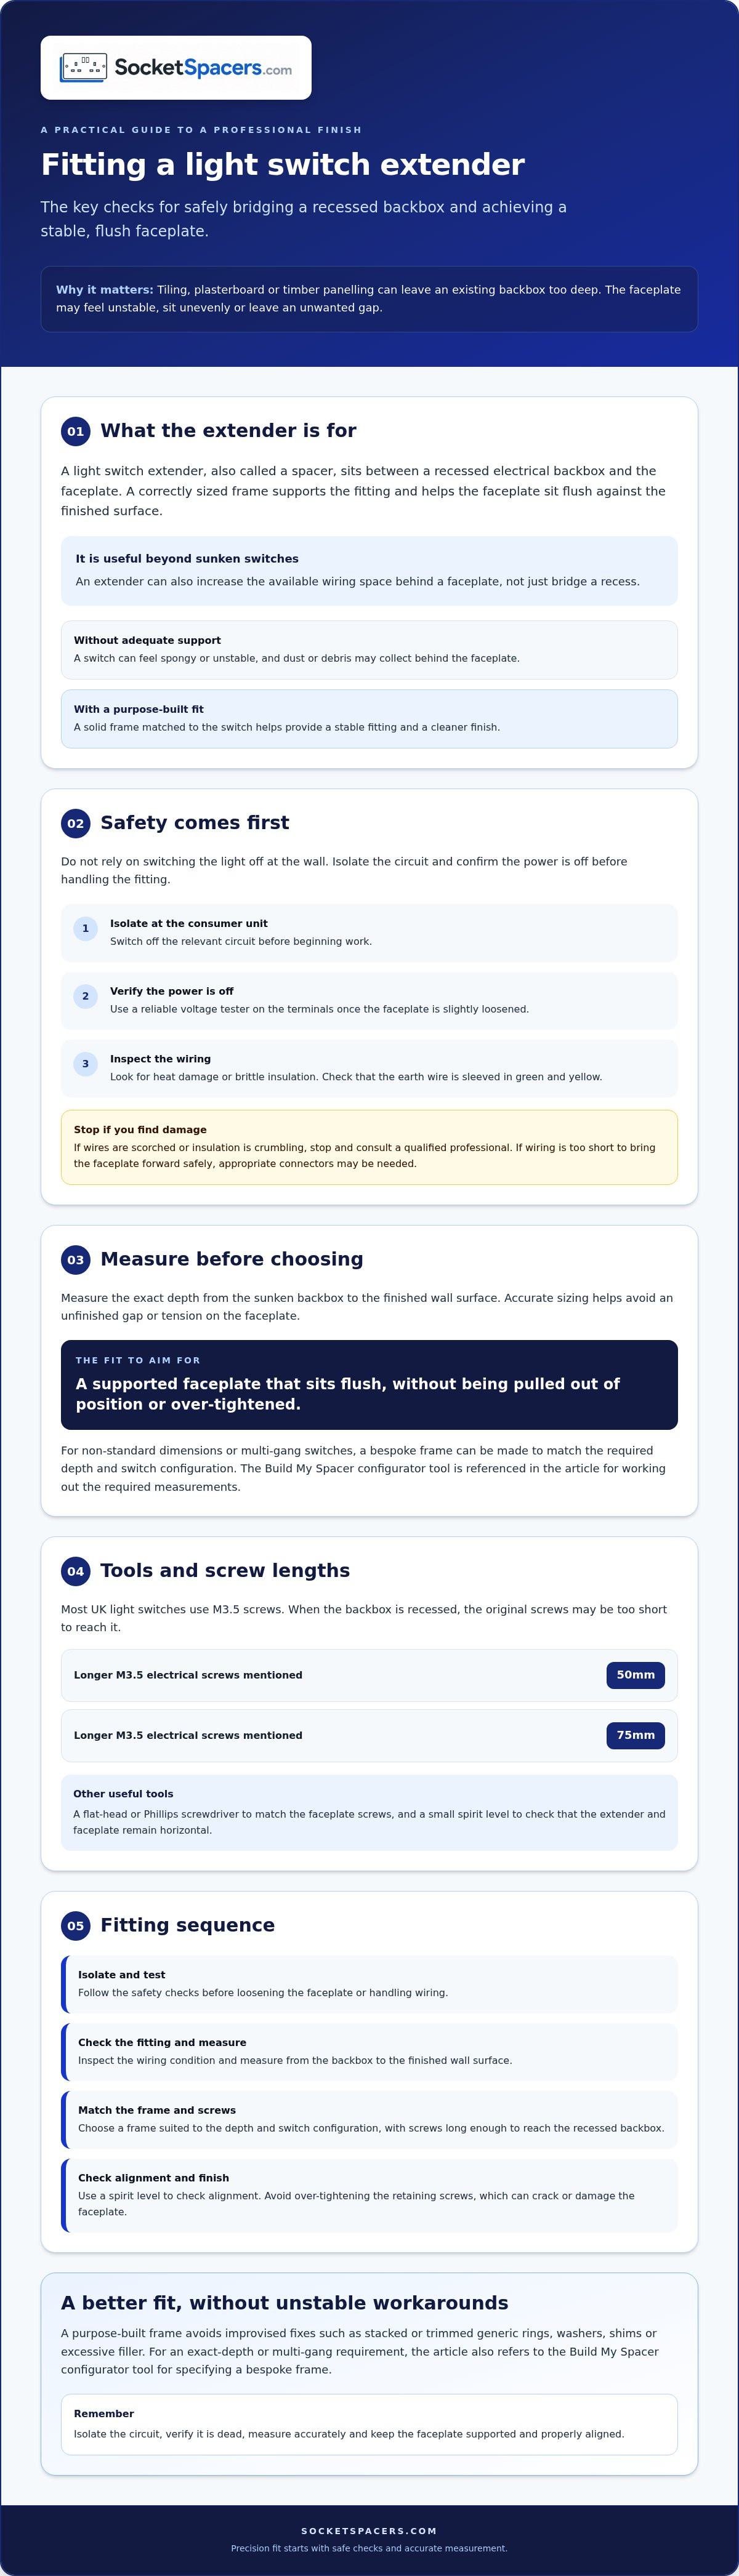
Achieving a flush finish depends entirely on the accuracy of your initial measurements. Whilst many retailers suggest that standard 10mm or 20mm spacers are sufficient for every job, the reality of UK home renovations is far more varied. If you are learning how to fit a light switch extender for the first time, you'll quickly realise that wall depths are rarely uniform. A measurement of 13mm or 17mm is common once you account for adhesive, tiles, or decorative timber panelling. Using a spacer that is too thin will leave the faceplate unsupported, causing it to bow or crack when tightened. Conversely, a spacer that is too thick will leave a visible, unprofessional gap between the switch and the wall surface.
Precision is especially vital for high-end finishes where the switch is a focal point. In a kitchen with bespoke tiling or a hallway with traditional wood panelling, even a one-millimetre discrepancy can be noticeable. A correctly measured extender provides the structural backing required to keep the faceplate stable and perfectly parallel to the wall surface, ensuring the final result looks like a deliberate part of the design rather than a late correction.
How to Measure Your Recess Accurately
To find the exact depth required, use a depth gauge or a simple ruler to measure the distance from the front edge of the sunken metal backbox to the finished surface of the wall. It is essential to measure at both the top and bottom of the box. Walls are often uneven, and you may find that one side of the recess is slightly deeper than the other. If your measurement falls between standard sizes, don't attempt to guess or compromise. Instead, use the Build My Spacer tool to specify your exact millimetre requirement for a bespoke fit.
The Dangers of Stacking Standard Spacers
It is often tempting to stack multiple thin plastic rings to achieve the desired depth, a method frequently suggested in online forums. However, this approach is inherently unstable. Stacking multiple components increases the risk of misalignment, which can make it difficult to thread the M3.5 screws into the backbox lugs. A single, solid frame is far superior as it provides a continuous surface for the faceplate to rest against. This not only offers better structural integrity but also results in a much cleaner aesthetic. Custom-manufactured frames eliminate the visible seams and "stepped" look that occurs when using multiple shims, providing a professional finish that mimics the quality of the original installation.
Order your bespoke light switch spacer here
Bespoke Solutions for Non-Standard UK Backboxes
Standard off-the-shelf solutions frequently fall short when dealing with the complexities of modern UK electrical installations. Whilst a simple single-gang box is common, many contemporary renovations involve multi-gang switches that control multiple lighting zones from a single location. Learning how to fit a light switch extender for these larger units requires a product that matches the exact footprint of the faceplate. SocketSpacers.com specialises in bespoke plastic socket spacers designed to accommodate any configuration, from standard single units to complex multi-gang frames. Using a custom-fit plate ensures that the entire perimeter of the switch is supported, preventing the "seesaw" effect often found with ill-fitting generic parts.
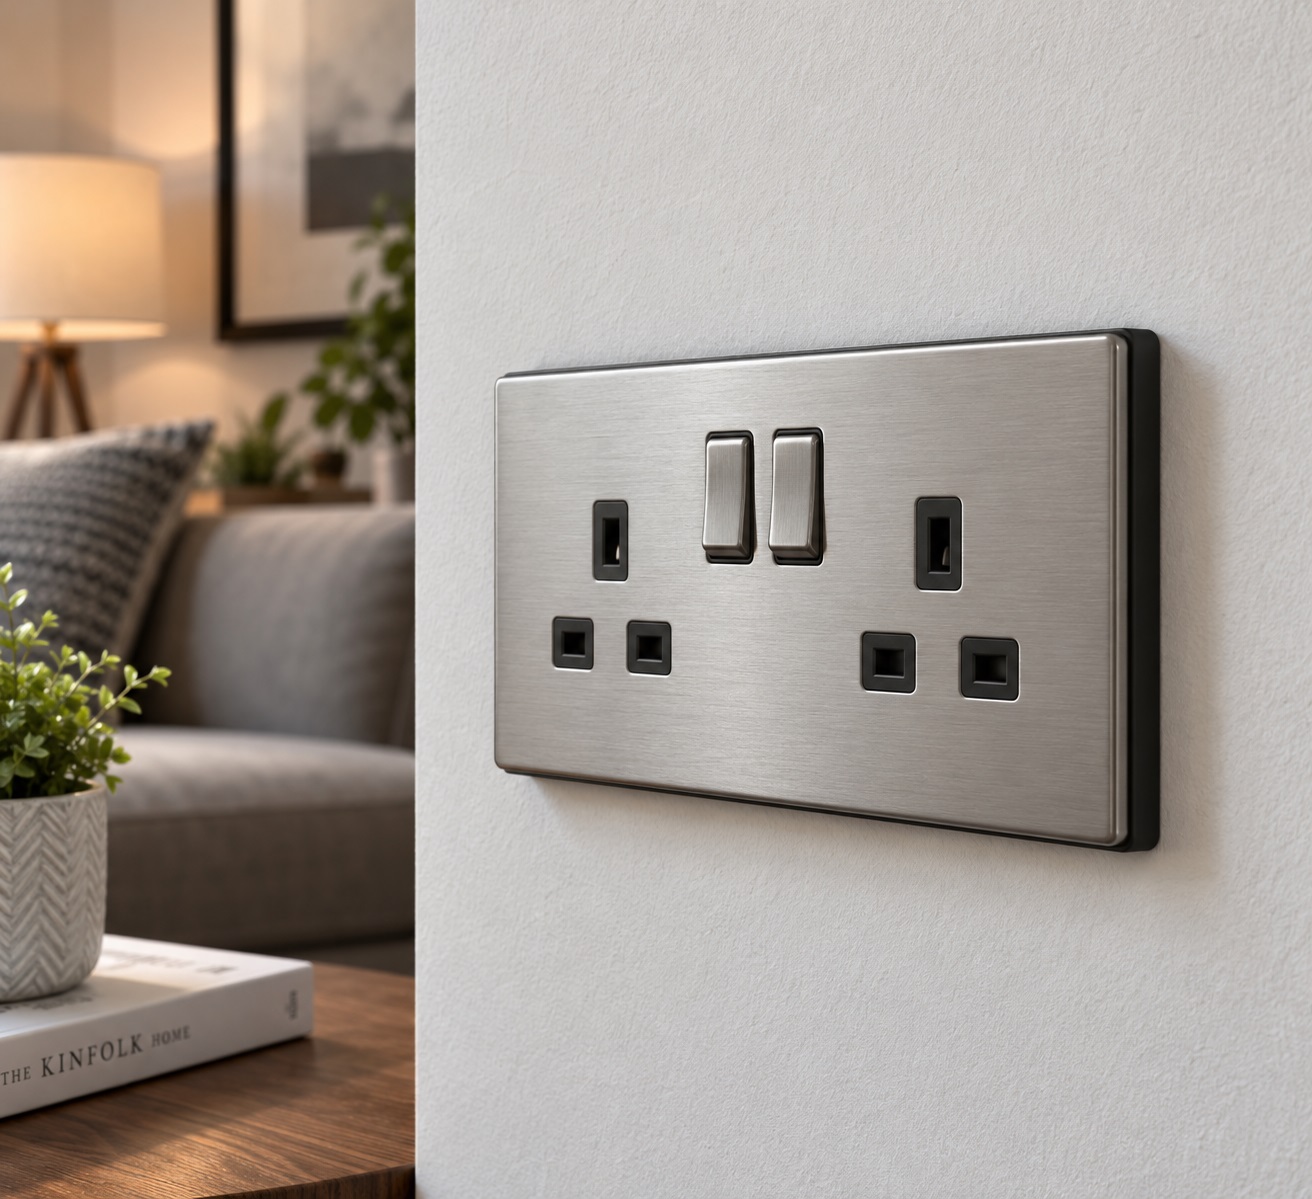
Custom spacers also offer the advantage of matching specific decorative requirements. In high-end interiors where faceplates might be made of brushed brass, chrome, or matte black, a standard white plastic spacer can look out of place. Bespoke manufacturing allows for the production of spacers that complement your specific colour scheme, ensuring the extension remains as discreet as possible. Whether you are installing a Light Switch Spacer for a single gang unit or a large multi-plate frame, a bespoke fit guarantees a professional outcome that maintains the aesthetic integrity of your room.
Custom Sizes for Every Project
The flexibility of bespoke manufacturing means you are no longer limited to the 10mm or 20mm depths found in DIY stores. We can produce frames for single, double, and even triple-gang switch plates to any specified depth. This is particularly useful for complex wiring setups where a large extension frame is needed to provide increased wiring space behind the socket. Having a single, solid piece of the correct dimensions makes the installation process significantly easier and more reliable. We encourage you to check the 2d6 reviews to see the professional results achieved by other homeowners and tradespeople who have used our tailored solutions for their renovation projects.
Why Professionals Choose Bespoke
Experienced tradespeople value the time saved by using parts that fit perfectly the first time. In a professional environment, "making do" with stacked washers or trimmed plastic rings is inefficient and risks a call-back from a dissatisfied client. Delivering a high-quality, gap-free finish is essential in high-end renovations where every detail is scrutinised. A bespoke spacer provides a level of precision that off-the-shelf products cannot match, ensuring the faceplate is secure, level, and flush against the wall. For all your custom electrical requirements, including multi-gang frames and non-standard depths, visit SocketSpacers.com to find the exact tool for a perfect result. Using the Build My Spacer configurator tool allows you to specify your needs in seconds, moving your project one step closer to a professional completion.
Achieving a Precision Finish for Your Renovation
Precision measurement and rigorous safety protocols are the hallmarks of a professional electrical installation. Prioritising a bespoke fit over generic, stacked alternatives eliminates the risk of cracked faceplates and unstable fittings. Mastering how to fit a light switch extender allows you to bridge gaps in tiled or panelled walls with complete confidence in the structural integrity of the finish. This approach is highly rated by UK electricians and DIYers for delivering a clean result in high-end renovations. Our UK-based bespoke manufacturing caters to any backbox configuration, ensuring a perfect result regardless of wall depth.
Create your custom depth light switch extender with our Build My Spacer tool
Your project deserves a finish that reflects the effort put into the renovation. With the right tools and a precise approach, you can ensure your light switches are as functional as they are aesthetically pleasing.
Frequently Asked Questions
Can I fit a light switch extender myself without an electrician?
You can fit a light switch extender yourself as it is typically classed as a minor electrical job and is non-notifiable under Part P of the Building Regulations. Whilst you don't legally need an electrician, you must be competent enough to isolate the power and verify it is dead. If you feel uncertain, hiring a professional is recommended; average UK electrician rates are approximately £50 per hour for minor works.
Do I need longer screws when fitting a light switch spacer?
Yes, you will almost certainly require longer M3.5 electrical screws to reach the backbox lugs once the spacer is in place. If your wall has been thickened by 15mm, you should add at least 15mm to the length of your original screws. Having a variety of lengths like 50mm and 75mm on hand is practical for most renovation projects where the original hardware is no longer sufficient.
What is the maximum depth of a light switch extender?
Bespoke manufacturing allows for virtually any depth, whereas off-the-shelf plastic rings are usually limited to 10mm or 20mm. Because every renovation is unique, we specialise in creating spacers to your exact millimetre requirements. This ensures you don't have to stack multiple thin components, which can lead to instability and an unprofessional, stepped appearance on your finished wall.
Will a spacer plate work with smart light switches like Hive or Philips Hue?
A spacer plate is often the ideal solution for smart switches like Hive or Philips Hue, as these units frequently have deeper internal electronics. If your existing backbox is shallow, a spacer provides the necessary clearance without the need to chisel out a deeper hole in the wall. You can use the Build My Spacer tool to specify the depth needed for these larger smart units.
Can I use a socket spacer for a light switch or are they different?
Whilst the function is identical, the dimensions depend on the gang size of the unit. A single gang light switch shares the same footprint as a single gang socket, so the spacers are interchangeable in those instances. However, multi-gang light switches have unique dimensions that require specific multi-gang extension frames to ensure the faceplate is fully supported across its entire width without any spongy movement.
How do I hide the gap if my light switch is too deep in the wall?
The most effective way to hide a gap is to learn how to fit a light switch extender that bridges the distance between the sunken backbox and the wall surface. If you try to use filler or caulk to hide a deep recess, it will eventually crack or look untidy. A custom-manufactured frame creates a solid, continuous border that makes the switch look like it was professionally installed flush.
What material are light switch extenders made from and are they fire-safe?
Our light switch extenders are manufactured from durable, high-quality plastic that is designed to be tough and long-lasting. From a safety perspective, any component used within an electrical enclosure must be non-combustible or fire-retardant. Using a solid, purpose-built spacer is far safer than using makeshift shims, as it ensures the internal wiring remains fully enclosed and protected from dust and debris.
Can I get a bespoke colour to match my designer light switch faceplate?
Custom manufacturing allows for colour matching to ensure the spacer blends seamlessly with your designer faceplate. Whether you have chosen brushed brass, matte black, or polished chrome, a bespoke colour prevents the extender from being a distracting element. This attention to detail is why many professionals prefer custom solutions over standard white plastic parts when finishing high-end decorative projects amongst various wall textures.
Electrical Safety
Always isolate the circuit and confirm it is dead before removing a socket or switch faceplate. Only carry out the work if you are competent to do so. If you find damaged wiring, signs of overheating or anything unsafe, stop and contact a qualified electrician.