
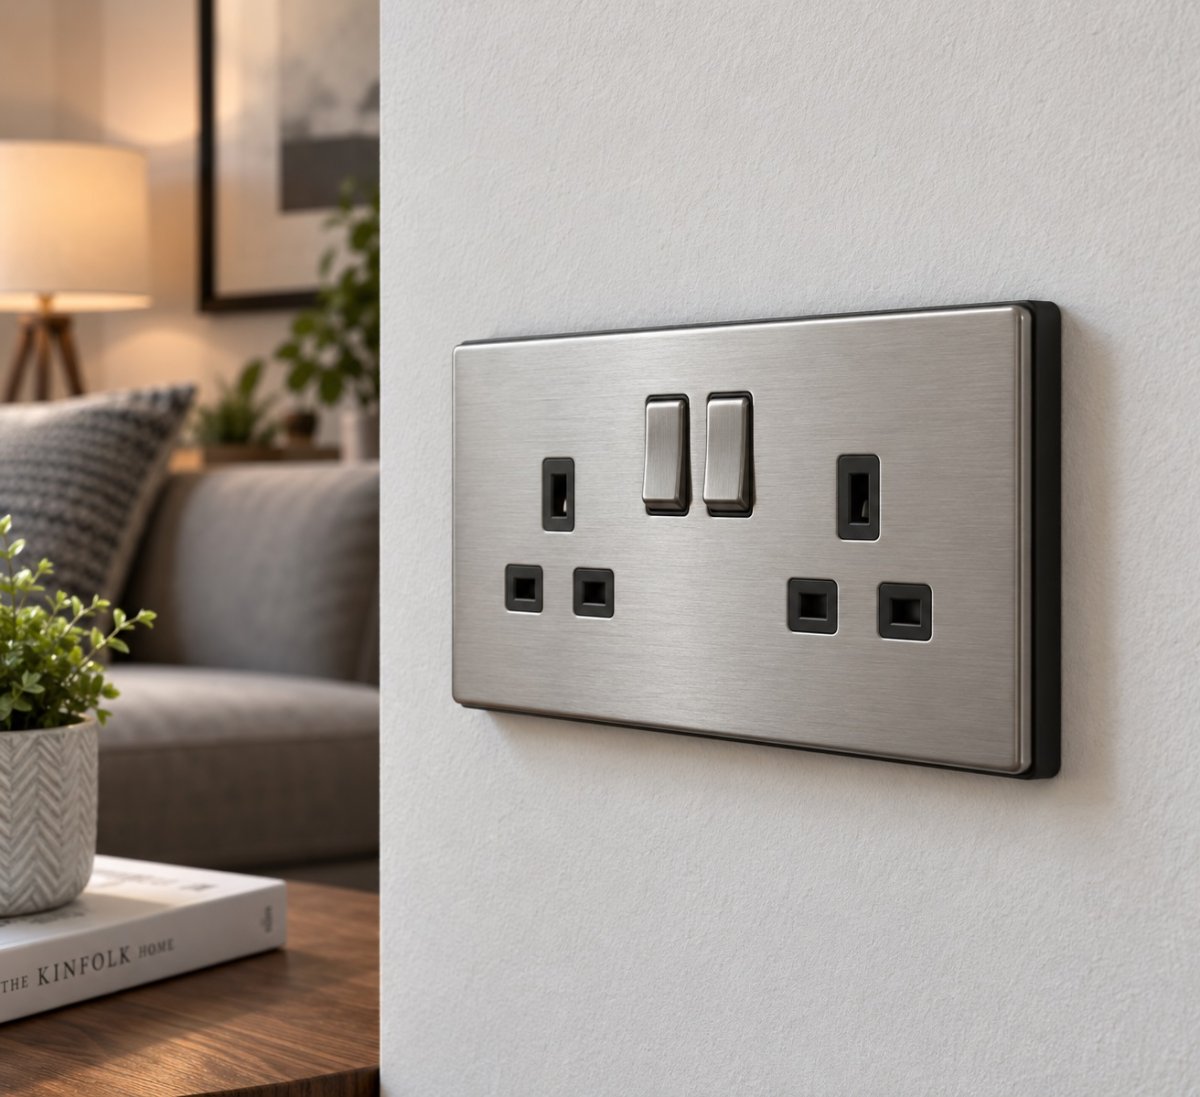
A freshly tiled bathroom or newly plastered wall should look pristine, so discovering your socket has sunk several millimetres below the surface is genuinely frustrating. If you're searching for how to extend a socket back box, you already know the problem: the faceplate won't sit flush, the fixings won't reach, and the whole installation looks unfinished. It's a common consequence of renovation work, and it has a straightforward solution.
You're right to take it seriously. A poorly fitted socket isn't just an eyesore; it can create gaps that attract dust, compromise the integrity of the fitting, or leave insufficient space for the wiring behind it. Getting the extension right matters both aesthetically and practically.
This guide walks you through everything you need to know, from understanding why back boxes become recessed in the first place, to selecting the correct spacer depth, to achieving a clean, flush finish that looks entirely professional. Whether you're a seasoned electrician or a confident DIY enthusiast tackling a renovation, you'll find clear, step-by-step guidance on the materials, tools, and techniques required to get the job done correctly the first time.
Key Takeaways
- Understanding why your back box has become recessed is the first step — tiling, plastering, and dry-lining are the most common causes, and identifying the exact depth difference determines which solution you need.
- Knowing how to extend a socket back box correctly requires the right combination of tools, materials, and safety precautions — cutting corners on any of these stages can compromise both the finish and the safety of the installation.
- A precise measurement of the recess depth is critical — even a millimetre's difference can prevent the faceplate from sitting flush, which is why a bespoke spacer is often more reliable than a standard off-the-shelf alternative.
- The Build My Spacer configurator tool takes the guesswork out of selecting the correct spacer, allowing you to specify your exact requirements for a custom-manufactured solution that fits first time.
- Safety must remain the priority throughout — isolating the circuit at the consumer unit before touching any wiring is non-negotiable, regardless of your experience level.
Table of Contents
- Understanding Socket Back Boxes: What You Need to Know
- Tools and Materials Required for Extending a Socket Back Box
- Step-by-Step Guide to Extending Your Socket Back Box
- Safety Precautions When Extending a Socket Back Box
- Utilising the Build My Spacer Tool for Custom Solutions
Understanding Socket Back Boxes: What You Need to Know
A socket back box is the metal or plastic enclosure mounted within the wall that houses the wiring connections and provides a fixed point for attaching the faceplate. Without it, there's nothing to anchor the socket, nowhere to contain the live connections, and no structural support for the fitting you see on the surface. It's a foundational component of every electrical installation, and its positioning relative to the finished wall surface determines whether the final result looks professional or problematic.
Back boxes are manufactured to standard depths precisely because wall surfaces are assumed to be consistent. When renovation work changes that surface, the back box doesn't move with it. That mismatch is exactly why understanding how to extend a socket back box becomes necessary.
Types of Socket Back Boxes
Back boxes are categorised primarily by gang size and depth. Here's how they break down:
- Single gang: Accommodates one socket outlet or switch. The most common type in domestic installations.
- Double gang: Houses two socket outlets side by side. Standard in kitchens, home offices, and living rooms where demand is higher.
- Multi-gang: Three or more outlets in a single enclosure. Typically used in commercial settings or dedicated workspaces.
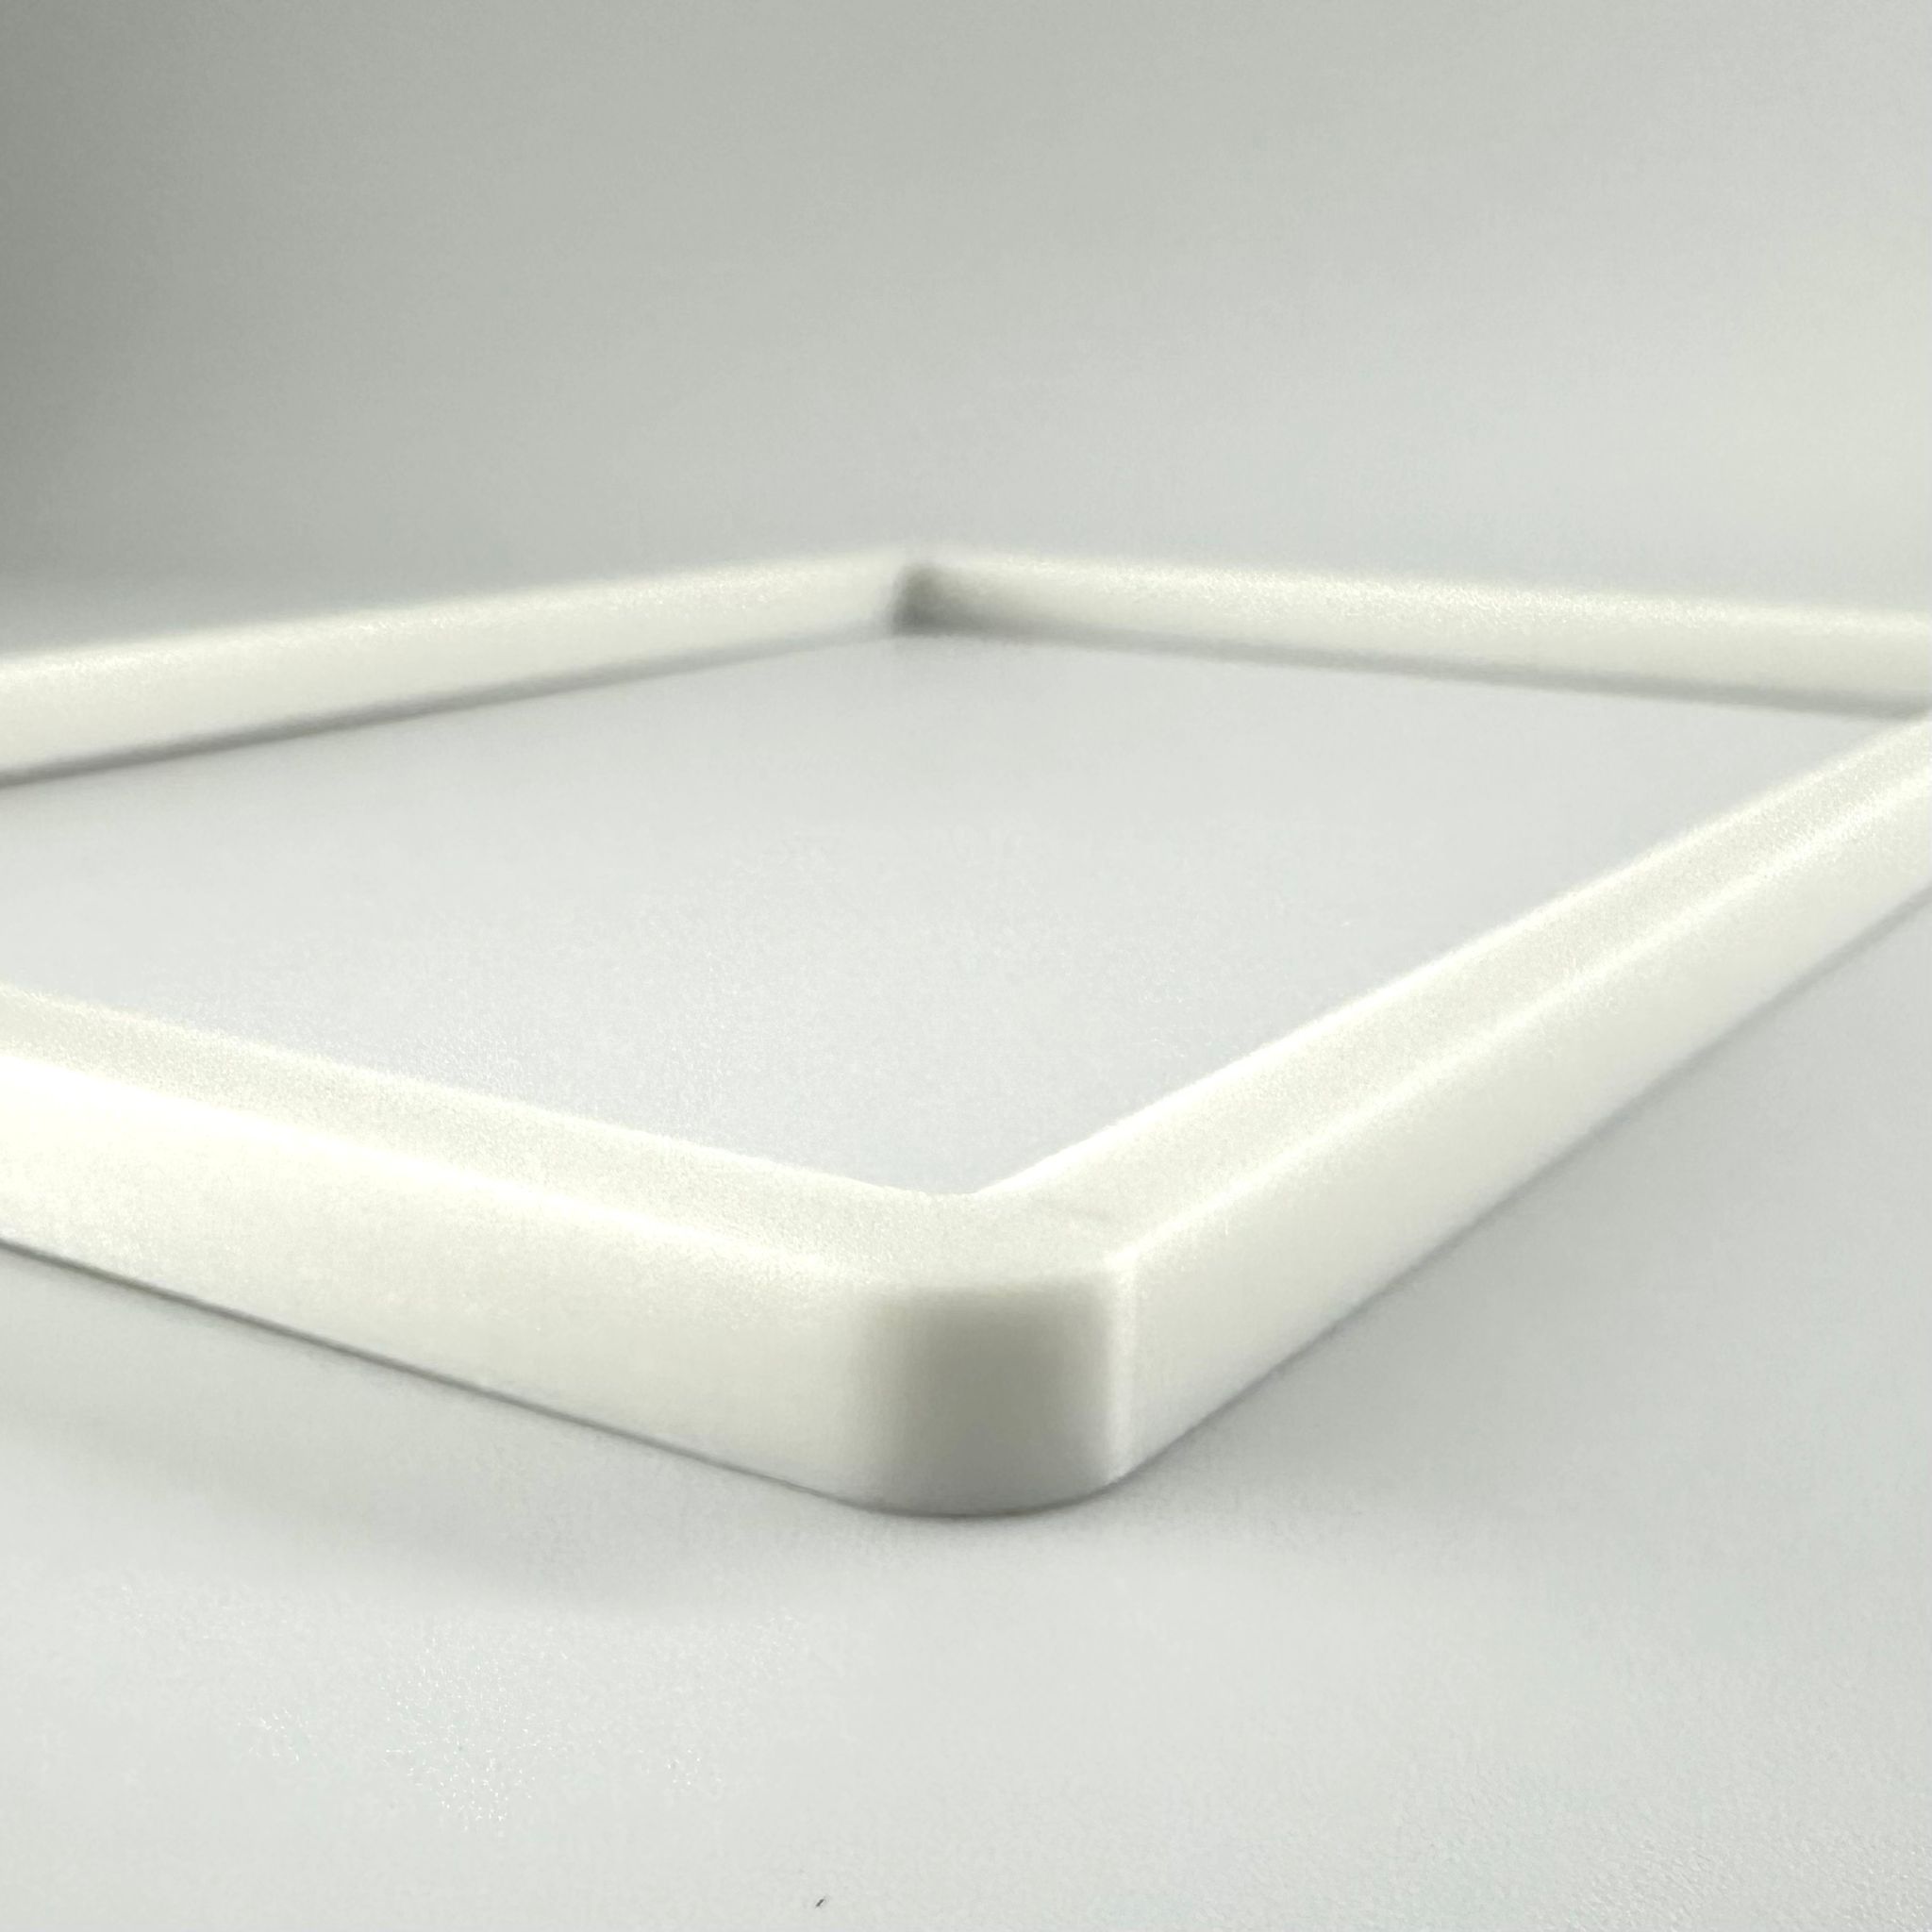
Depth is equally important. Shallow back boxes (typically 16mm to 25mm) suit dry-lined walls where space behind the plasterboard is limited. Deeper boxes (35mm to 47mm) are used where additional wiring space is needed, particularly for dimmer switches or devices with bulkier rear connections. Choosing the wrong depth at the point of installation is one of the most frequent causes of the very problem this guide addresses.
Identifying Issues with Sunken Back Boxes
A sunken back box is straightforward to identify. The faceplate won't sit flush against the wall, the fixing screws won't reach the threads inside the box, and there's a visible gap around the edge of the socket. In tiled bathrooms or plastered walls, this gap can be several millimetres deep.
The consequences go beyond aesthetics. A recessed socket leaves the wiring connections under mechanical stress when the faceplate is forced into position. It also creates a gap behind the faceplate where moisture, dust, and debris can accumulate, which is a particular concern in kitchens and bathrooms.
Spacers resolve this precisely. A correctly sized spacer plate sits between the back box rim and the faceplate, bridging the gap created by the new surface level. Rather than replacing the back box entirely, which would mean cutting into the wall and disturbing the wiring, a spacer restores the correct depth relationship without any structural work. When that gap is an unusual measurement, a bespoke spacer is more reliable than a standard off-the-shelf option that may not match the exact recess depth.
Tools and Materials Required for Extending a Socket Back Box
Having the right equipment before you start makes the difference between a clean, professional result and a frustrating afternoon of improvisation. Knowing how to extend a socket back box correctly begins well before you pick up a screwdriver; it starts with assembling everything you need so the job can proceed without interruption.
Essential Tools
You won't need a van full of specialist equipment. Most of what's required is already in a reasonably well-stocked toolkit:
- Flathead and crosshead screwdrivers: You'll need both. The faceplate fixing screws are typically crosshead, but the terminal screws inside the socket are often flathead.
- Spirit level: Essential for confirming the spacer and faceplate sit perfectly horizontal once fitted. Even a slight tilt is immediately visible on a finished wall.
- Steel rule or digital calliper: Measuring the recess depth accurately is critical. A digital calliper gives you precision to the nearest tenth of a millimetre, which matters when ordering a custom spacer.
- Pencil: For marking measurements before drilling.
- Drill with appropriate bit: Required if you need to clear any debris from the back box or extend fixing holes through the spacer plate.
- Voltage tester: Non-negotiable. Confirm the circuit is dead before touching any wiring.
Safety Equipment
Electrical work demands respect, even when the circuit is isolated. Before you begin, assess your workspace: check for signs of previous DIY work that may have left wiring in unexpected positions, ensure the area is dry, and confirm there's adequate lighting so you can see clearly inside the back box.
Wear insulated gloves throughout the process. Safety goggles are advisable when drilling near plaster or tile, where fragments can be unpredictable. Keep the work area clear of clutter, and never rely solely on a switched-off socket as confirmation that a circuit is dead. Always isolate at the consumer unit and verify with a voltage tester.
Sourcing Custom Spacers
Standard spacer depths sold in builders' merchants come in fixed increments. If your recess doesn't match one of those increments precisely, the faceplate won't sit flush. That's where a bespoke solution becomes the practical choice rather than a luxury.
SocketSpacers.com's Build My Spacer configurator allows you to specify the exact depth, gang size, and configuration you need. Whether you're working with a single gang socket, a double gang outlet, or a multi-gang installation, the tool generates a spacer manufactured to your precise measurements. There's no guesswork, no shimming with folded card, and no visible gap around the faceplate once the job is done.
For fixings, use the screws supplied with your spacer or confirm that your existing screws are long enough to pass through the spacer and engage securely with the back box threads. A screw that's even two millimetres short won't grip reliably.
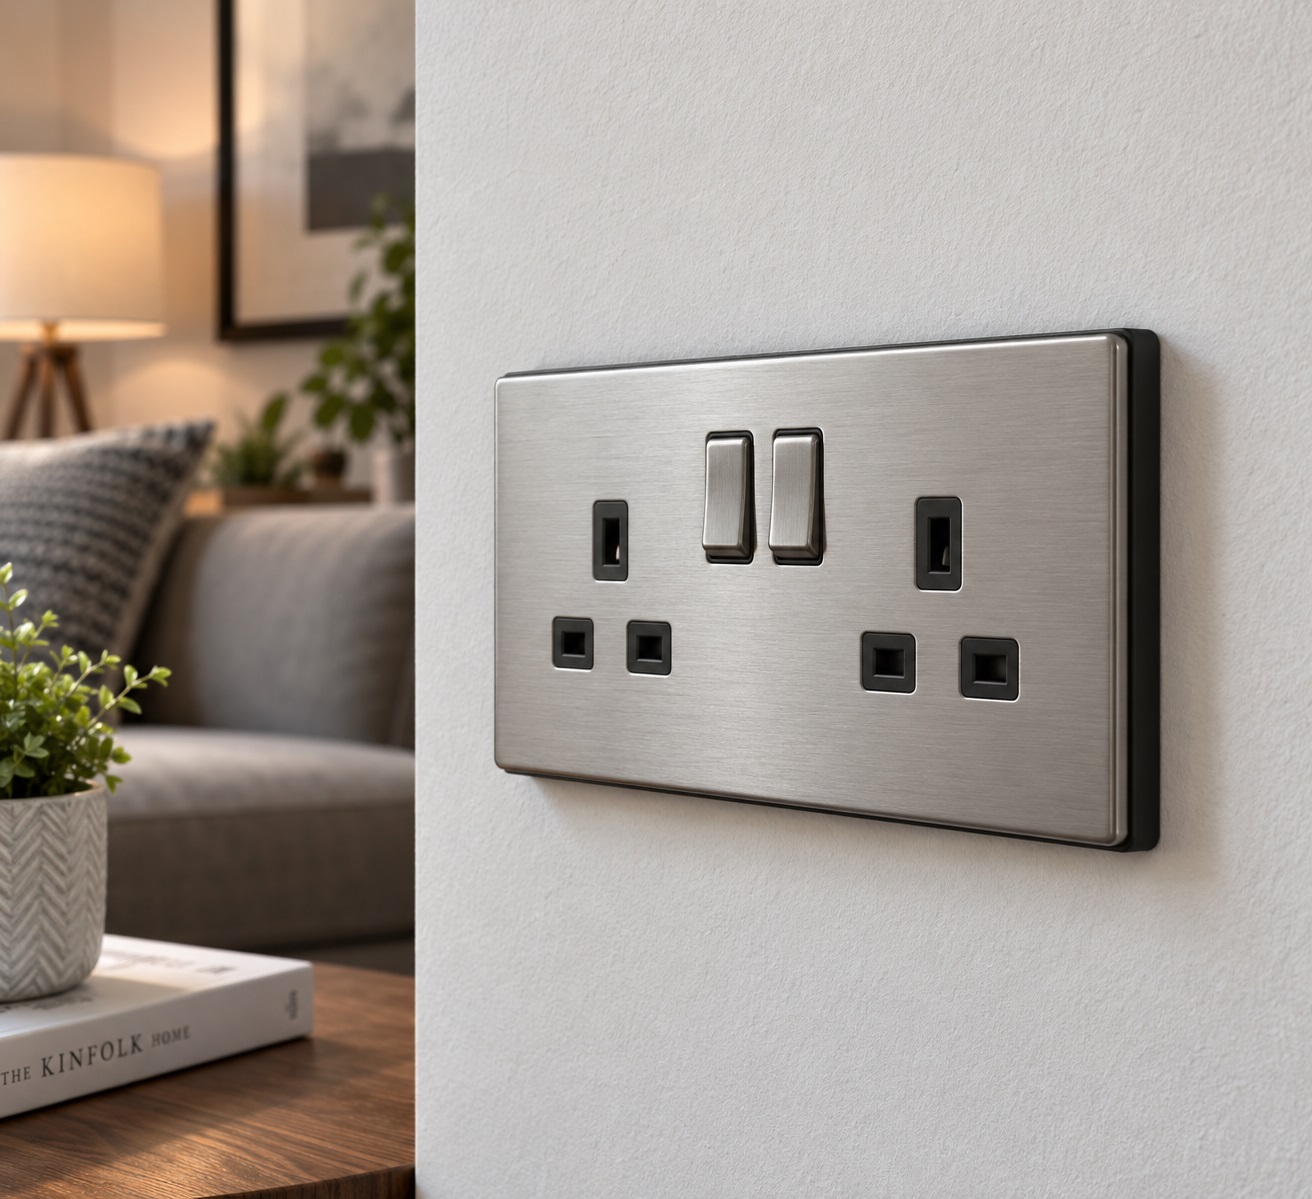
Step-by-Step Guide to Extending Your Socket Back Box
With the right spacer sourced and your tools assembled, the actual installation process is straightforward. What separates a clean result from a frustrating one is discipline at each stage: measuring carefully, confirming the circuit is dead before touching anything, and checking alignment before tightening the final screws. Follow these steps in order and the job should take no more than twenty to thirty minutes.
Preparation Steps
Before anything else, go to your consumer unit and switch off the circuit breaker that supplies the socket you're working on. Label it if necessary so nobody restores the supply whilst you're working. Return to the socket and use a voltage tester to confirm there's no live current present. This isn't optional. A switched-off socket at the wall is not the same as an isolated circuit.
Once you've confirmed the circuit is dead, clear the area around the socket. Remove any furniture, rugs, or obstructions that might cause you to reach awkwardly or knock the wall during installation. Good lighting is essential; if the ambient light is poor, position a work lamp so you can see clearly inside the back box when the faceplate is removed.
Installation Process
With the area prepared and the circuit isolated, work through the following steps:
- Remove the faceplate: Undo the two fixing screws and carefully pull the faceplate away from the wall. Support it rather than letting it hang, as the wiring connections are still live at the terminals if you haven't isolated correctly. Set it aside on a clean surface.
- Assess the back box: Look at the rim of the back box relative to the finished wall surface. Confirm the recess depth you measured earlier is consistent around all four edges. Uneven recess depths, common where tiling isn't perfectly uniform, may require you to measure at multiple points and work to the greatest depth.
- Position the spacer: Align the spacer plate over the back box, matching the fixing holes precisely. A spacer that's even slightly off-centre will cause the faceplate to sit skewed. Take a moment to check alignment visually before proceeding.
- Check for level: Hold a spirit level against the spacer's horizontal edge. Adjust as needed before fixing. A socket that's even one degree off horizontal is immediately noticeable on a finished wall.
- Secure the spacer: Insert the fixing screws through the spacer and into the back box threads. Tighten them gradually and evenly, alternating between the top and bottom screws, rather than fully tightening one side first. This prevents the spacer from bowing under uneven pressure.
- Reattach the faceplate: Reconnect the faceplate to the spacer using screws of sufficient length to pass through both the faceplate and the spacer and engage securely with the back box threads. Tighten until the faceplate sits flush with no visible gap around its edges.
- Final safety check: Restore the circuit at the consumer unit, test the socket with a socket tester, and confirm it's functioning correctly.
Knowing how to extend a socket back box is ultimately about patience at the measurement and alignment stages. Rush those, and the installation will show it. Take them seriously, and the result is a socket that looks as though it was always meant to be exactly where it is.
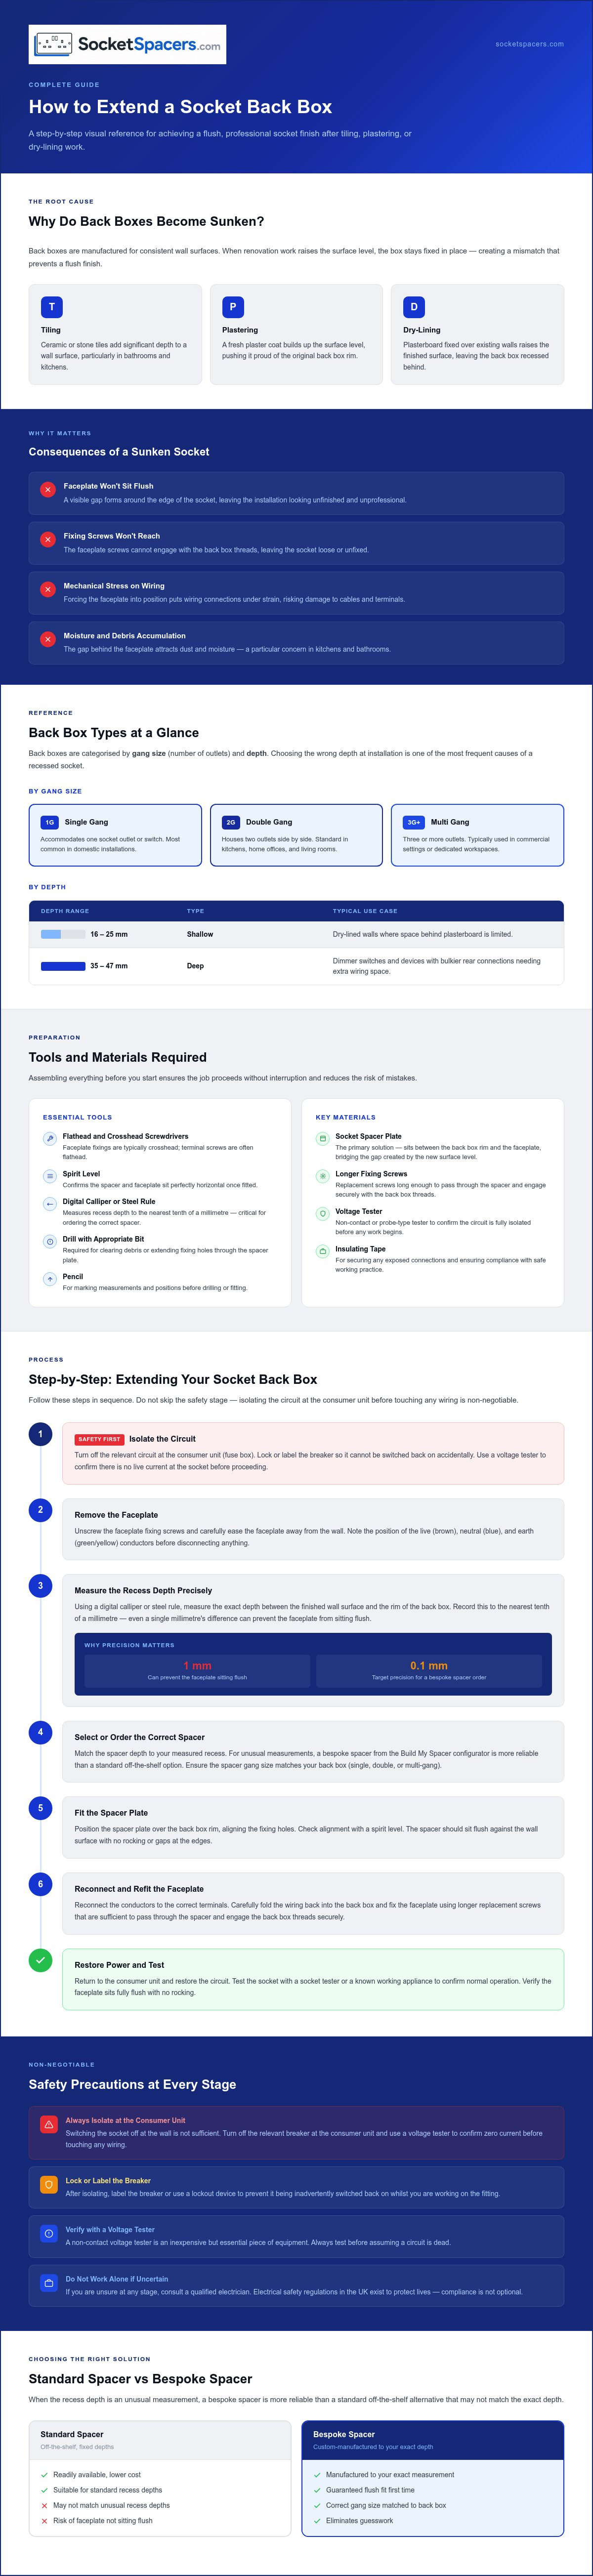
Safety Precautions When Extending a Socket Back Box
Electrical work carries real risk, and that risk doesn't diminish simply because the task looks straightforward. Fitting a spacer plate might seem like a minor job compared to rewiring a circuit, but you're still working in close proximity to live conductors, fixed wiring, and a mains supply that can cause serious injury if mishandled. Understanding how to extend socket back box installations safely isn't a secondary consideration; it's the foundation everything else rests on.
The good news is that the hazards are well understood and entirely manageable. What creates problems isn't the complexity of the task; it's complacency. Treating this as a routine job and skipping steps is where things go wrong.
Common Hazards to Watch For
The most significant hazard is contact with live conductors. Even with the socket switched off at the wall, the supply cable feeding the back box remains live until the circuit is isolated at the consumer unit. Never assume otherwise.
Beyond that, watch for these specific risks:
- Hidden cables in the wall: Renovation work sometimes leaves cables rerouted in non-standard positions. Before drilling near the socket for any reason, use a cable detector to confirm what's behind the surface.
- Damaged insulation: When you remove the faceplate, inspect the cable insulation inside the back box. Cracked, brittle, or discoloured insulation indicates heat damage or age-related deterioration. If you see it, don't proceed; consult a qualified electrician.
- Moisture in bathrooms and kitchens: Water and electricity are a dangerous combination. In wet areas, confirm the socket is rated for the IP zone it occupies before reassembling the fitting.
- Overloaded back boxes: A back box that's already tightly packed with wiring leaves little room for manoeuvre. Forcing a faceplate onto a crowded box can pinch cables and compromise insulation over time.
- Incorrect screw length: Screws that are too long can puncture cable insulation inside the back box. Always check that fixing screws won't penetrate beyond the back of the box.
Power tools introduce a separate set of considerations. If you're drilling to clear debris or extend fixing holes, keep the drill speed controlled and stop immediately if you feel unexpected resistance. Striking a cable with a drill bit is a serious hazard that circuit isolation alone won't protect you from if the damage occurs to a neighbouring circuit.
Compliance with Electrical Standards
In the United Kingdom, electrical installation work in domestic properties is governed by BS 7671, commonly known as the IET Wiring Regulations. This standard sets out the requirements for safe electrical installations, including the correct selection and installation of accessories such as socket outlets and their enclosures.
For most spacer plate installations, you're not altering the circuit itself; you're adjusting the mechanical fit of an existing accessory. That distinction matters because it affects whether the work falls under the notifiable requirements of Part P of the Building Regulations. Fitting a spacer plate to a like-for-like socket in an existing installation is generally considered minor remedial work rather than a new installation, but if you're uncertain about your specific situation, the NICEIC and SELECT websites both provide guidance on when notification is required.
Use only materials that are compliant with UK standards. Spacer plates should be manufactured from materials appropriate for electrical enclosures, and fixings should be correctly rated for the application. Improvised solutions, such as cardboard packing or non-compliant plastic sheeting, have no place in a safe electrical installation.
Utilising the Build My Spacer Tool for Custom Solutions
Standard spacers sold at builders' merchants come in fixed depths: typically 5mm, 10mm, and 15mm increments. If your recess measures 7mm, or 12mm, or any figure that doesn't land neatly on one of those increments, you're left with an imperfect fit. That's the fundamental limitation of off-the-shelf solutions, and it's precisely the gap that the Build My Spacer configurator is designed to close.
Benefits of Custom Spacers
A bespoke spacer is manufactured to your exact recess depth rather than the nearest available standard. That distinction matters more than it might initially appear. A spacer that's even 1mm too shallow leaves a visible gap around the faceplate. One that's 1mm too deep creates a raised fitting that rocks when pressed. Neither outcome is acceptable in a finished installation, and neither is necessary when a custom solution is readily available.
Compared to standard options, custom spacers offer several practical advantages:
- Exact depth matching: Manufactured to your measured recess, not the nearest increment.
- Correct gang configuration: Available for single gang, double gang, and multi-gang installations, so the fixing holes align precisely with your existing back box.
- Appropriate material specification: Produced from materials suited to electrical enclosure applications rather than improvised alternatives.
- Reduced installation time: A spacer that fits correctly the first time eliminates the trial-and-error of shimming or stacking multiple standard plates.
On cost, the calculation is straightforward. A custom spacer costs more than a single standard plate, but it costs considerably less than the time spent making repeated trips to a merchants' counter, or the frustration of a faceplate that still doesn't sit right after two attempts. For a professional electrician, a first-time fit also protects their reputation with the client.
How to Use the Build My Spacer Tool
The configurator at socketspacers.com/build is designed to be used directly alongside your measurements. Before you open it, have your recess depth recorded to the nearest millimetre, and confirm your gang size. Then work through the following steps:
- Select your gang size: Choose single, double, or multi-gang to match your existing back box and faceplate.
- Enter your recess depth: Input the exact measurement you took with your steel rule or digital calliper. This is the figure the spacer will be manufactured to.
- Review the specification summary: The tool displays your configuration before you commit to an order, giving you the opportunity to double-check the details.
- Place your order: Once confirmed, the spacer is manufactured to your specification and dispatched. It arrives ready to install without any modification.
Knowing how to extend socket back box installations correctly ultimately comes down to precision at the measurement stage and using a spacer that reflects those measurements exactly. The configurator removes the guesswork from that process entirely. Configure your custom spacer now and finish the job with a result that looks as though the socket was always meant to sit exactly where it does.
Get Your Socket Sitting Flush: The Next Step
Knowing how to extend a socket back box correctly comes down to three things: accurate measurement, the right spacer, and disciplined safety practice. Rush the measurement, and the faceplate won't sit flush. Skip the isolation step, and you're working near live conductors unnecessarily. Use a standard spacer that doesn't match your recess depth, and you'll be back at the same socket again before long.
SocketSpacers.com specialises in bespoke spacer solutions manufactured to your exact requirements, whether you're fitting a single gang socket, a double gang outlet, or a multi-gang installation. Every spacer is produced with the precision and compliance that a finished electrical installation demands.
Don't settle for a near-enough fit. Measure your recess, configure your spacer, and finish the job properly the first time.
Start building your custom spacer today using our configurator!
Frequently Asked Questions
What is a socket back box, and why is it important?
A socket back box is the metal or plastic enclosure fixed into the wall that contains the wiring connections and provides a mounting point for the faceplate. Without it, there's no structural anchor for the socket and no enclosed space to safely house live terminals. Its position relative to the finished wall surface directly determines whether the faceplate sits flush or leaves an unsightly, potentially hazardous gap.
How can I tell if my socket back box is too deep?
The signs are immediately visible once you look for them. The faceplate won't lie flat against the wall surface, the fixing screws won't reach the threads inside the box, and there's a noticeable recess around the socket's edge. This typically happens after tiling, plastering, or dry-lining work raises the surrounding wall surface whilst the back box remains in its original position. Measuring the gap with a digital calliper gives you the exact depth difference you need to address.
What materials do I need to extend a socket back box?
The core requirement is a spacer plate matched precisely to your recess depth, along with fixing screws long enough to pass through both the spacer and faceplate and engage securely with the back box threads. Beyond that, you'll need a voltage tester to confirm the circuit is isolated, a spirit level to check alignment, and a steel rule or digital calliper for accurate measurement. No structural materials or specialist tools are required for a straightforward spacer installation.
Are there safety risks when extending a socket back box?
Yes, and they're worth taking seriously. The supply cable feeding the back box remains live until the circuit is isolated at the consumer unit, not just switched off at the wall. When you remove the faceplate, inspect the cable insulation for any signs of cracking or discolouration; damaged insulation requires a qualified electrician before you proceed. In bathrooms and kitchens, also confirm the socket carries the correct IP rating for its zone before reassembling the fitting.
Can I use a standard spacer for all installations?
Not reliably. Standard spacers are manufactured in fixed depth increments, so if your recess measures 7mm or 12mm, an off-the-shelf plate won't produce a flush result. Even a 1mm discrepancy leaves a visible gap or creates a raised fitting that rocks when pressed. Knowing how to extend a socket back box properly means matching the spacer to your exact measurement, which is precisely what a bespoke solution from the Build My Spacer configurator delivers.
How do I ensure my installation complies with UK regulations?
Electrical installations in UK domestic properties must meet the requirements of BS 7671, the IET Wiring Regulations. Fitting a spacer plate to an existing socket is generally considered minor remedial work rather than a notifiable installation under Part P of the Building Regulations, but your specific circumstances may differ. Use only materials appropriate for electrical enclosure applications; improvised packing materials don't meet compliance requirements. If you're uncertain whether your work requires notification, check the NICEIC or SELECT websites for current guidance.
Where can I find custom spacers for my installation?
SocketSpacers.com manufactures bespoke spacer plates to your exact specifications, covering single gang, double gang, and multi-gang configurations. The Build My Spacer configurator lets you input your precise recess depth and gang size, producing a spacer made to those measurements rather than the nearest standard increment. The result is a first-time fit without shimming, stacking, or repeat visits to a builders' merchant.
Electrical Safety
Always isolate the circuit and confirm it is dead before removing a socket or switch faceplate. Only carry out the work if you are competent to do so. If you find damaged wiring, signs of overheating or anything unsafe, stop and contact a qualified electrician.