
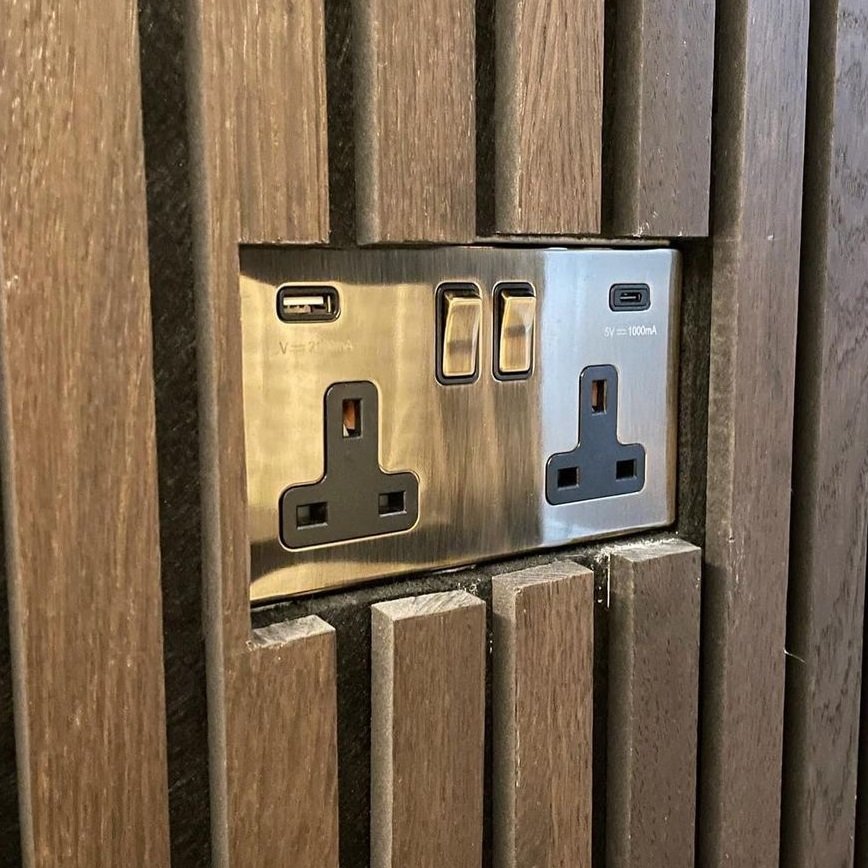
A professional panelling project is defined by what happens behind the socket, not just the quality of the timber on the surface. You have likely spent hours measuring and cutting your panels to perfection, only to find that your plug sockets are now "sunken" or recessed into the wall. It is a technical frustration that can make a high-end renovation feel unfinished and leave you with wobbly faceplates that do not meet safety standards. When fitting electrical sockets on panelled walls, the goal is a solid, flush finish that looks like it was part of the original build.
Achieving this result requires more than just longer screws; it requires a stable foundation. By using the Build My Spacer configurator tool, you can bridge the gap between your backbox and the new surface with millimetre precision. This guide explains how to master the installation process while remaining fully compliant with the BS 7671:2018+A4:2026 wiring regulations. We will examine the mechanics of extending recessed boxes and the specific tools needed to ensure your sockets are secure, flush, and safe.
Key Takeaways
- Understand the critical fire safety risks associated with leaving electrical components exposed behind timber panels and how to eliminate them.
- Learn the precise measurement techniques required to calculate the exact gap between a recessed backbox and your new wall surface.
- Follow a professional step-by-step process for fitting electrical sockets on panelled walls whilst ensuring full compliance with the latest UK wiring regulations.
- Discover how the Build My Spacer configurator tool provides the necessary structural integrity to prevent wobbly or loose faceplates.
- Master the professional secrets to achieving a perfectly flush finish that makes your electrical points look like an intentional part of the room design.
Table of Contents
- Navigating the Technical Hurdles of Fitting Electrical Sockets on Panelled Walls
- The Safety Risks of Recessed Backboxes Behind Wood Panelling
- Measuring and Preparing Your Panelled Wall for a Professional Finish
- Step-by-Step Installation Guide for Fitting Sockets on Panelled Walls
- Choosing the Right Support for a Safe and Aesthetic Result
Navigating the Technical Hurdles of Fitting Electrical Sockets on Panelled Walls
Wall panelling has become a staple of modern British interior design. Whether it is traditional Shaker-style MDF or contemporary oak slats, the visual transformation is significant. However, adding these materials to a flat wall introduces a physical offset for your Electrical wiring. Standard electrical backboxes are typically installed to be flush with the plasterwork. When you add 9mm, 12mm, or even 18mm of panelling on top, that backbox stays where it was, creating a deep void that standard fittings cannot easily bridge.
Many homeowners and DIY enthusiasts assume that cutting a neat hole in the wood is the final step. In reality, it is only half the job. Simply pulling the socket forward and hoping for the best leads to "floating" sockets. This occurs when the faceplate is held in place only by the tension of the screws, with no solid support behind it. It feels wobbly, looks unprofessional, and is mechanically unsound. To avoid these issues, you should use the Build My Spacer configurator tool early in your planning phase. This ensures you have a bespoke, millimetre-perfect solution ready before you begin the final installation.
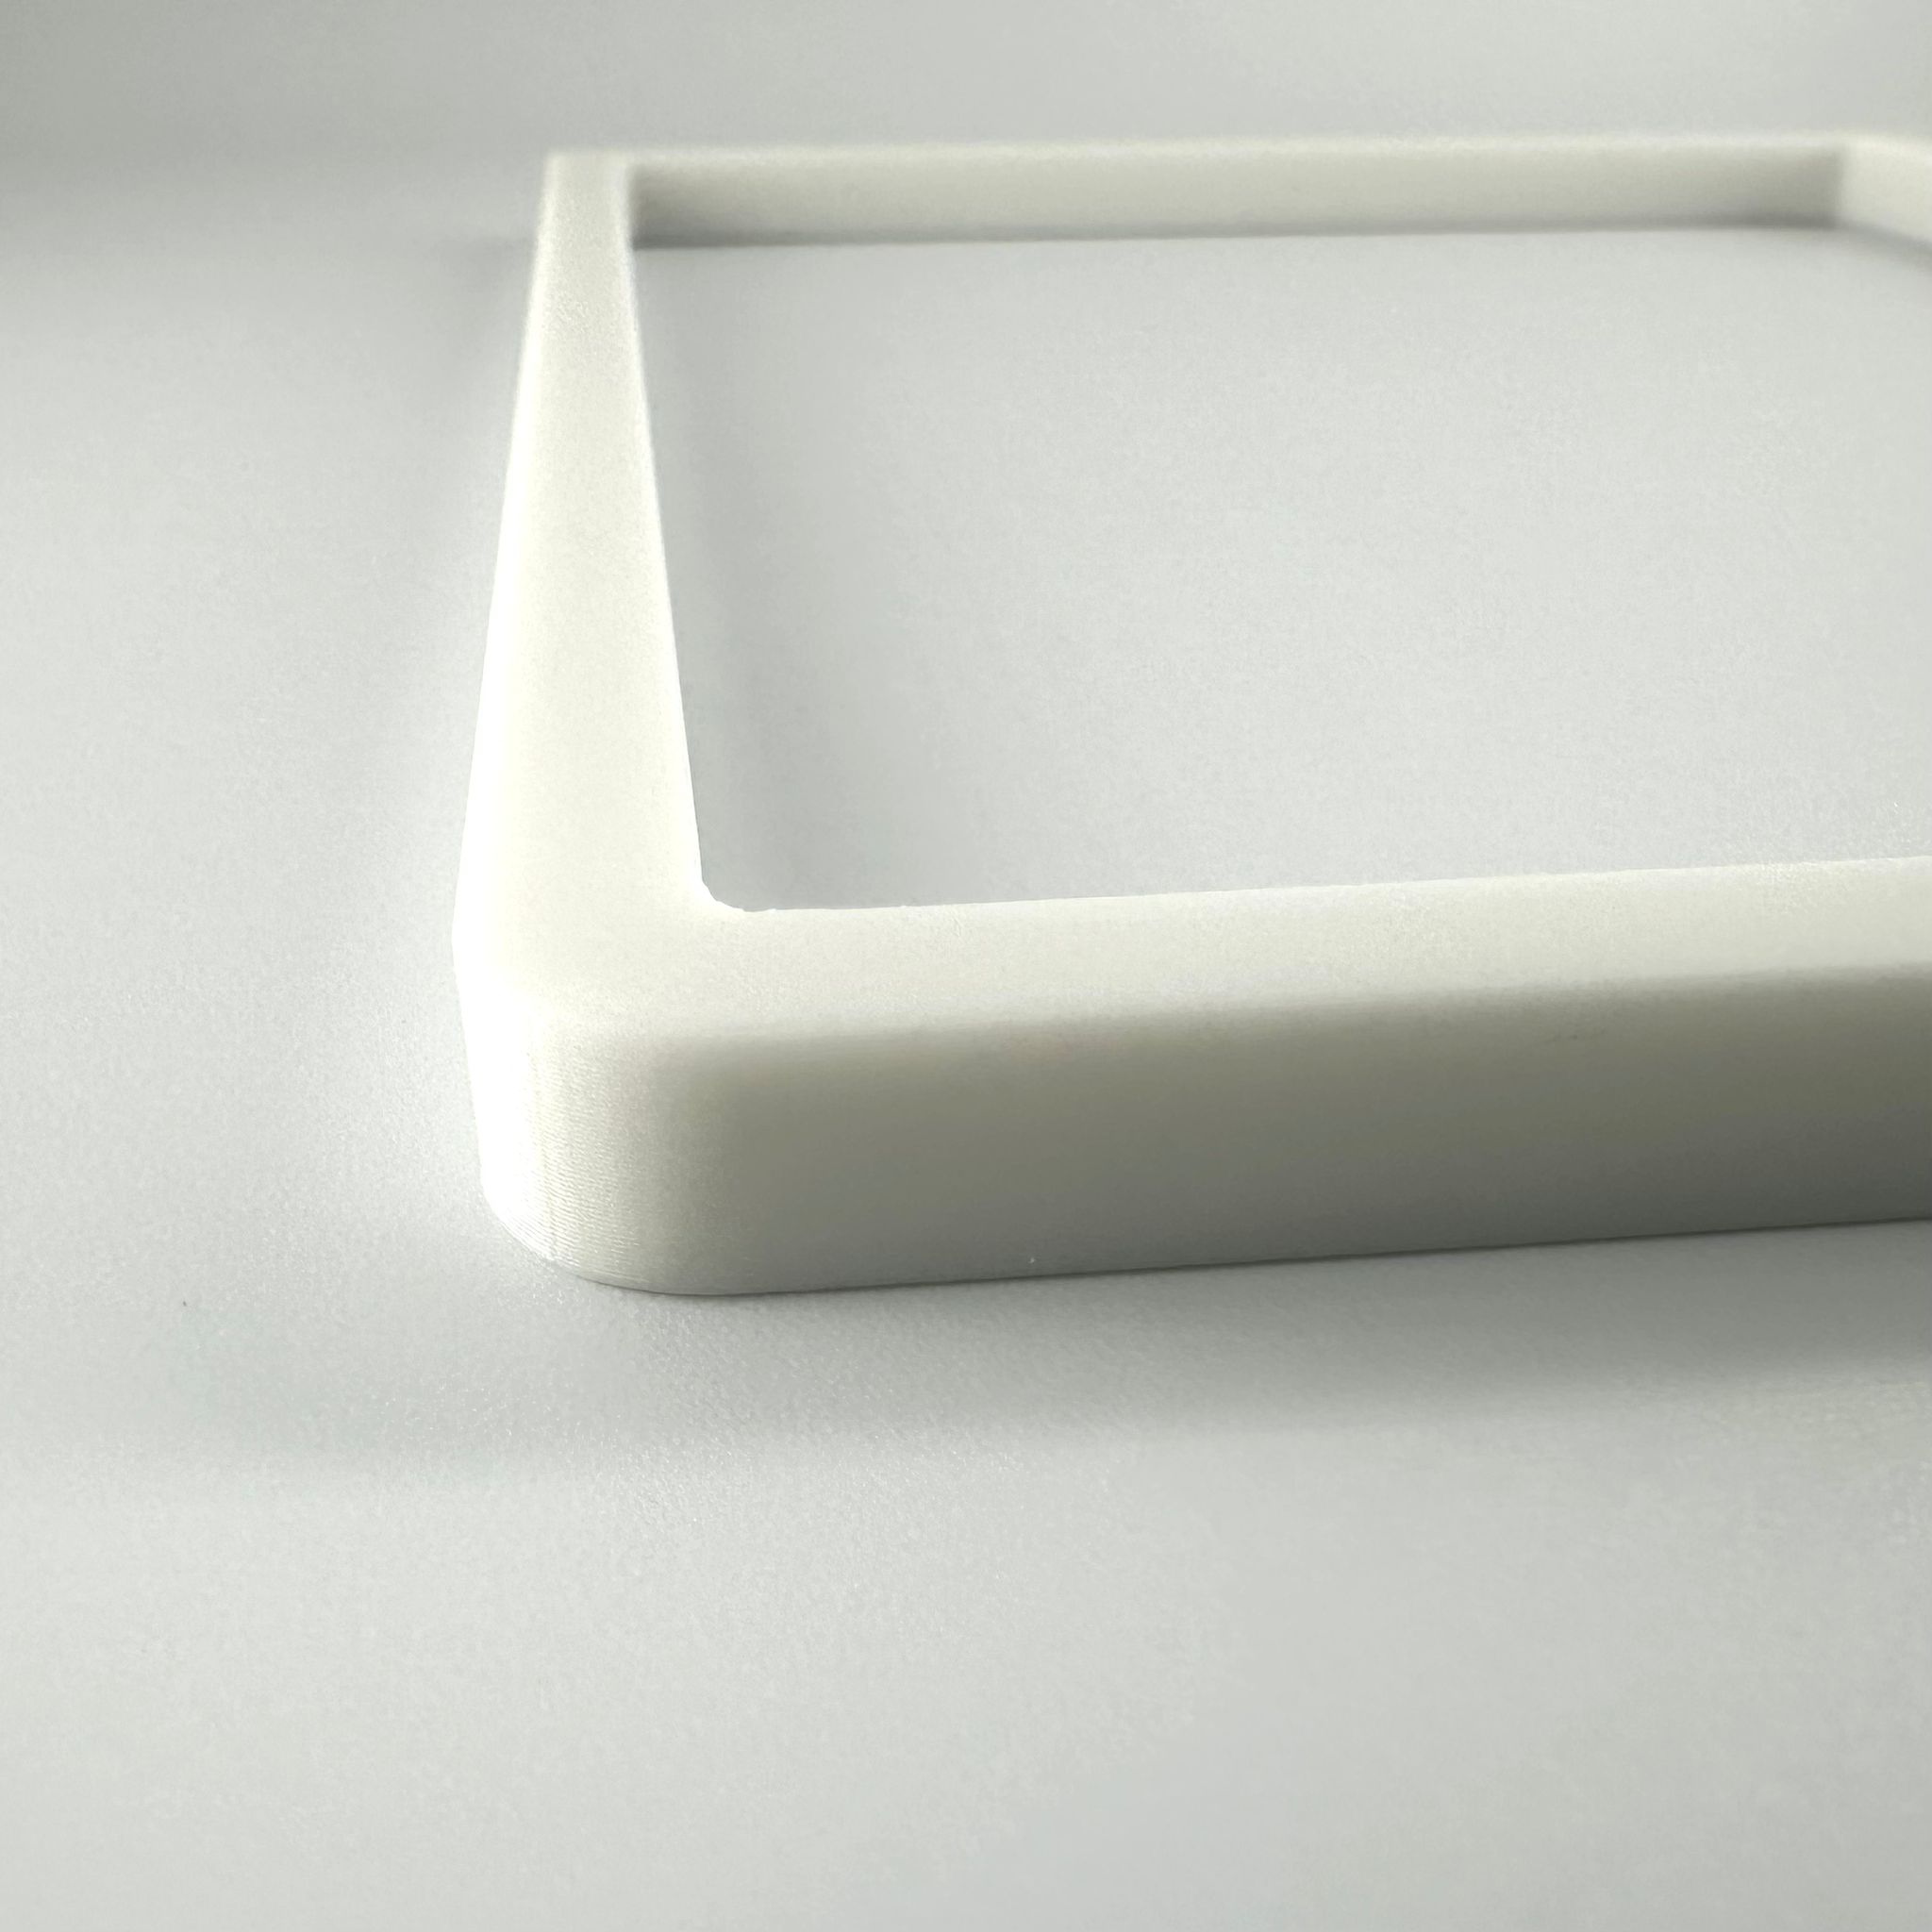
The Aesthetic vs Functional Conflict
Standard electrical fittings were designed for thin plaster, not thick decorative timber. If the faceplate does not sit flush and firm against the panel, it will flex every time a plug is inserted or removed. This repetitive movement can eventually loosen the internal connections or even crack the faceplate itself. A solid finish isn't just about looks; it provides the structural integrity needed for daily use. When fitting electrical sockets on panelled walls, the goal is to make the socket feel like a permanent, immovable part of the wall structure.
Understanding Your Wall Panelling Material
The material you choose dictates the complexity of the task. MDF sheets are uniform and predictable, making depth calculations straightforward. Conversely, natural wood tongue and groove boards can vary in thickness across the surface. Modern acoustic slat walls present a unique challenge, as the socket often spans both a recessed felt backing and a raised wooden slat. Each scenario requires a specific depth of support to ensure the faceplate remains level. Identifying these material differences is the first step toward a professional result when fitting electrical sockets on panelled walls.
The Safety Risks of Recessed Backboxes Behind Wood Panelling
When you are fitting electrical sockets on panelled walls, the aesthetic finish is often the primary concern. However, the technical safety of the installation is paramount. A common mistake is leaving a void between the existing metal backbox and the new faceplate. This creates a "floating socket" where the electrical components are no longer fully enclosed. According to BS 7671:2018+A4:2026, electrical connections must be contained within a suitable enclosure to prevent the spread of fire and protect against electric shock. If the backbox is buried behind centimetres of timber, that enclosure is effectively broken.
Relying on longer screws to reach a recessed backbox is a dangerous shortcut. While the screws might physically hold the faceplate to the wall, they provide zero lateral support. Every time you push a plug into the socket, you are putting pressure on the plastic faceplate and the thin screws. Without a solid frame behind the socket, this movement leads to mechanical failure. Over time, the screws can bend or the faceplate can crack, exposing live terminals to the touch.
Enclosure Integrity and Fire Prevention
The backbox serves as a non-combustible barrier designed to contain heat or arcing. When a gap exists between the box and the panel, this protection is compromised. Sawdust from the panelling process or household debris can accumulate in this void, creating a significant fire hazard. If an electrical fault occurs, sparks are no longer contained within the metal or flame-retardant plastic box; they are exposed directly to the flammable edges of your MDF or timber panels. For those seeking practical safety measures, following Step-by-Step Installation Instructions helps ensure all components are correctly aligned and enclosed.
Mechanical Stability and Wear
Repeated use of an unsupported socket causes the faceplate to flex. This movement eventually transfers stress to the internal wiring terminals, potentially pulling cables loose. Loose connections are a leading cause of electrical fires in domestic properties. Ensuring there is sufficient Managing Plug Socket Wiring Space is essential to prevent crushing or straining cables whilst ensuring the faceplate remains immovable. Using a bespoke Sunken Backbox Extender ensures the installation is mechanically stable and the electrical enclosure remains intact, meeting both safety standards and professional expectations.
Measuring and Preparing Your Panelled Wall for a Professional Finish
Professional results when fitting electrical sockets on panelled walls are achieved through precise preparation rather than corrective work at the end. Before you fix any panels to the wall, you must conduct a thorough survey of your existing electrical points. The most common error is failing to account for the cumulative depth of the installation. This includes the panel itself, any timber battens used for a subframe, and the thickness of the adhesive. You will need a reliable steel rule or a digital calliper to capture these dimensions accurately.
Precision is not merely about aesthetics. It ensures the mechanical stability required for a safe installation. If your measurements are inaccurate, the faceplate will not sit flat against the timber, leading to the "floating" effect that compromises safety. To streamline this process, you can use the Build My Spacer configurator tool to input your specific depth requirements. This ensures you receive a bespoke component tailored to your exact project specifications, eliminating the need for makeshift shims or stacked washers.
Calculating the Required Spacer Depth
To calculate the depth, measure from the face of the backbox lugs to the outer surface of your panelling material. If you are using 12mm MDF with a 3mm adhesive bead, your required spacer depth is 15mm. Whilst we follow UK BS 7671 standards, it is worth noting that international standards like the National Electrical Code requirements also mandate that outlets must be flush with combustible surfaces. Millimetre-perfect accuracy prevents the faceplate from bowing when the screws are tightened, which is essential for a long-lasting and safe installation.
Marking and Cutting the Faceplate Aperture
Transferring the backbox position to the front of the panel requires a methodical approach. You can measure from a fixed datum point, such as the floor or a corner, or use marking pins in the backbox screw holes to indent the rear of the panel. When cutting the aperture, a multi-tool or a fine-toothed jigsaw is the preferred choice for MDF and natural wood. Aim for a tight fit where the faceplate overlap is consistent on all sides. This eliminates the need for unsightly silicone or wood fillers, ensuring the socket looks like an integrated feature of the wall. Taking the time to get this right is the difference between a DIY project and a professional finish when fitting electrical sockets on panelled walls.
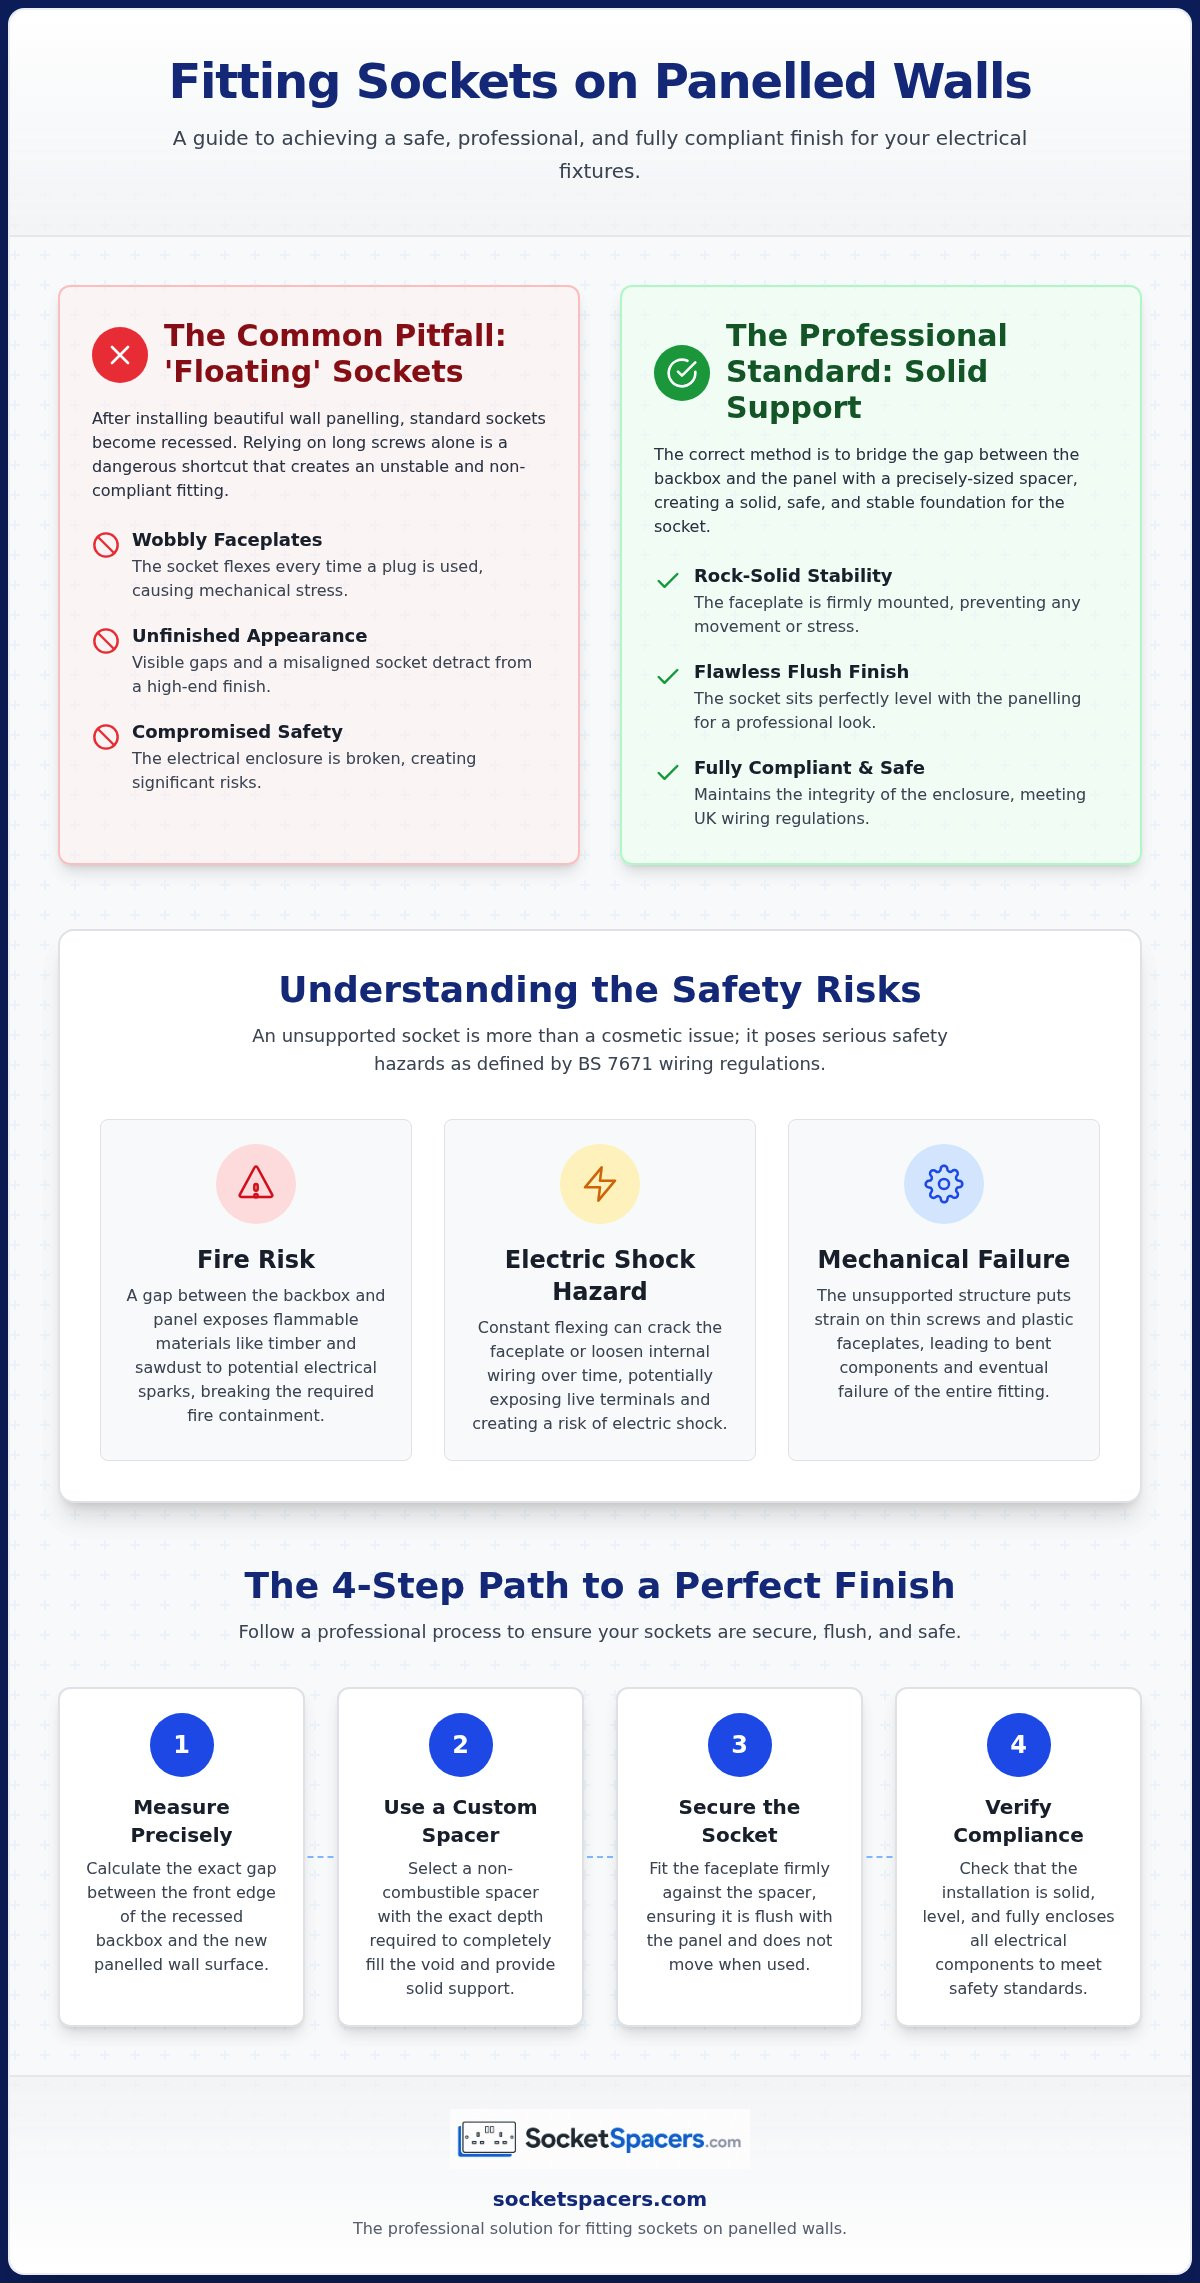
Step-by-Step Installation Guide for Fitting Sockets on Panelled Walls
Safety is the primary consideration for any electrical task. Before you begin the process of fitting electrical sockets on panelled walls, you must isolate the power at the consumer unit. Use a voltage tester to verify that the circuit is dead before removing the faceplate screws. This initial check prevents accidental contact with live terminals whilst you are working within the wall cavity. Once the power is confirmed as off, gently pull the socket faceplate away from the wall to inspect the condition of the wiring.
Existing cables often have limited slack. When you add the thickness of a panel, you are effectively moving the socket further away from the cable entry point. Carefully check that the conductors reach the terminals without being under tension. If the cables are too short, they may require professional extension to ensure a safe connection. Ensure that the earth bonding remains intact and that no insulation has been nicked or damaged during the panelling installation process.
The Fitting Process
With the wiring inspected, you can now bridge the gap. Slide your bespoke spacer over the cables and position it so it sits flush against the original backbox. The spacer acts as a continuous sleeve, providing the non-combustible bridge required by safety standards. Align the faceplate with the spacer and insert your fixing screws. These screws pass through the faceplate and the spacer, threading directly into the lugs of the sunken backbox. Tighten the screws evenly until the faceplate is firm against the panel surface. It should not move or flex when pressure is applied.
Troubleshooting Common Installation Issues
Sometimes you may find that standard 35mm or 50mm electrical screws are still too short to reach the backbox lugs. In these instances, you will need extra-long M3.5 screws, which are widely available in lengths up to 75mm. Another common hurdle is managing overcrowded wiring. If the backbox was already full, adding a spacer can make it difficult to fold the cables back neatly. Learning how to fix a recessed socket involves understanding how to organise these internal components for a cleaner fit. If you find the depth is still not quite right, you can revisit the Build My Spacer tool to re-calculate your requirements for a millimetre-perfect result.
Configure your bespoke socket spacer now
Choosing the Right Support for a Safe and Aesthetic Result
When fitting electrical sockets on panelled walls, the choice of hardware determines whether the installation remains secure over years of use. Many installers attempt to use makeshift shims, stacked washers, or generic plastic spacers to bridge the void. These methods are inherently unstable. A double gang socket requires a wide, solid foundation to counteract the physical force applied every time a plug is inserted or removed. Without this rigid support, the faceplate will eventually tilt or loosen, compromising both the visual finish and the mechanical safety of the connection.
Generic extension frames usually fail because they are restricted to fixed depth increments. If your panel and adhesive depth is 14mm but you can only find 10mm or 20mm frames, you are forced to accept a poor fit. This results in either a sunken socket or an unsightly gap behind the faceplate. Bespoke UK Socket Spacers eliminate this compromise by providing a continuous, solid sleeve tailored to your exact measurements. This level of precision is especially vital for multi-gang sockets or bespoke large extension frames where standard parts are not available.
Bespoke vs Generic Solutions
Off-the-shelf solutions often require stacking multiple components to reach the desired depth, which introduces multiple points of potential failure. A single, made-to-measure part provides superior structural integrity. This is particularly important when dealing with non-standard configurations or acoustic slat walls where the surface is uneven. A custom-fit solution ensures the faceplate sits perfectly flat against the timber, providing the professional finish that defines a high-quality renovation. It removes the need for surface mounting, which is an undesirable aesthetic compromise for most decorative projects.
Professional Endorsements and Reliability
High-quality, made-to-order components offer a level of structural integrity that generic parts cannot match. UK-based manufacturing ensures that every spacer is engineered to provide increased wiring space whilst maintaining a rigid bridge to the backbox. This methodical approach is why professional electricians favour these solutions for high-end residential work. Using a dedicated Sunken Backbox Extender is the most efficient way to achieve a compliant and visually perfect result. It provides the quiet confidence that your electrical points are as durable as the panels they are set into.
To guarantee a professional finish for your home, use the Build My Spacer configurator tool to specify your requirements. By entering your exact depth and gang configuration, you will receive a bespoke solution that makes fitting electrical sockets on panelled walls a straightforward and safe process.
Securing a Millimetre-Perfect Finish for Your Project
Fitting electrical sockets on panelled walls doesn't have to be a compromise between aesthetic style and electrical safety. By prioritising precise measurements and using bespoke support components, you ensure that every faceplate is flush, immovable, and fully compliant with UK wiring regulations. You have moved beyond the limitations of generic shims and dangerous shortcuts; you are choosing to maintain the structural integrity of your electrical enclosures for the long term.
Precision engineering is the essential final step in any successful renovation. Our spacers are manufactured in the UK to provide a perfect fit for any panel thickness, offering the exact support required by professional electricians nationwide. This methodical approach eliminates wobbly sockets and fire risks, leaving you with a finish that is as safe as it is visually seamless. You can now complete your panelling project with the quiet confidence that your electrical points are secure and professional.
Design your custom socket spacer with our Build My Spacer tool
Frequently Asked Questions
Can I just use longer screws when fitting a socket on panelling?
No, longer screws alone do not provide the necessary structural support for the socket faceplate. Without a solid spacer, the faceplate will flex and eventually crack under the pressure of repeated plug insertions. This lack of lateral stability can also lead to cable strain and loose connections, which increases the risk of electrical failure or arcing within the wall cavity. A bespoke spacer is required to bridge the gap properly.
Is it a fire hazard if there is a gap between the socket and the backbox?
Yes, leaving a gap between the backbox and the faceplate is a significant fire risk when fitting electrical sockets on panelled walls. The backbox is designed to contain heat and sparks; if a gap exists, any electrical arcing is exposed to combustible materials like MDF or timber. Additionally, sawdust and debris can accumulate in the void, providing fuel for a potential fire if a fault occurs.
What is the best way to cut a hole in panelling for a plug socket?
A multi-tool or a fine-toothed jigsaw is the most effective tool for creating a clean, precise aperture in wood or MDF. You should mark the position of the backbox lugs on the rear of the panel first to ensure the hole aligns perfectly. Cutting a tight aperture ensures the faceplate overlap covers the edges completely, resulting in a professional finish without the need for unsightly silicone or wood fillers.
Do I need a special type of spacer for acoustic slat wall panelling?
Acoustic slat walls require a spacer that can bridge the uneven depth created by the felt backing and the wooden slats. Because these surfaces are not uniform, a bespoke spacer is often the only way to ensure the faceplate sits level and secure. You can use the Build My Spacer tool to specify the exact depth required to bring the socket flush with the front of the slats.
How do I measure the depth of the spacer I need for my panelling?
You must measure the distance from the face of the metal backbox lugs to the finished front surface of your panelling. Be sure to include the thickness of any adhesive or timber battens used in your subframe. Using a digital calliper or a steel rule will give you the millimetre-perfect accuracy needed to order a custom spacer that prevents the faceplate from bowing or moving when the screws are tightened.
Can I use socket spacers for light switches as well as plug sockets?
Yes, bespoke spacers are available for single, double, and multi-gang light switches. The technical requirements for fitting electrical sockets on panelled walls are identical to those for light switches. Both require a solid, non-combustible bridge to maintain enclosure integrity and mechanical stability. Using a custom-fit spacer ensures your switches feel firm and look integrated rather than recessed into the decorative woodwork.
Are these spacers compliant with UK building and wiring regulations?
When installed correctly, bespoke spacers help you comply with BS 7671:2018+A4:2026 by maintaining a continuous, non-combustible enclosure for electrical connections. They prevent live parts from being exposed to flammable materials and ensure the installation is mechanically sound. This is a critical requirement for meeting Part P of the Building Regulations, which covers electrical safety in domestic dwellings in England and Wales.
What should I do if my backbox is loose behind the panelling?
You must secure the backbox firmly to the original wall or subframe before installing your panel and spacer. A loose backbox will cause the entire socket assembly to move, even with a spacer and long screws. If the original fixings have failed, you may need to use longer wall plugs or masonry screws to ensure the box is immovable before you proceed with the final faceplate fitting.
Electrical Safety
Always isolate the circuit and confirm it is dead before removing a socket or switch faceplate. Only carry out the work if you are competent to do so. If you find damaged wiring, signs of overheating or anything unsafe, stop and contact a qualified electrician.